
How-to use Gold Leaf to Upgrade Thrift Store Art

This project was mentioned in the Lancaster Newspaper! Click here to see the online version of the article.
Anyone who follows me on Pinterest knows that I am a HUGE fan of gallery walls. I have a whole board dedicated to configurations and art resources that I call Gallery Wall Material. Something about a wall of mix and match art just says home to me. One thing I really love is when a gallery wall has a sense of humor.
How can a wall of art have a sense of humor, you ask? I love an art collection that doesn't take itself too seriously. A mix of "high brow" and DIY art, oil paintings and simple graphic quotes, photographs and children's drawings, ornate gilded frames and clean lined minimalist ones. Mixing and matching art and frames is an art in and of itself!
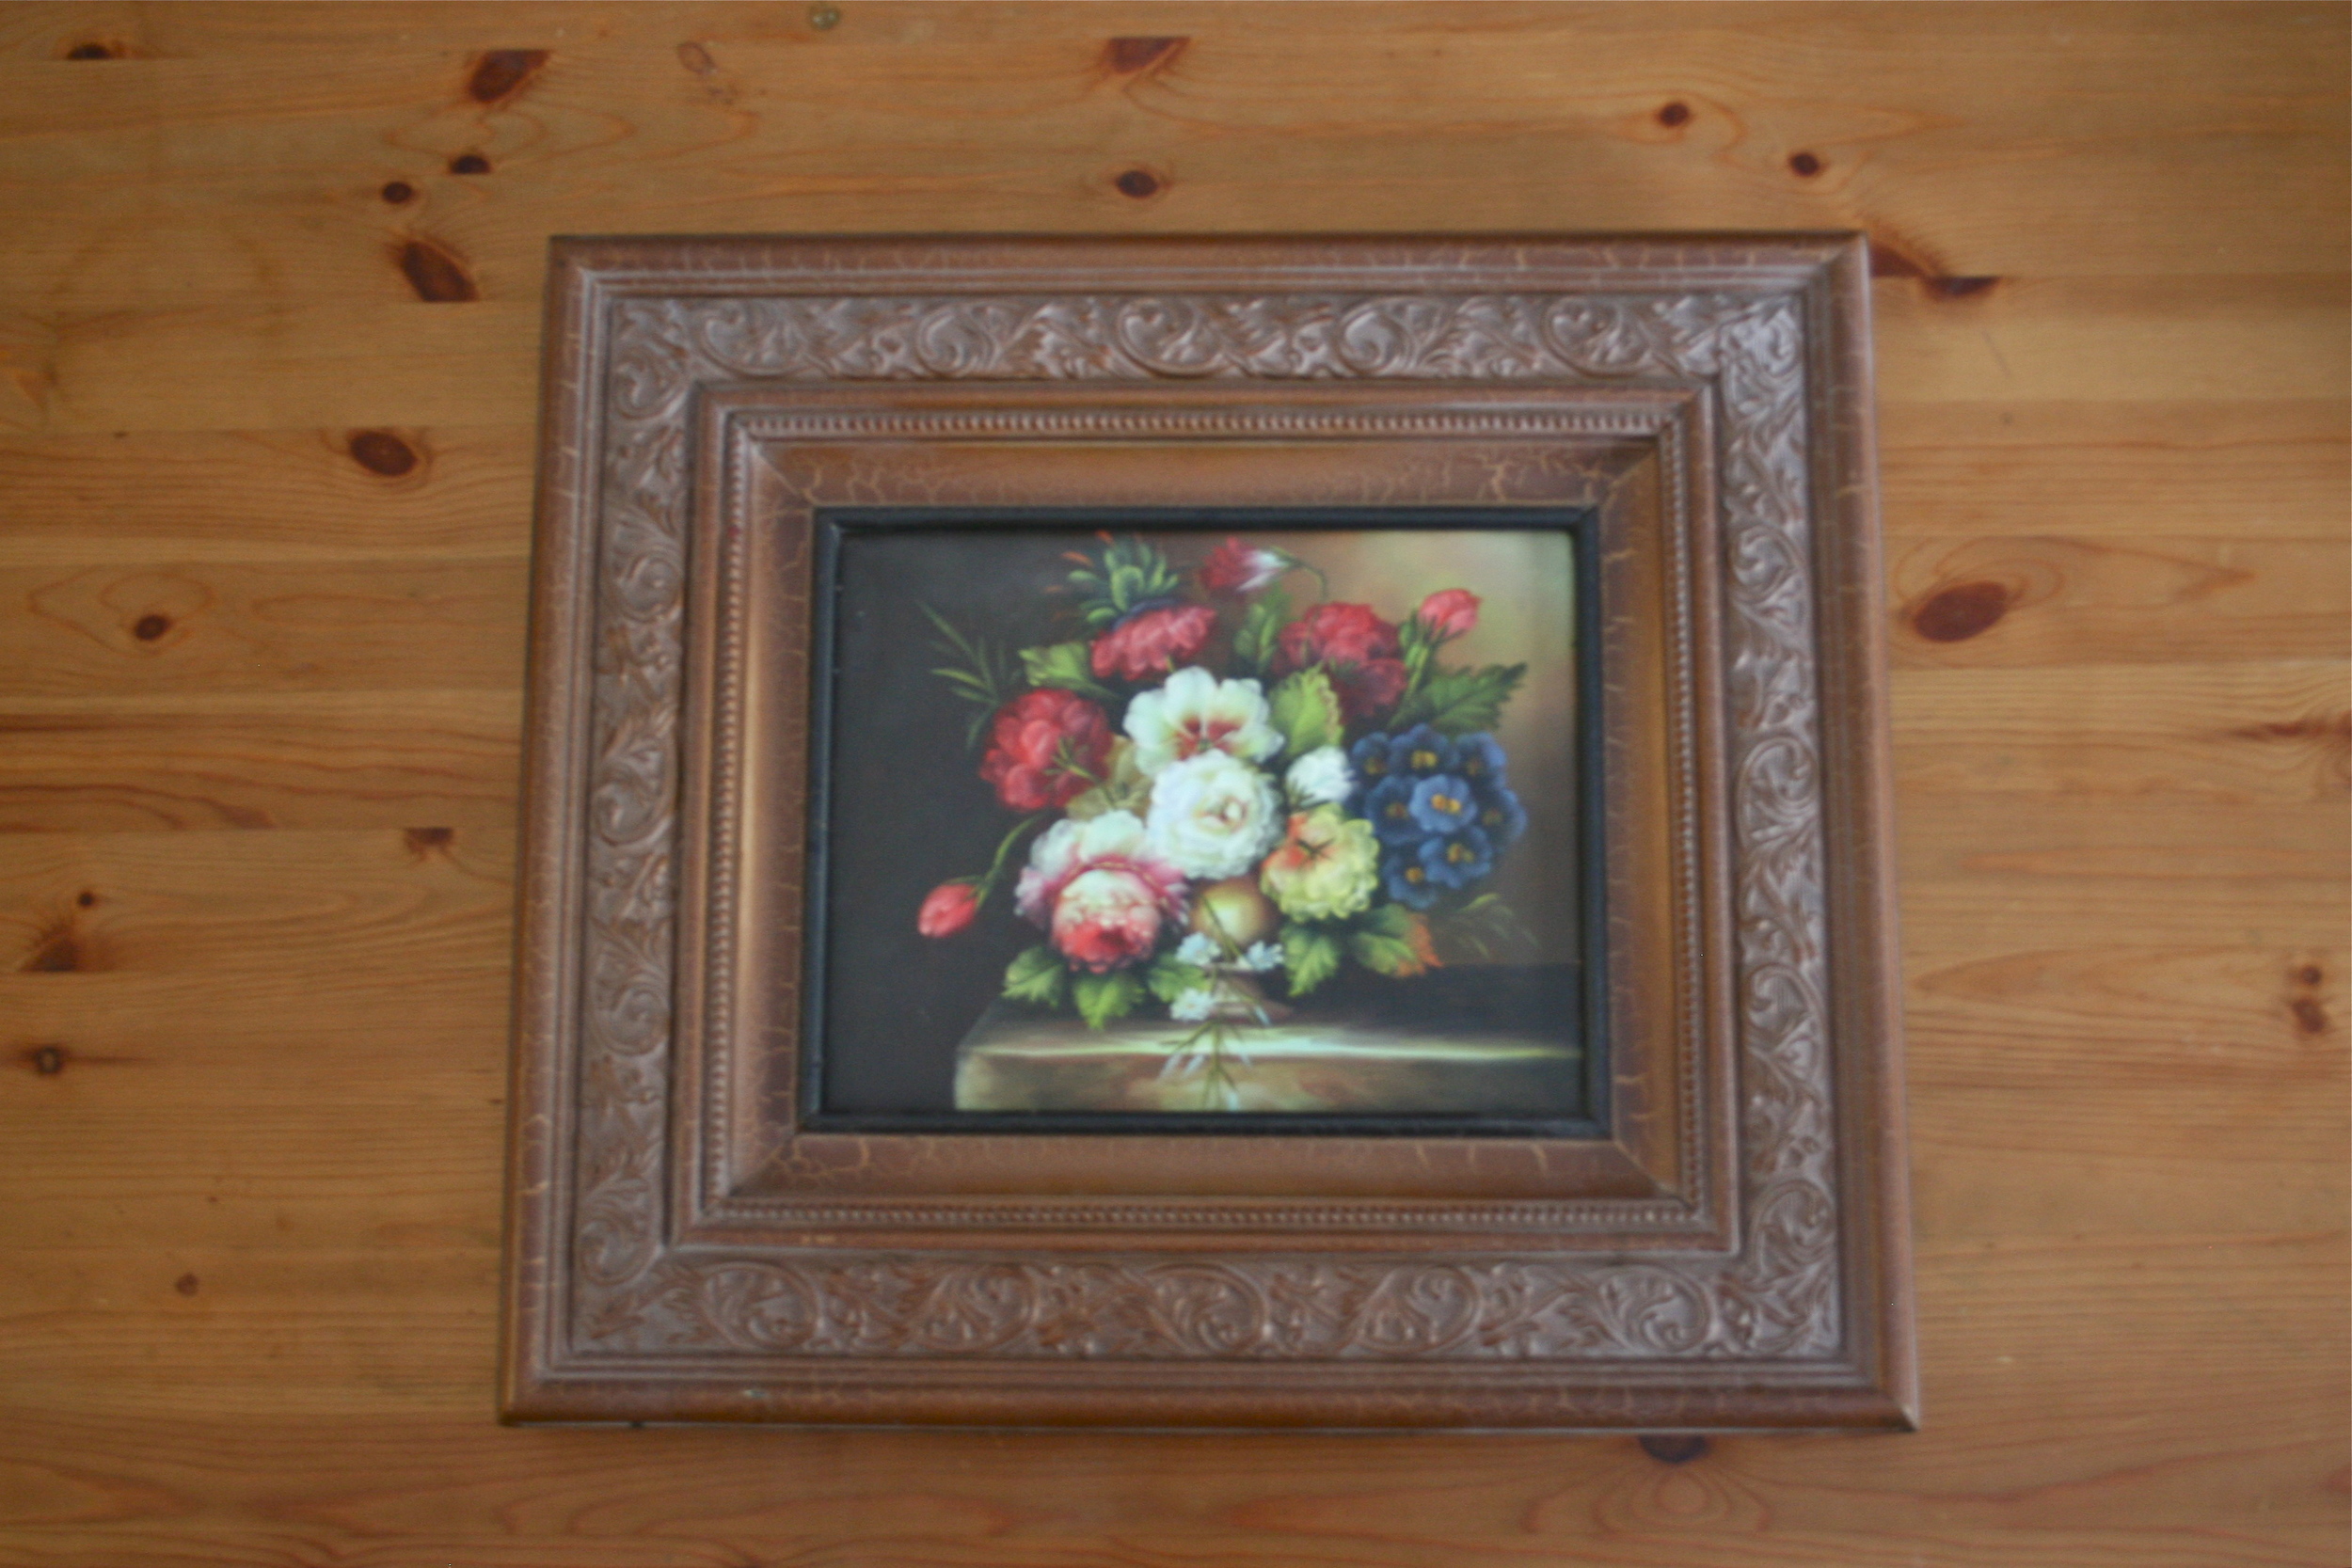
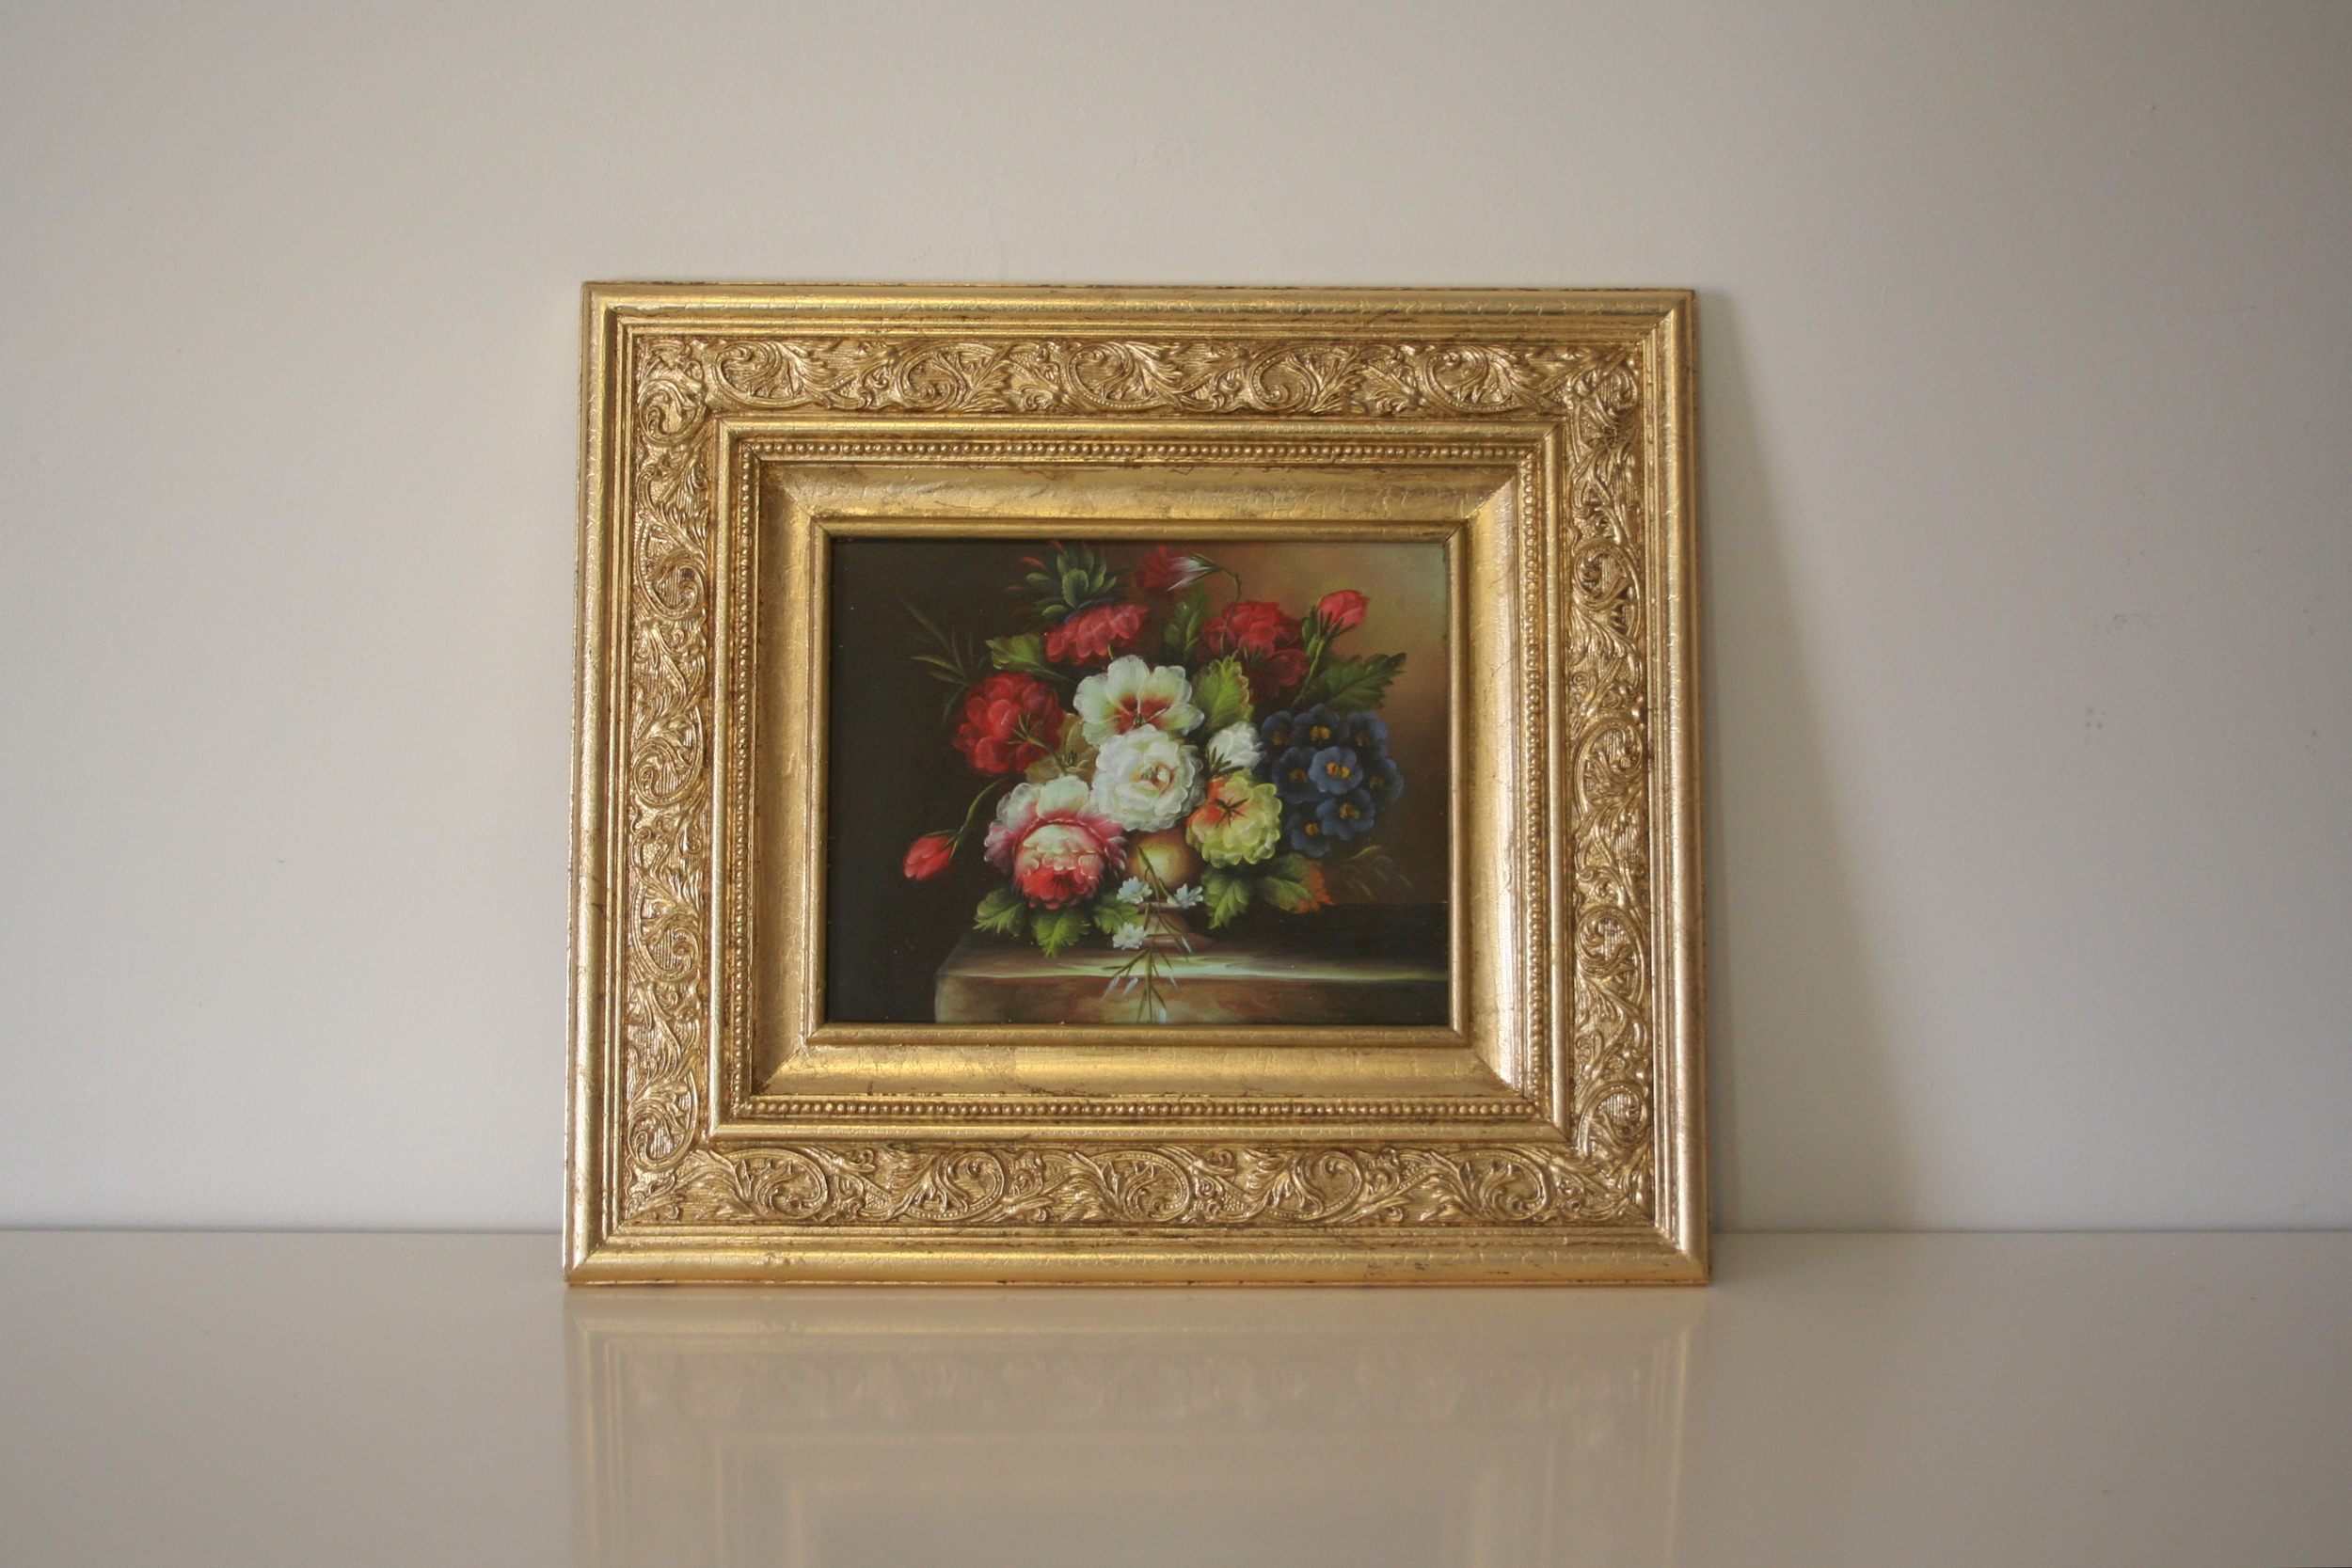
I've been on the look out for some chunky gold frames to start my own gallery wall for the last several months. I've found a few, but the nice ones are always way out of my price range. I stumbled across this piece at a thrift store in York called Finders Keepers. I loved the heft of the frame and the moody floral print. What I loved most was that this was an actual oil painting on canvas which had been mounted into the frame, not just an art print. At only $8, it was a no brainer. It was coming home with me!
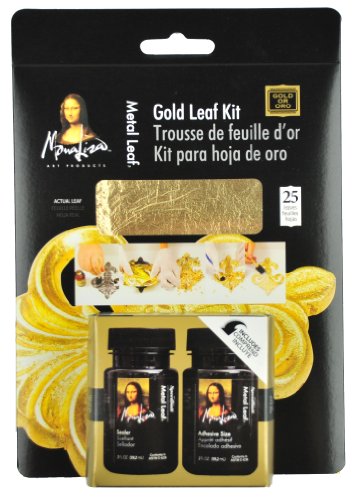
Once I got home I started searching the internet for Gold Leafing supplies. I found this kit on Amazon that had everything I needed: 25 imitation gold leaf sheets, adhesive size and sealer. (You can purchase the same kit I used in my Resource Shop . Right now it's actually on sale for $2 less than when I bought it!)
Read on for the full tutorial with my tips and tricks!
How to Gold Leaf a Wooden Frame
WHAT YOU'LL NEED:
- Speedball Mona Lisa Gold Leaf Kit with Gold sheets, Adhesive Size and Sealer
- Medium - large paint brush
- Popsicle sticks (for stirring)
- Small art paint brush and gold metallic paint for touch ups (Optional)
STEP ONE:
First you will want to make sure your frame is clean, dust-free and dry. I used my dry paint brush to brush of any dust in the carvings. If possible, remove the picture or canvas from the frame to make the gold-leafing process easier. My frame was attached to my canvas using metal pins, and I was worried that if I took it apart, I wouldn't be able to fit everything back together. You'll see in the following steps that I just used a piece of chipboard as a guard to protect the surface of the painting. Lay your frame on a flat surface.

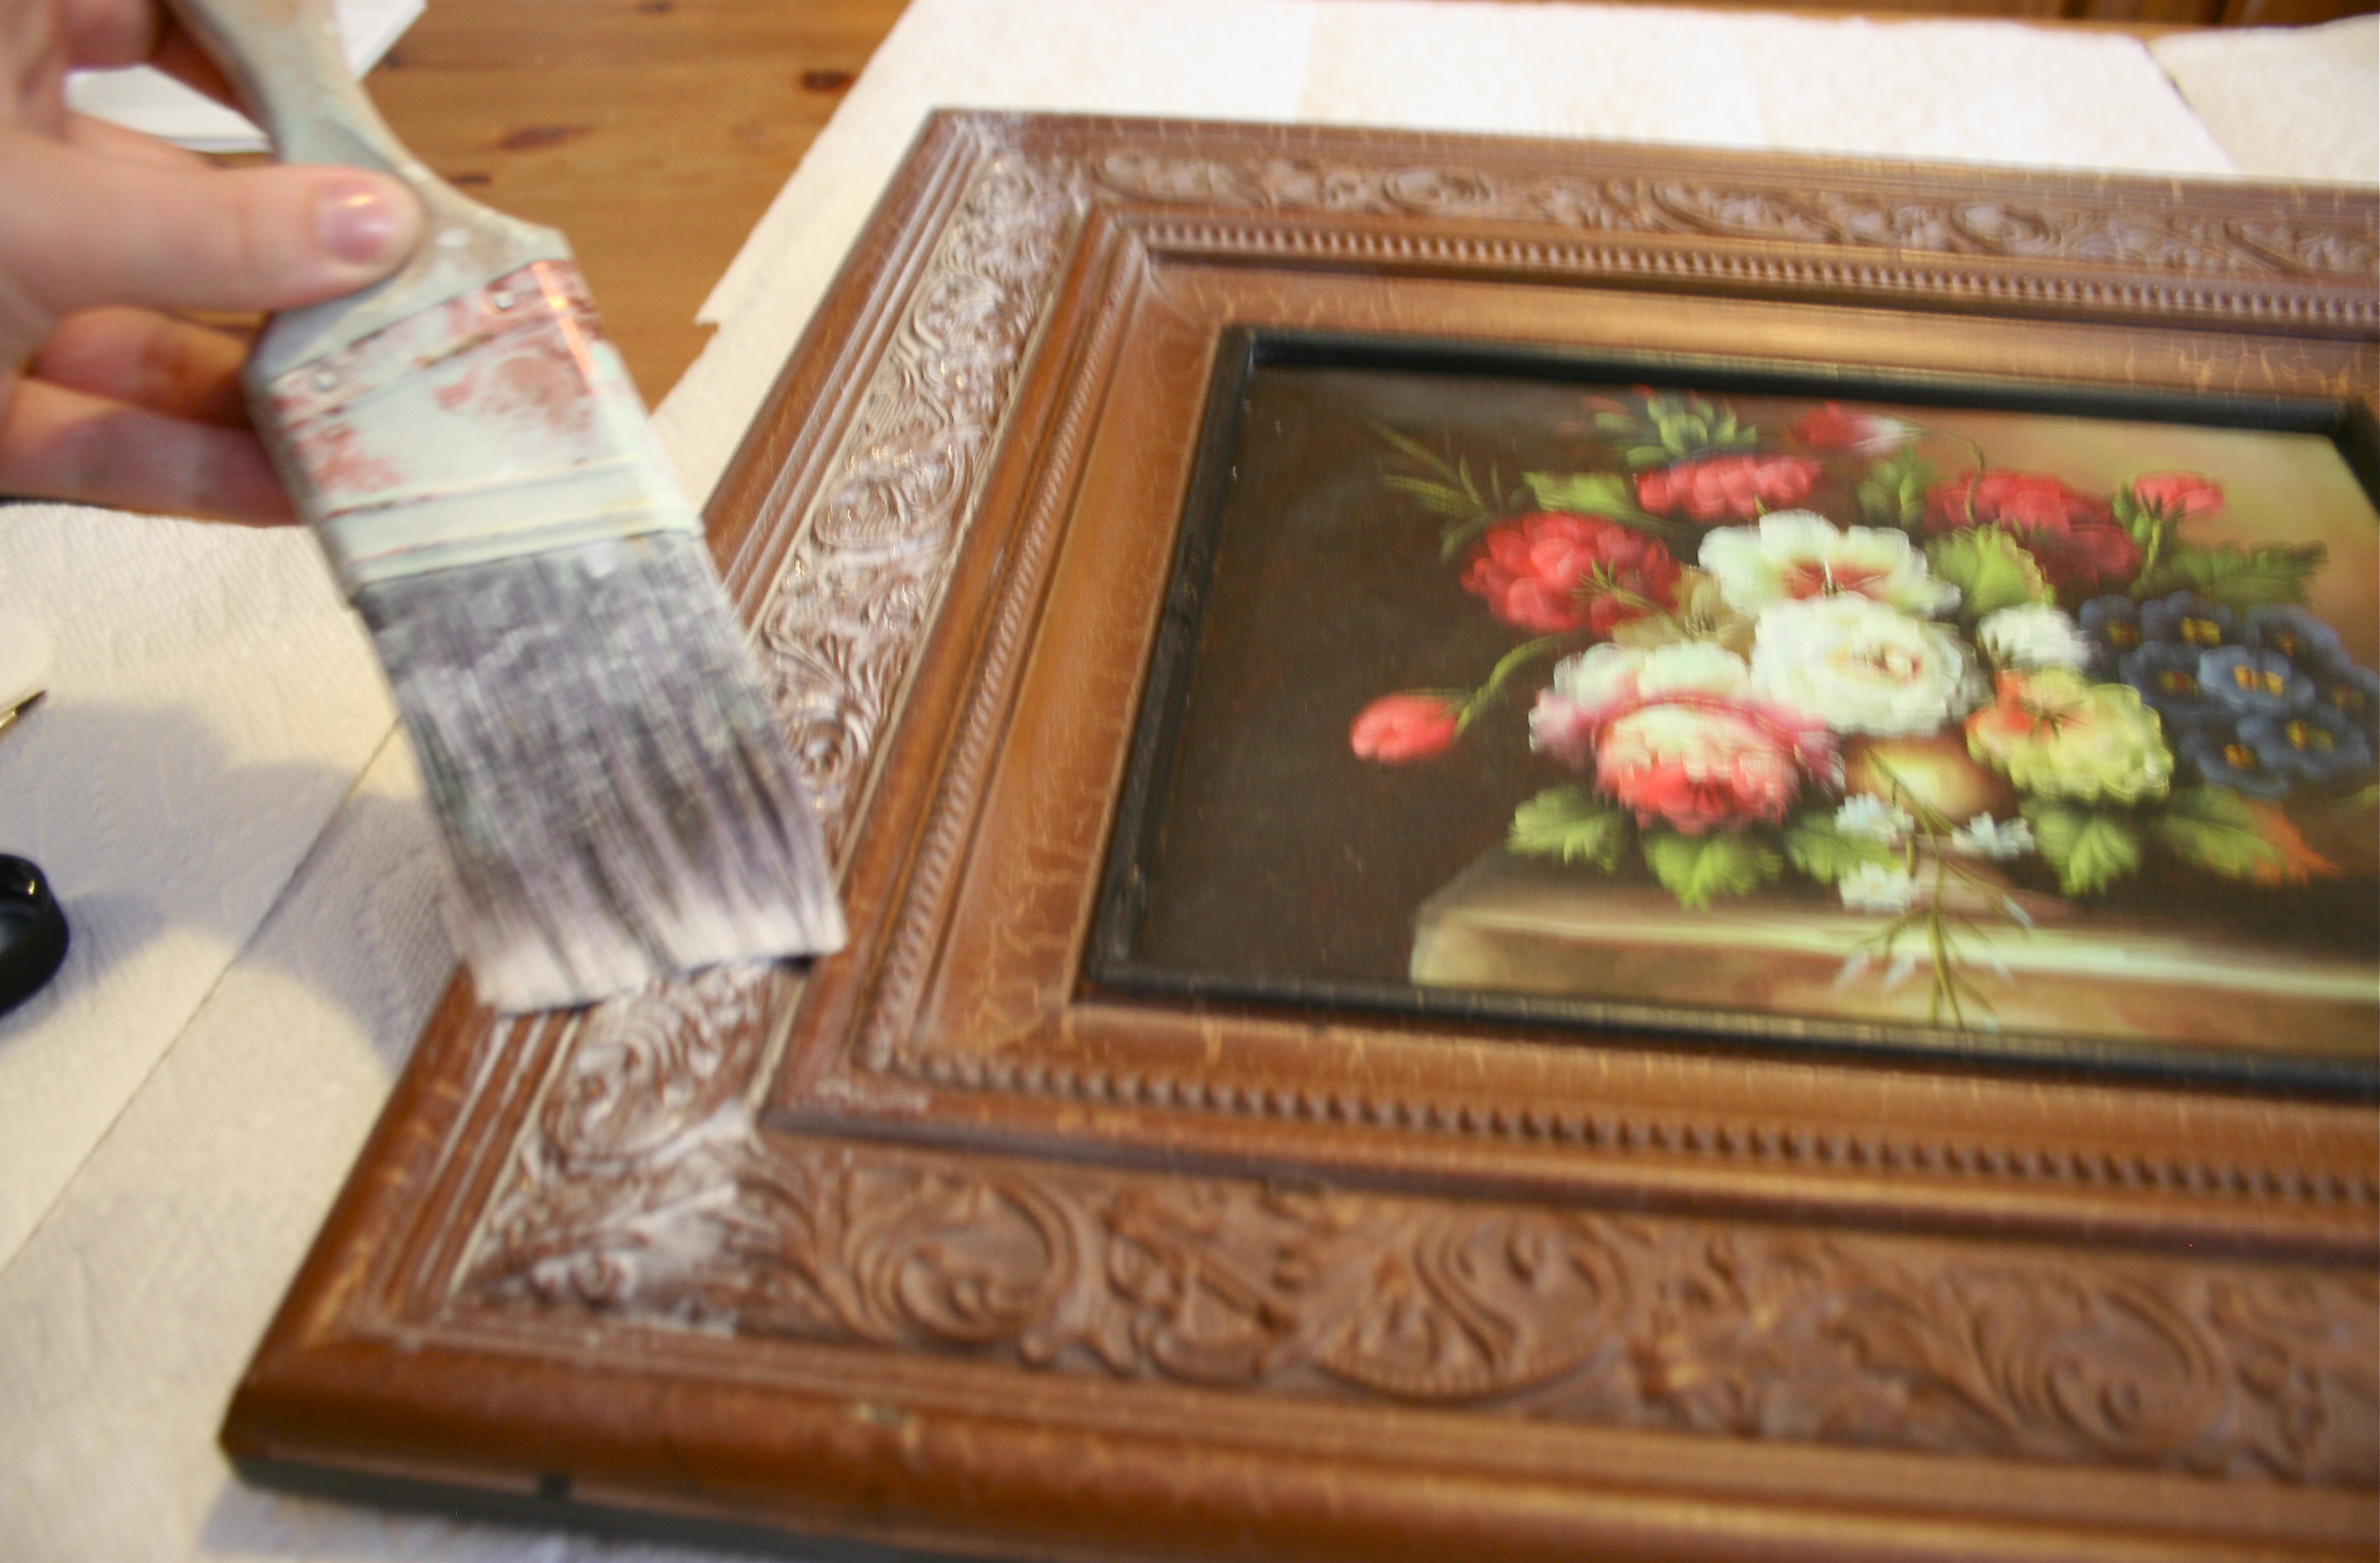
STEP TWO:
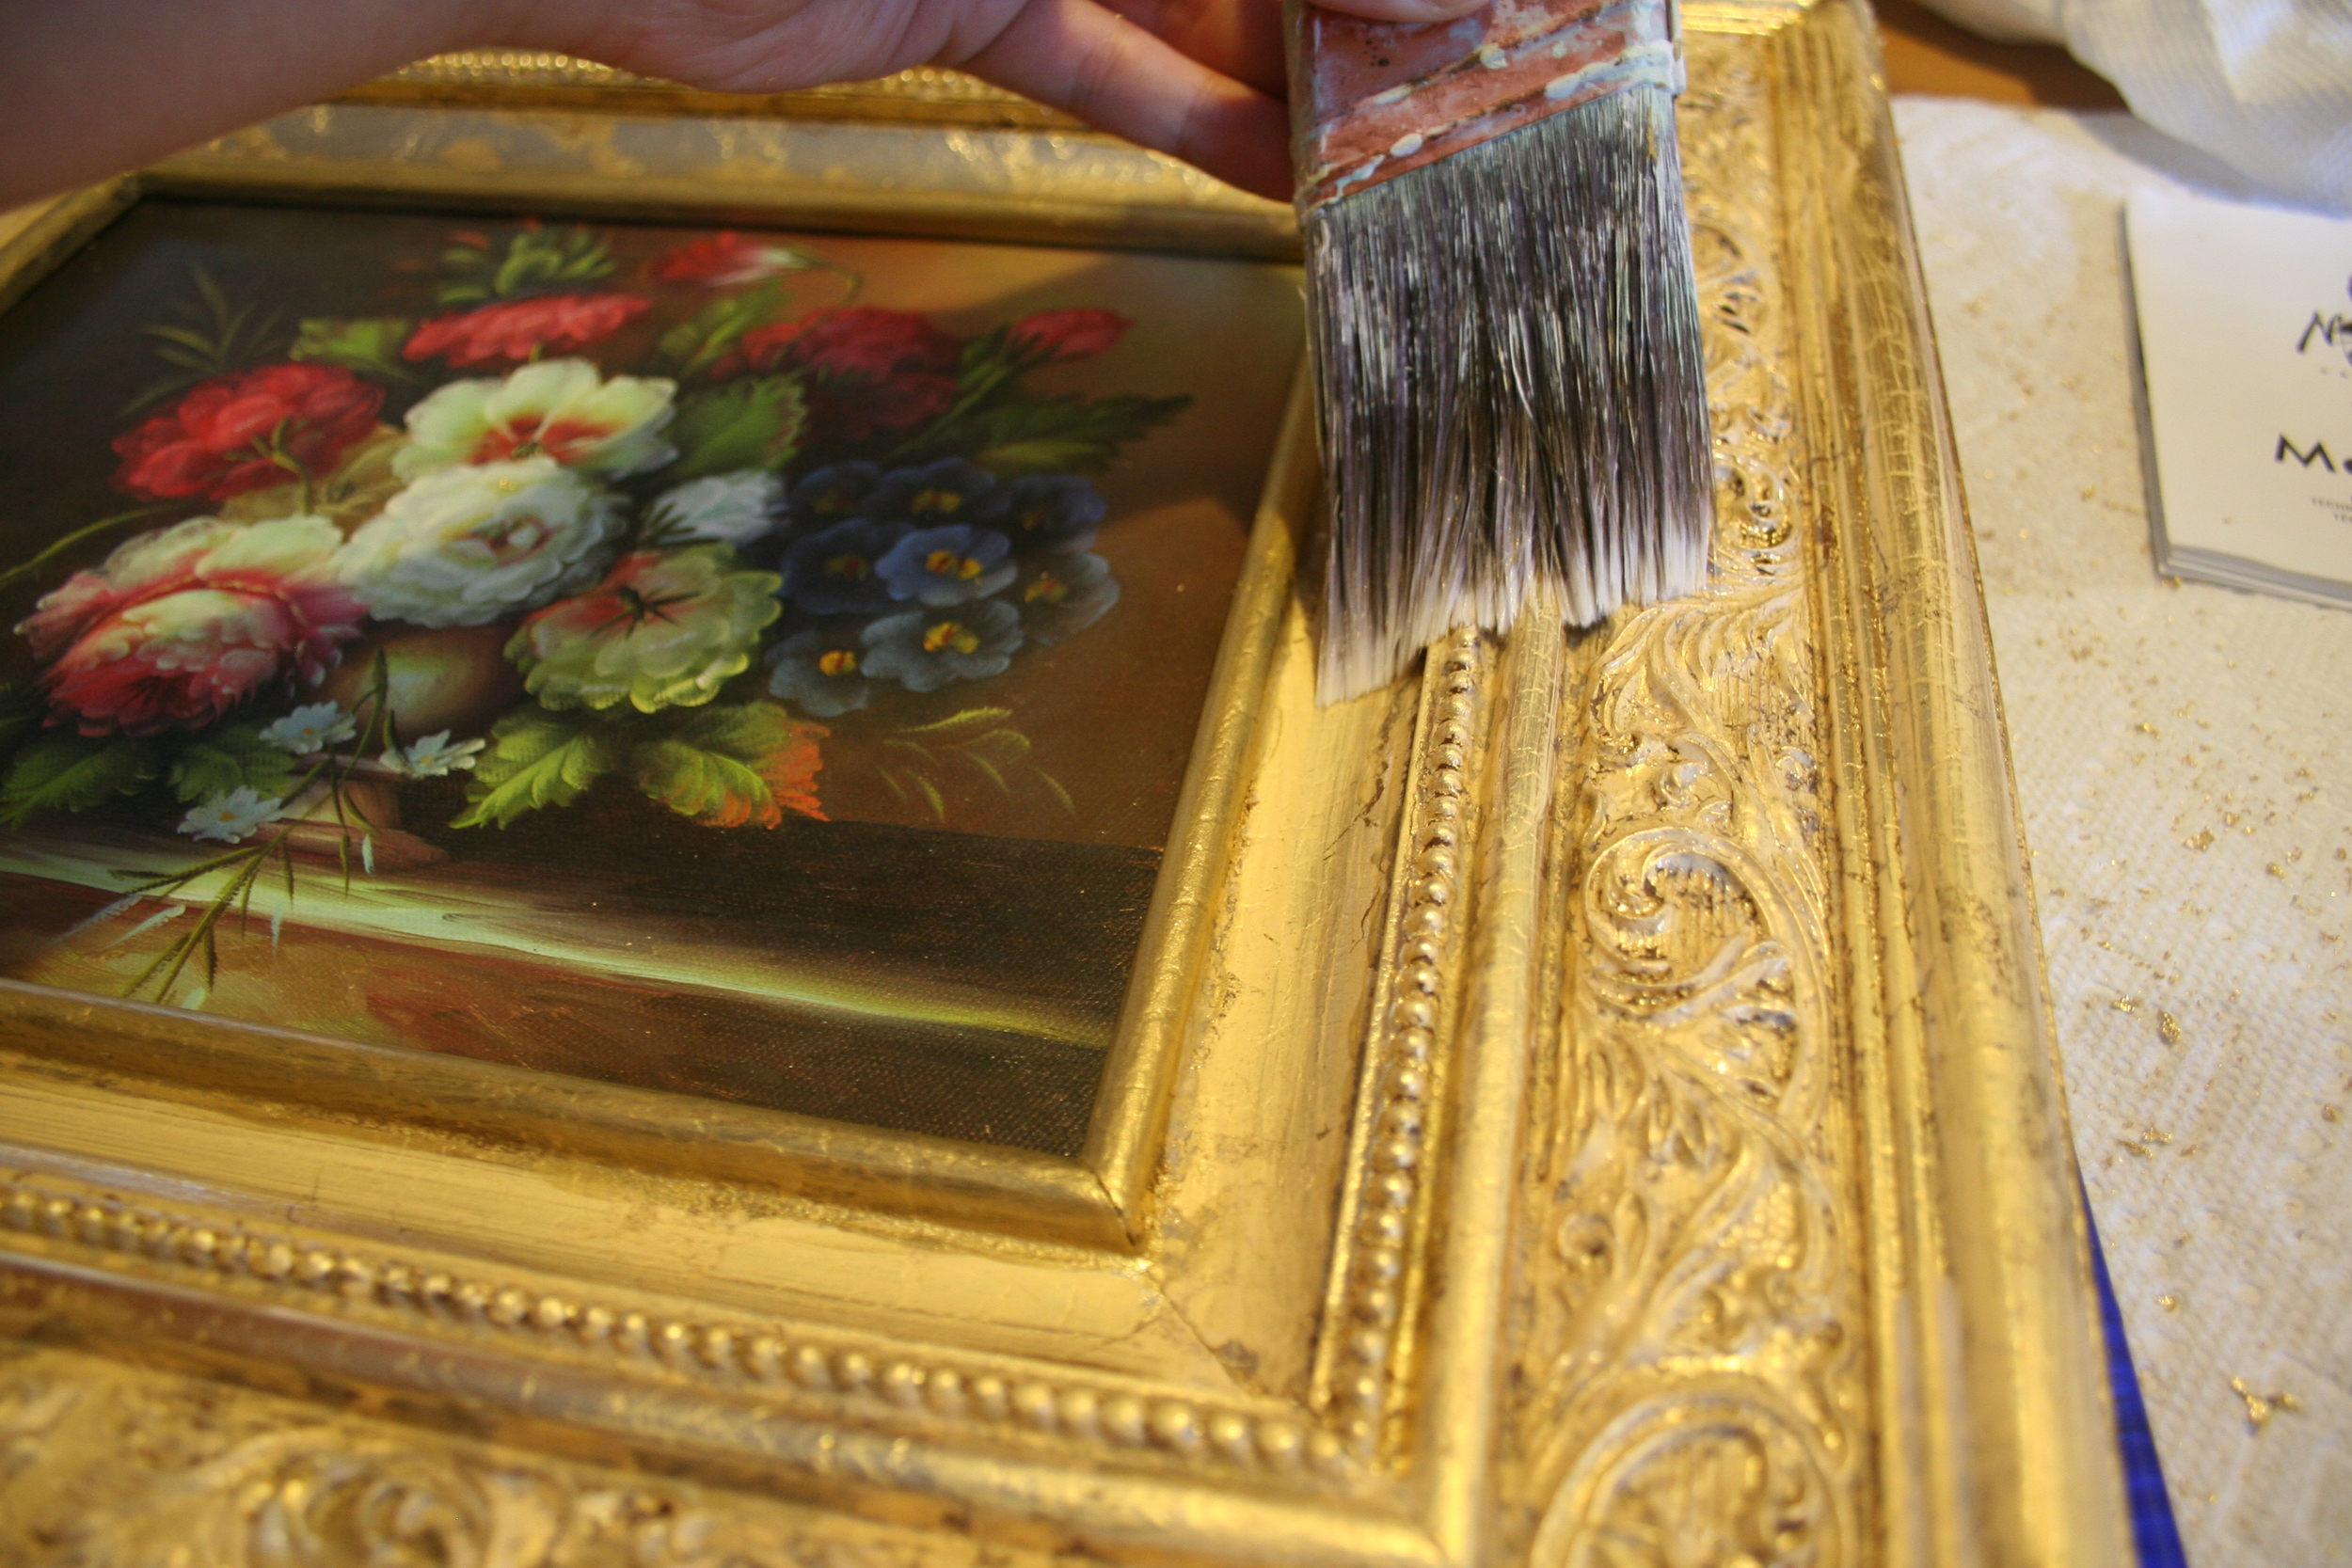
Use a popsicle stick to stir the tub of Adhesive Size well. Begin applying Adhesive Size in a thin coat on the surface of your frame. You want a nice even layer over the whole frame and no pooling. If your frame is heavily carved like mine, this will take some extra brushing over the carved areas to eliminate pools of the Adhesive Size liquid. Wait 20-40 minutes to allow Adhesive Size to become tacky. Don't shorten or skip this wait time or your gold leaf will not stick to the frame!
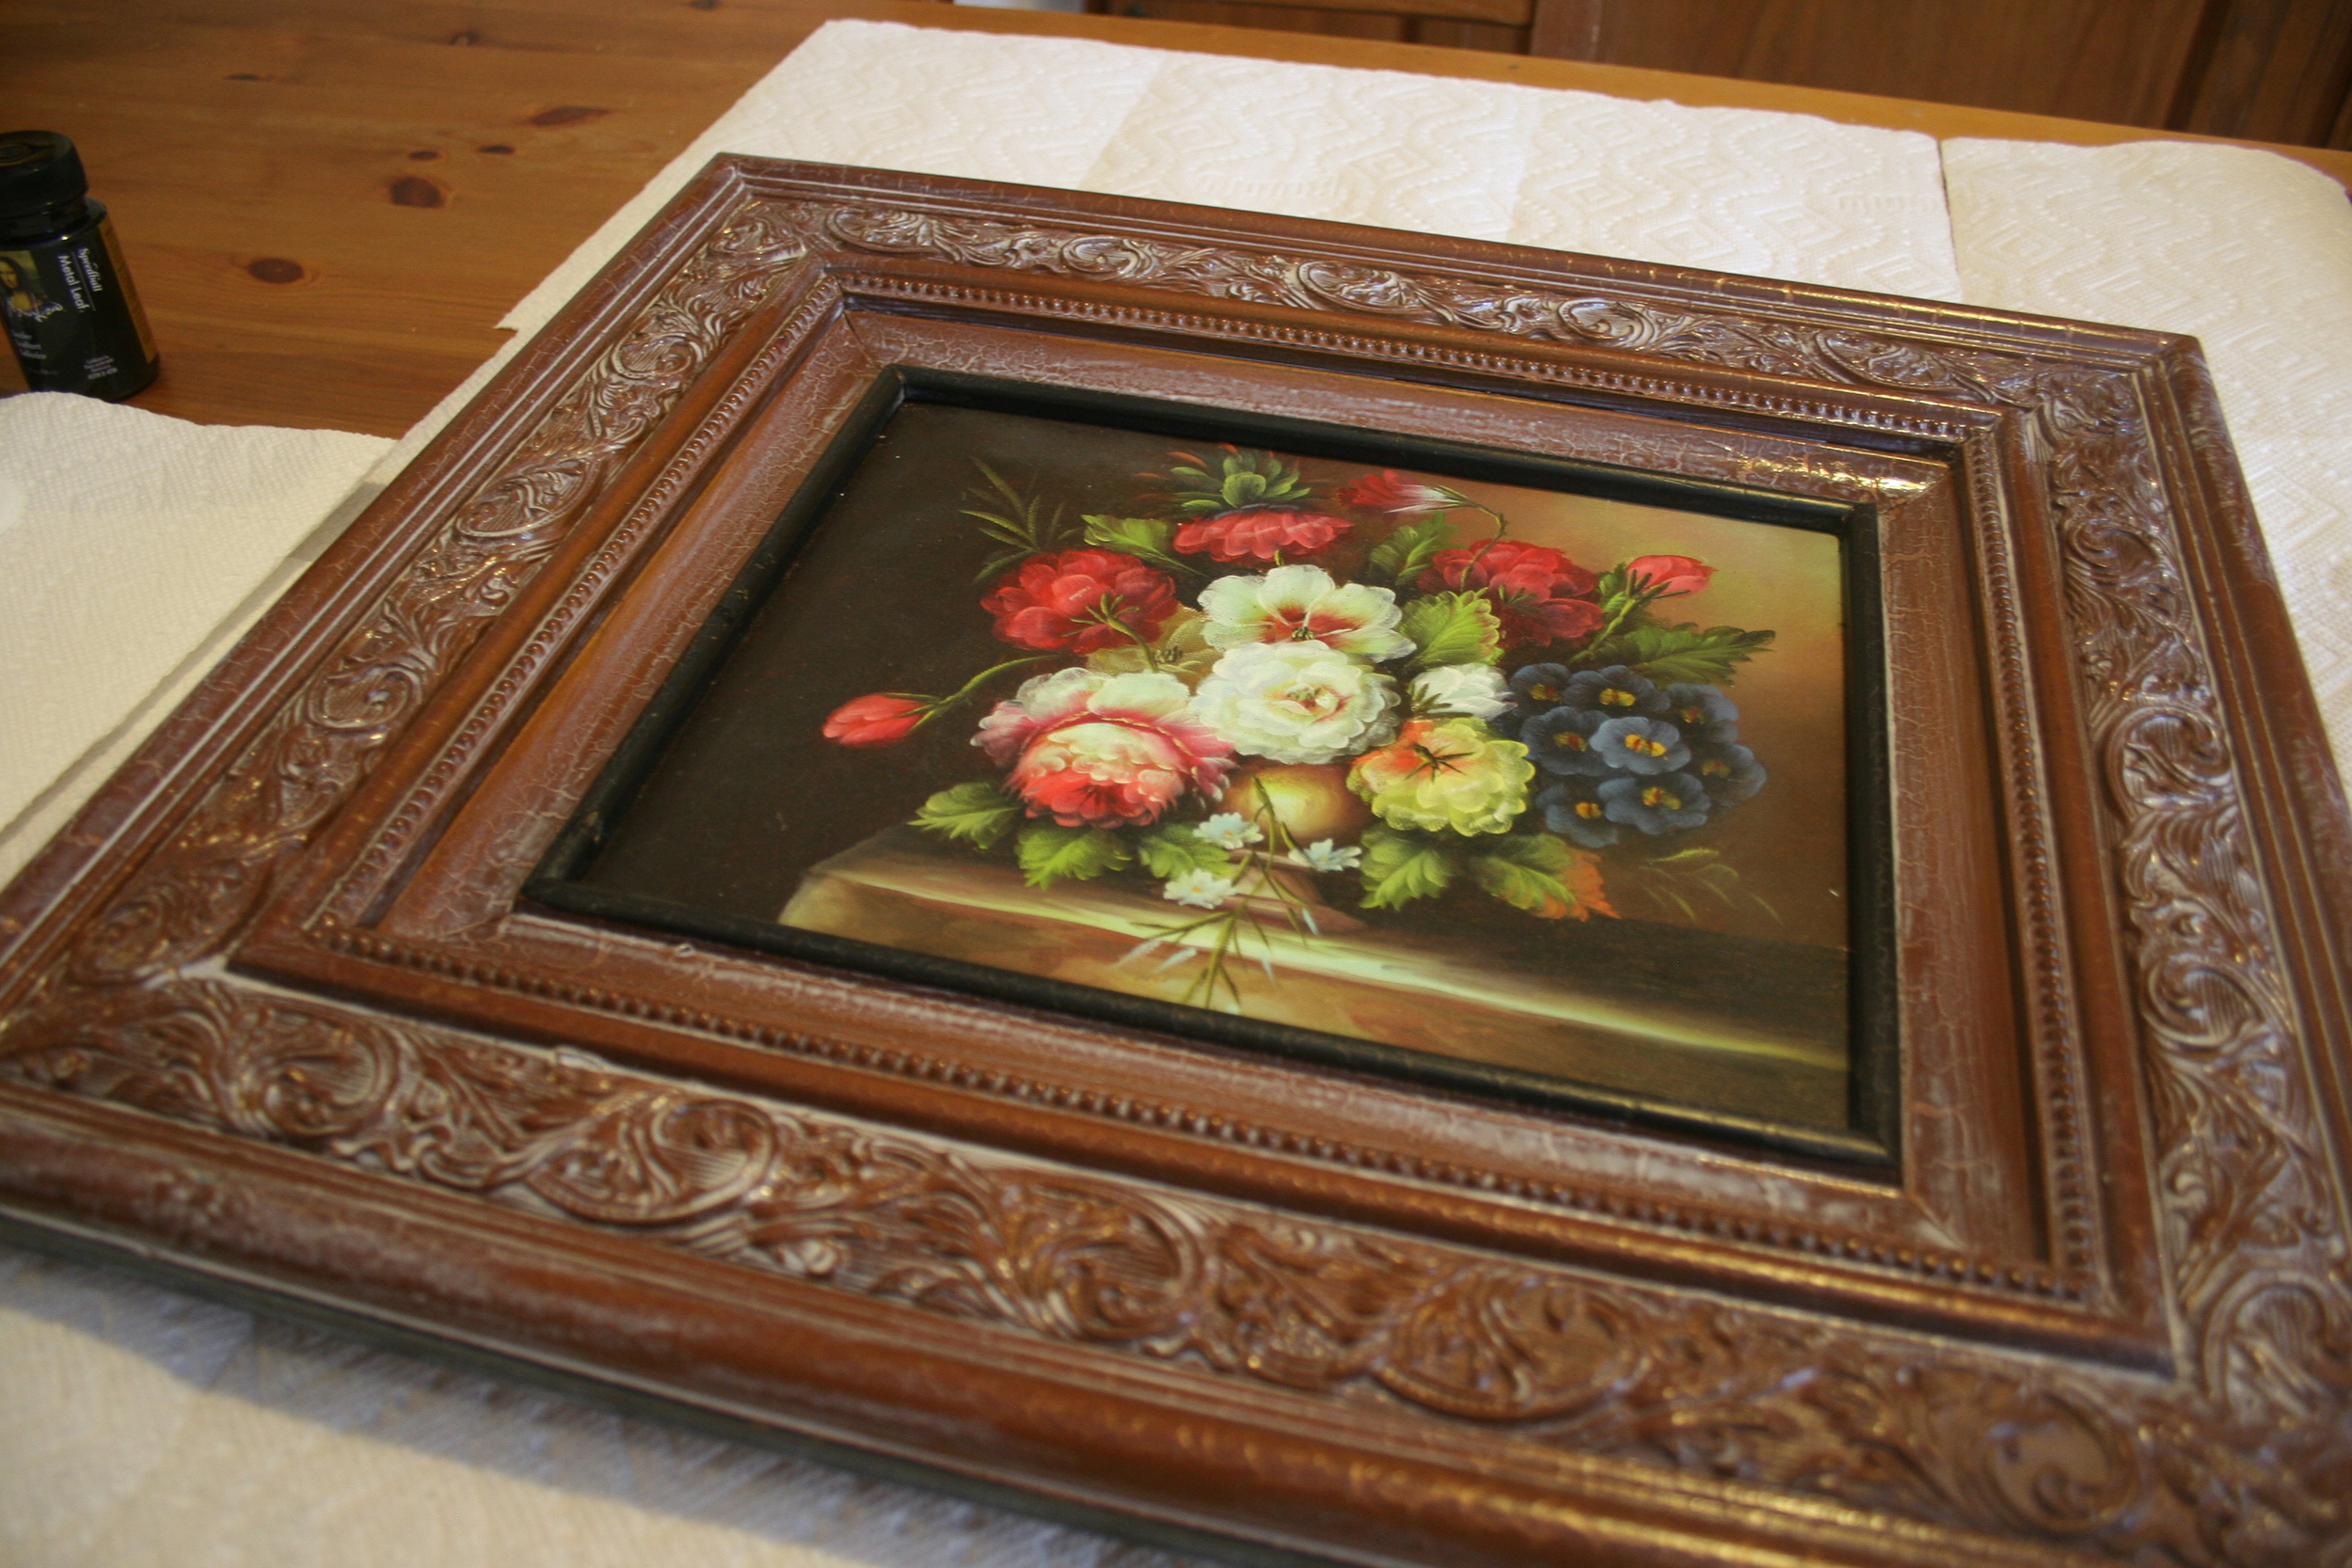
This is what the frame will look like when it is tacky enough to move onto STEP THREE. It will look a little shiny but the white adhesive will have dried to clear. If you touch your finger tip to the frame, it should feel sticky.
STEP THREE:
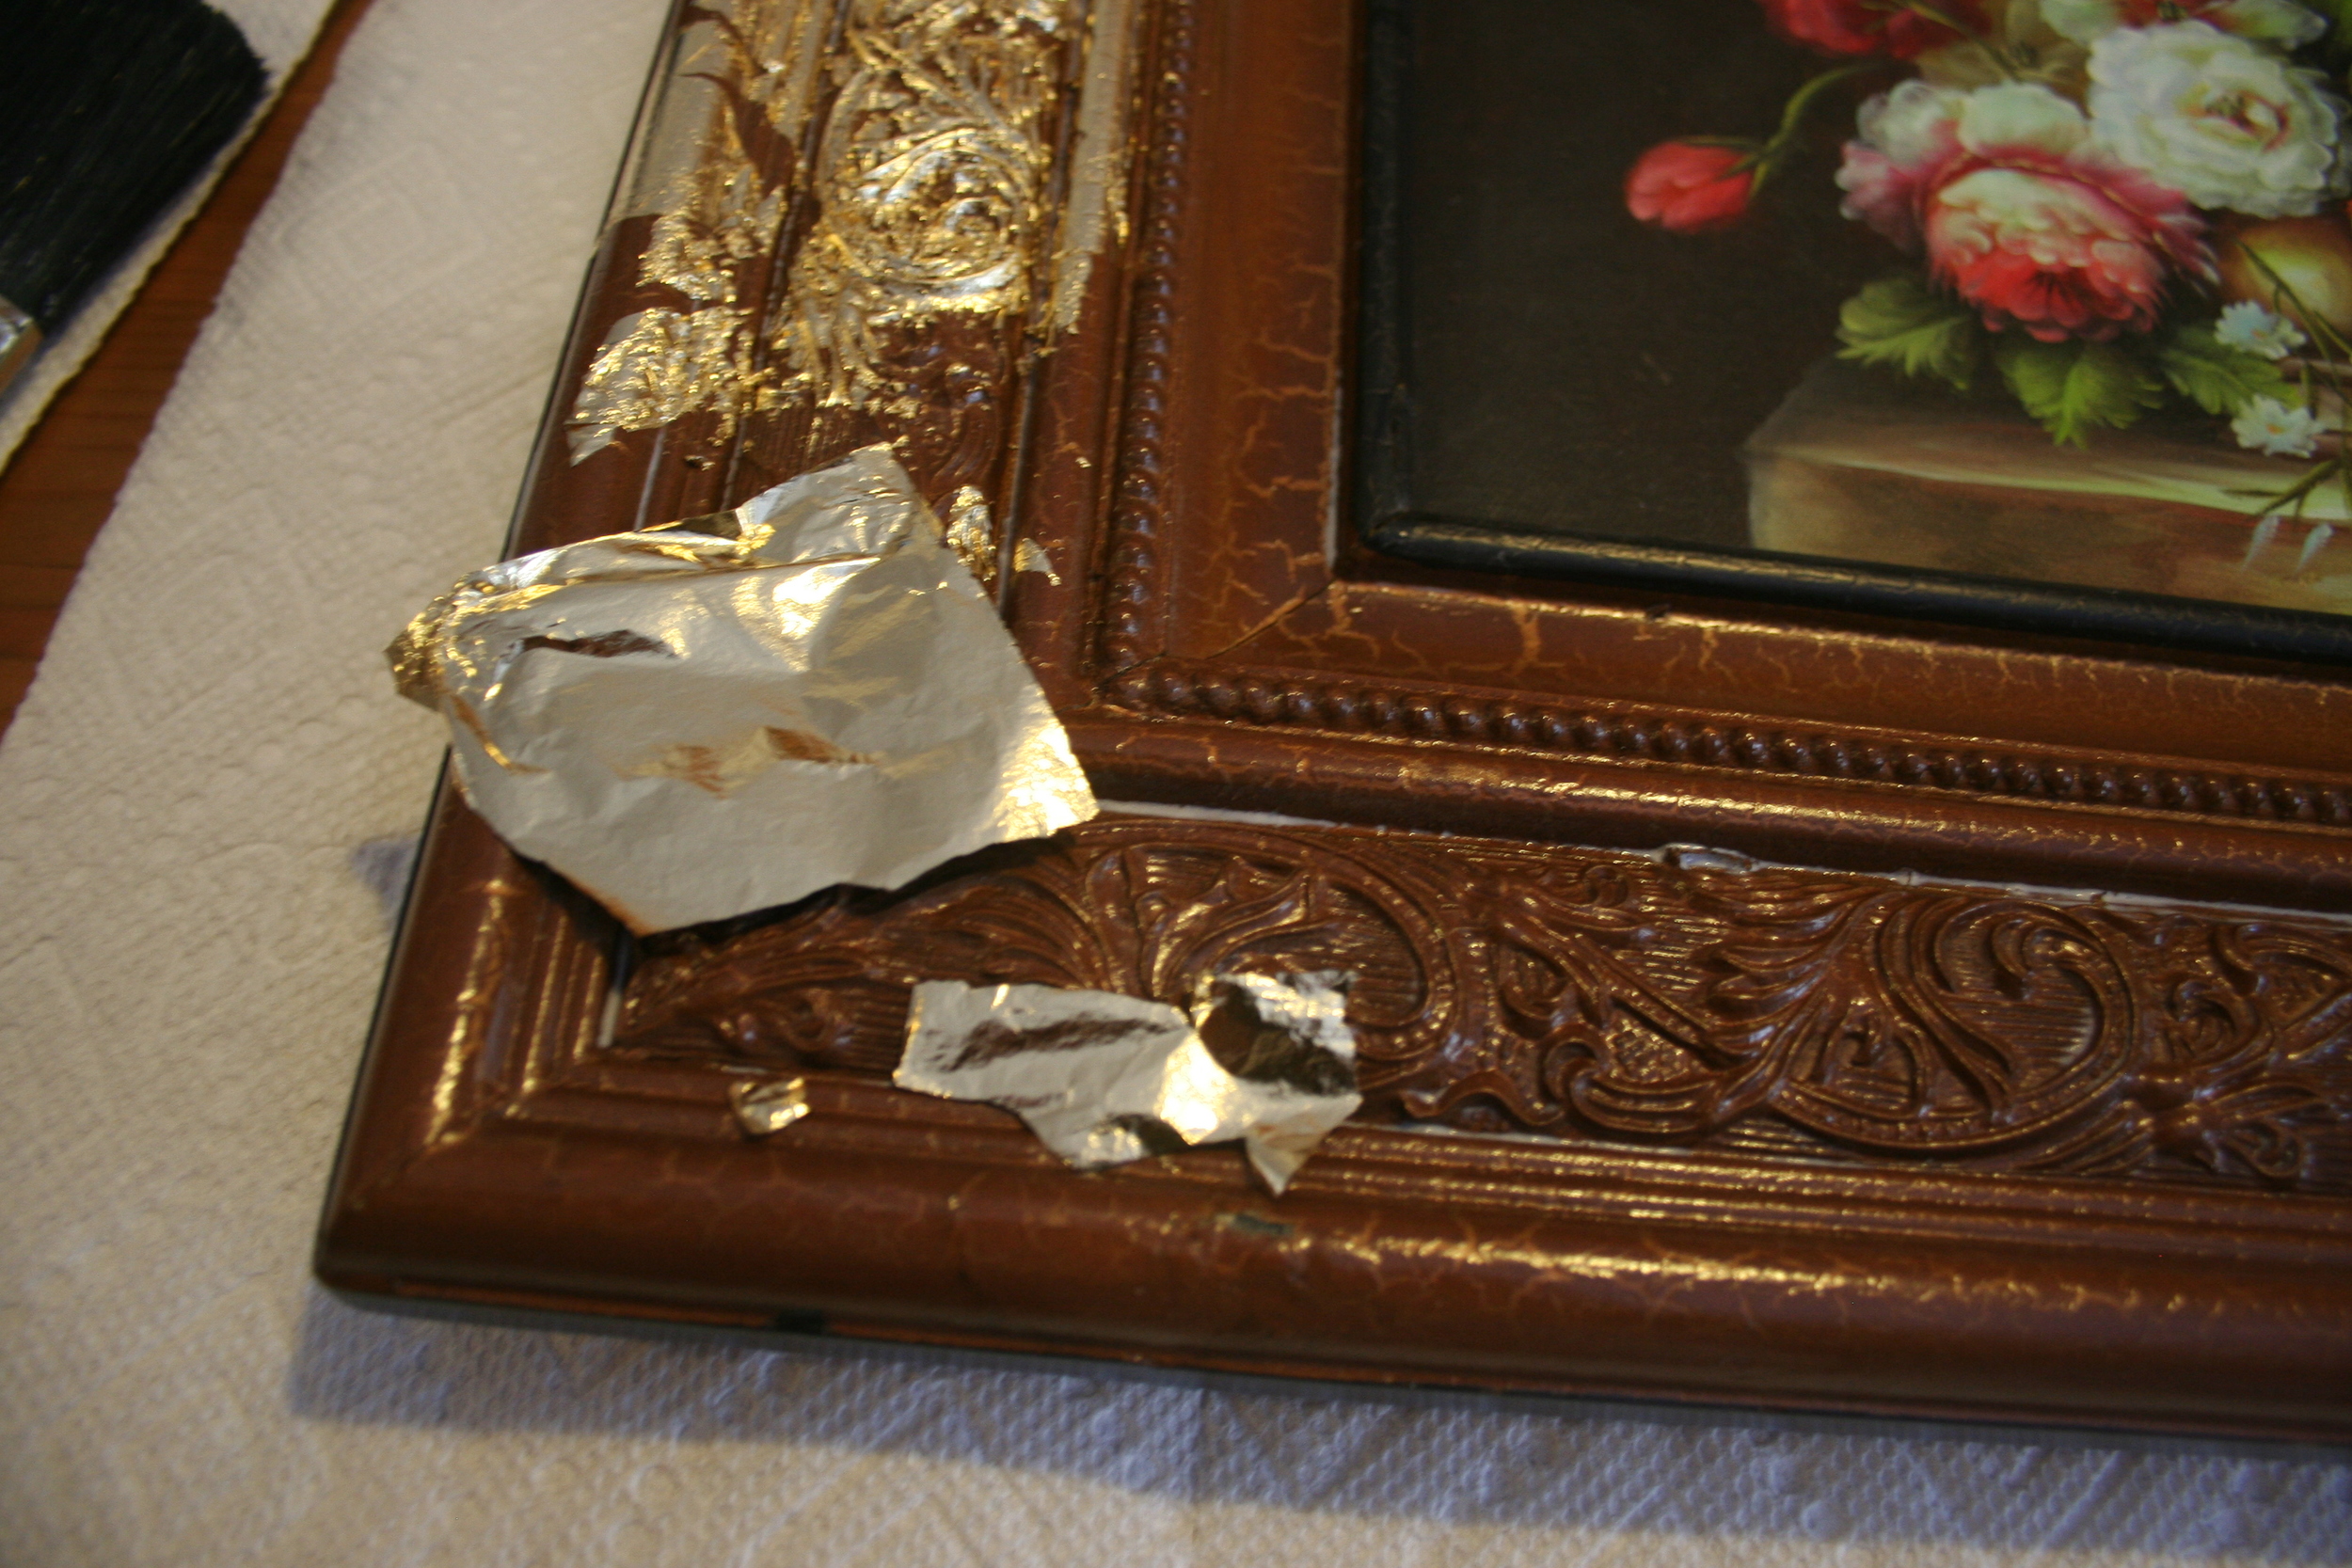
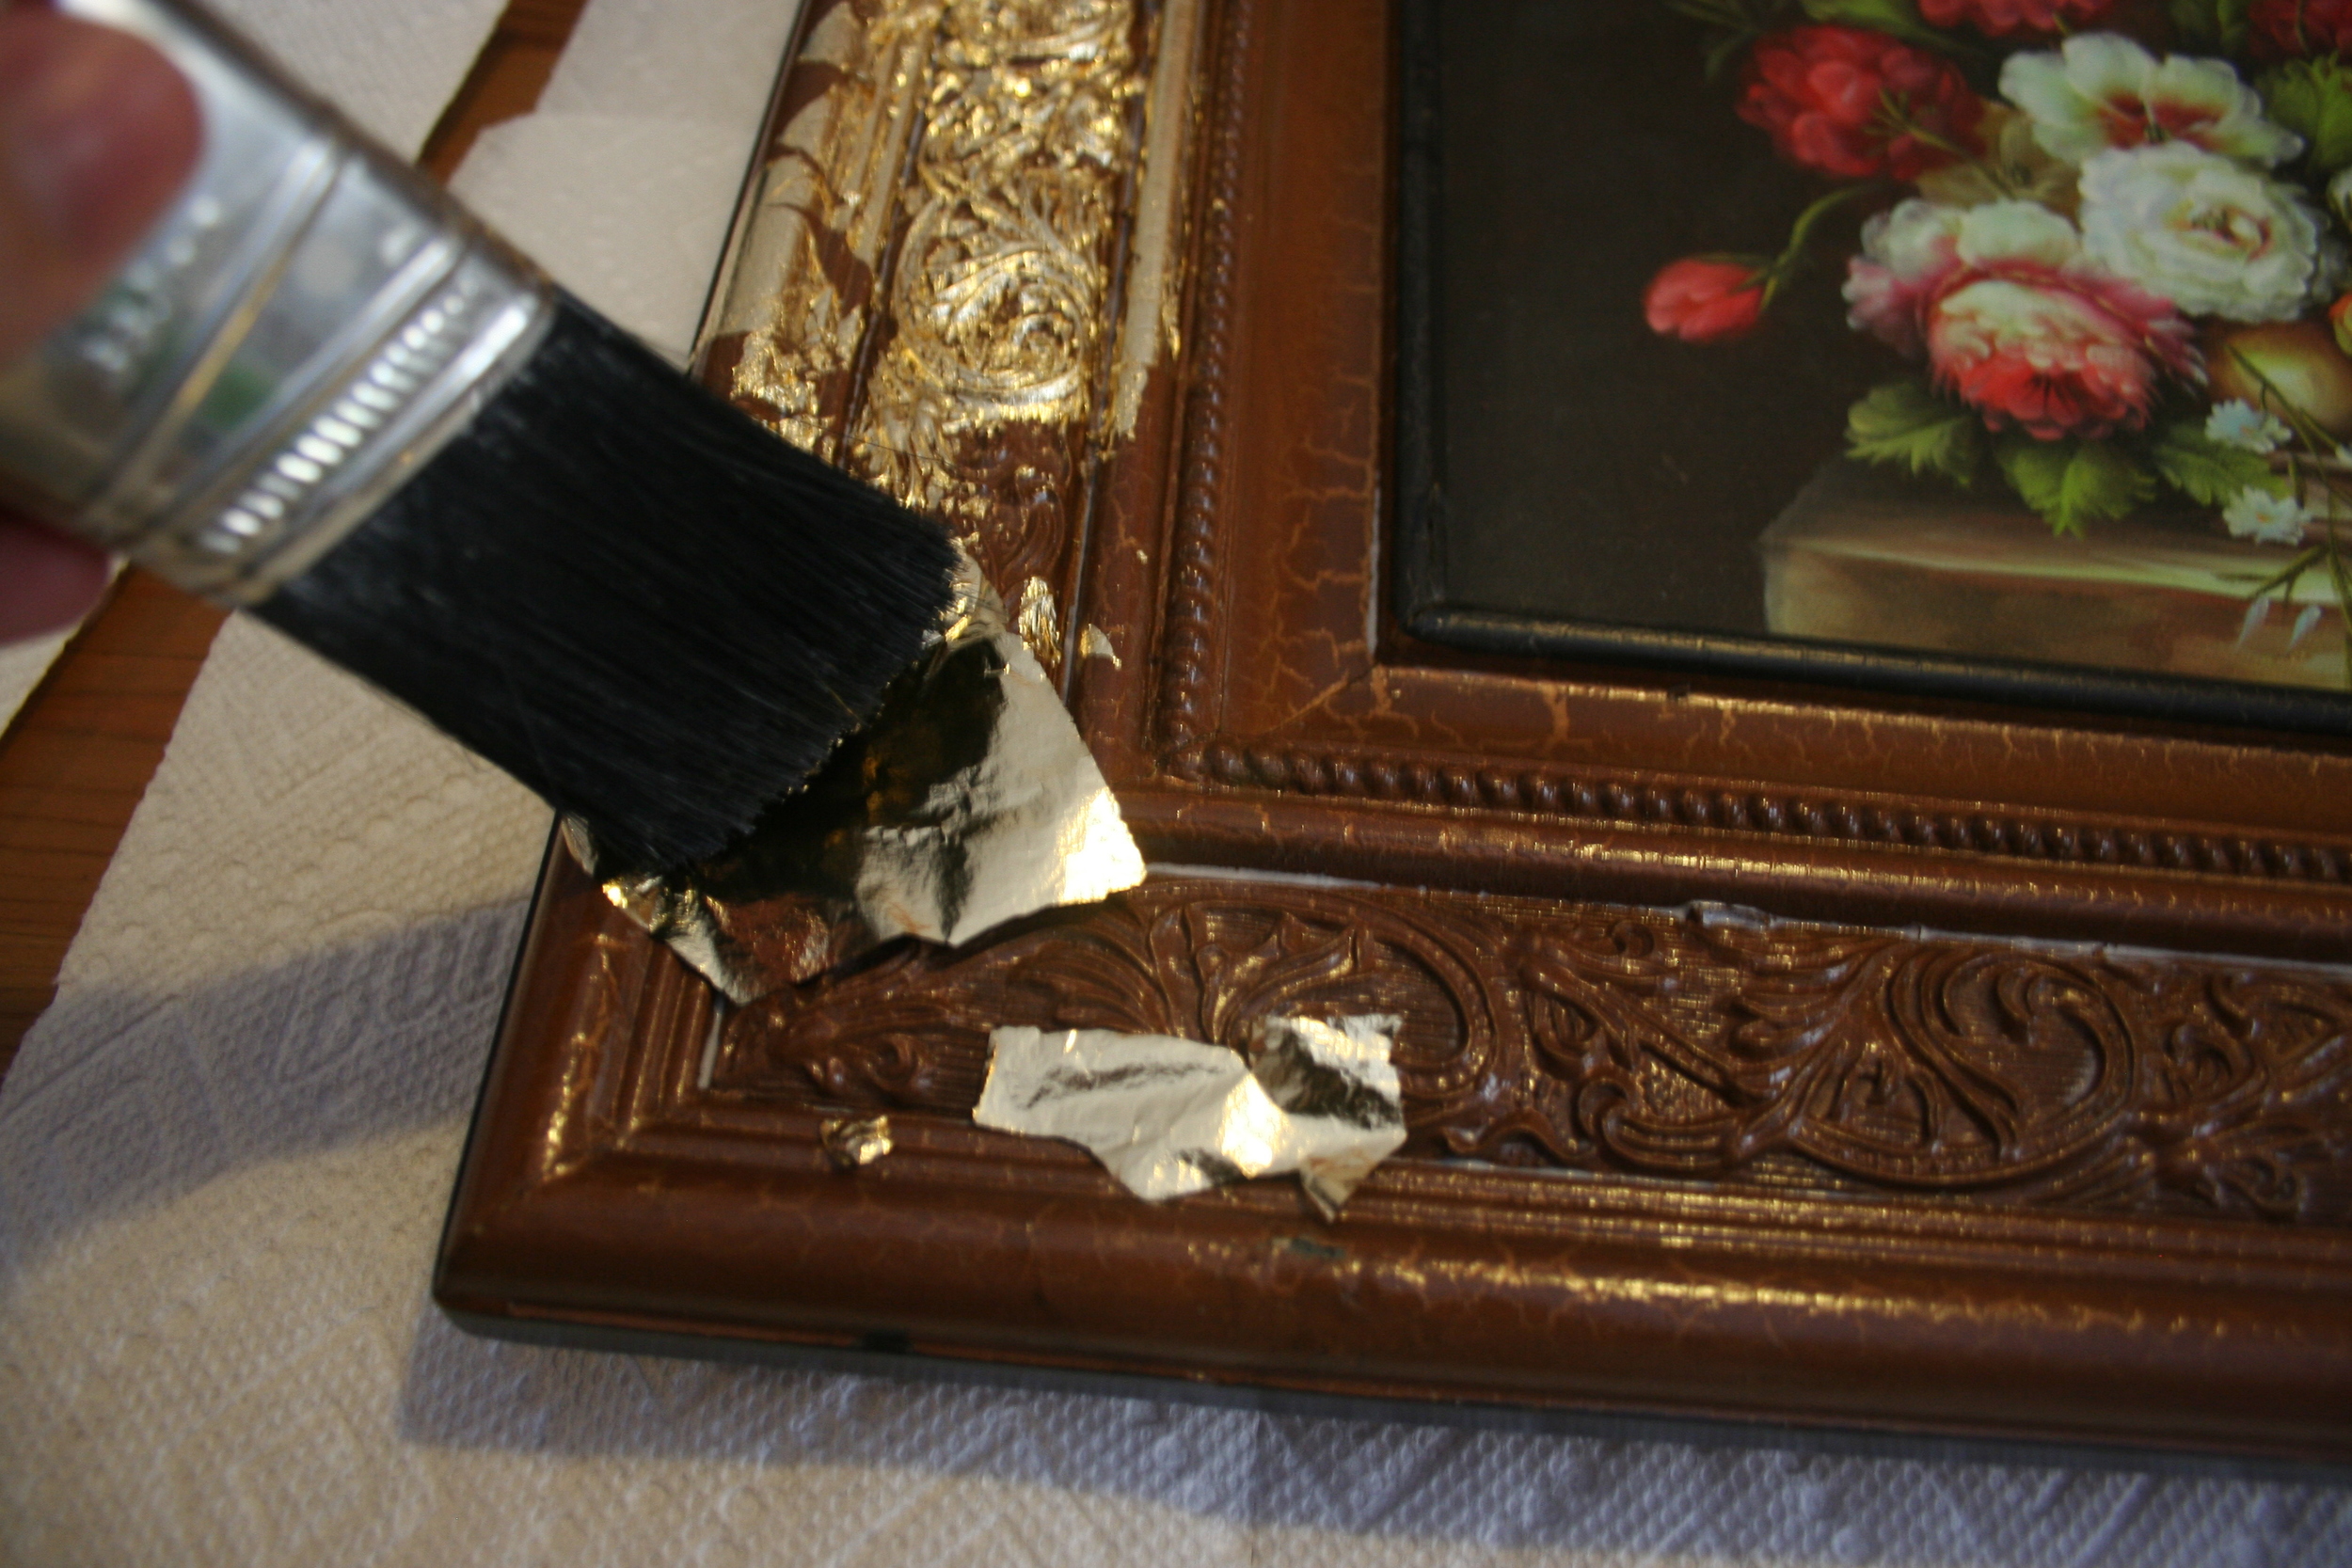
Take your first sheet of metal leaf and place it onto the frame. Some people use tweezers to handle the gold leaf. It is very fragile, but after a few tries I got pretty good at picking up a full sheet with my hands. I carefully tore the sheets in half to use around most of my frame. The picture below shows a small piece I used to start on a corner. After you have placed the metal leaf onto the frame, then use the side of your brush to lightly press the sheet into the coat of Adhesive Size.
STEP FOUR:
Using the tip of your brush, lightly rub the gold leaf into the crevices of the frame, brushing away the excess gold leaf "crumbs" that do not stick. Having these "crumbs" is totally normal, so don't worry that you are doing it wrong!
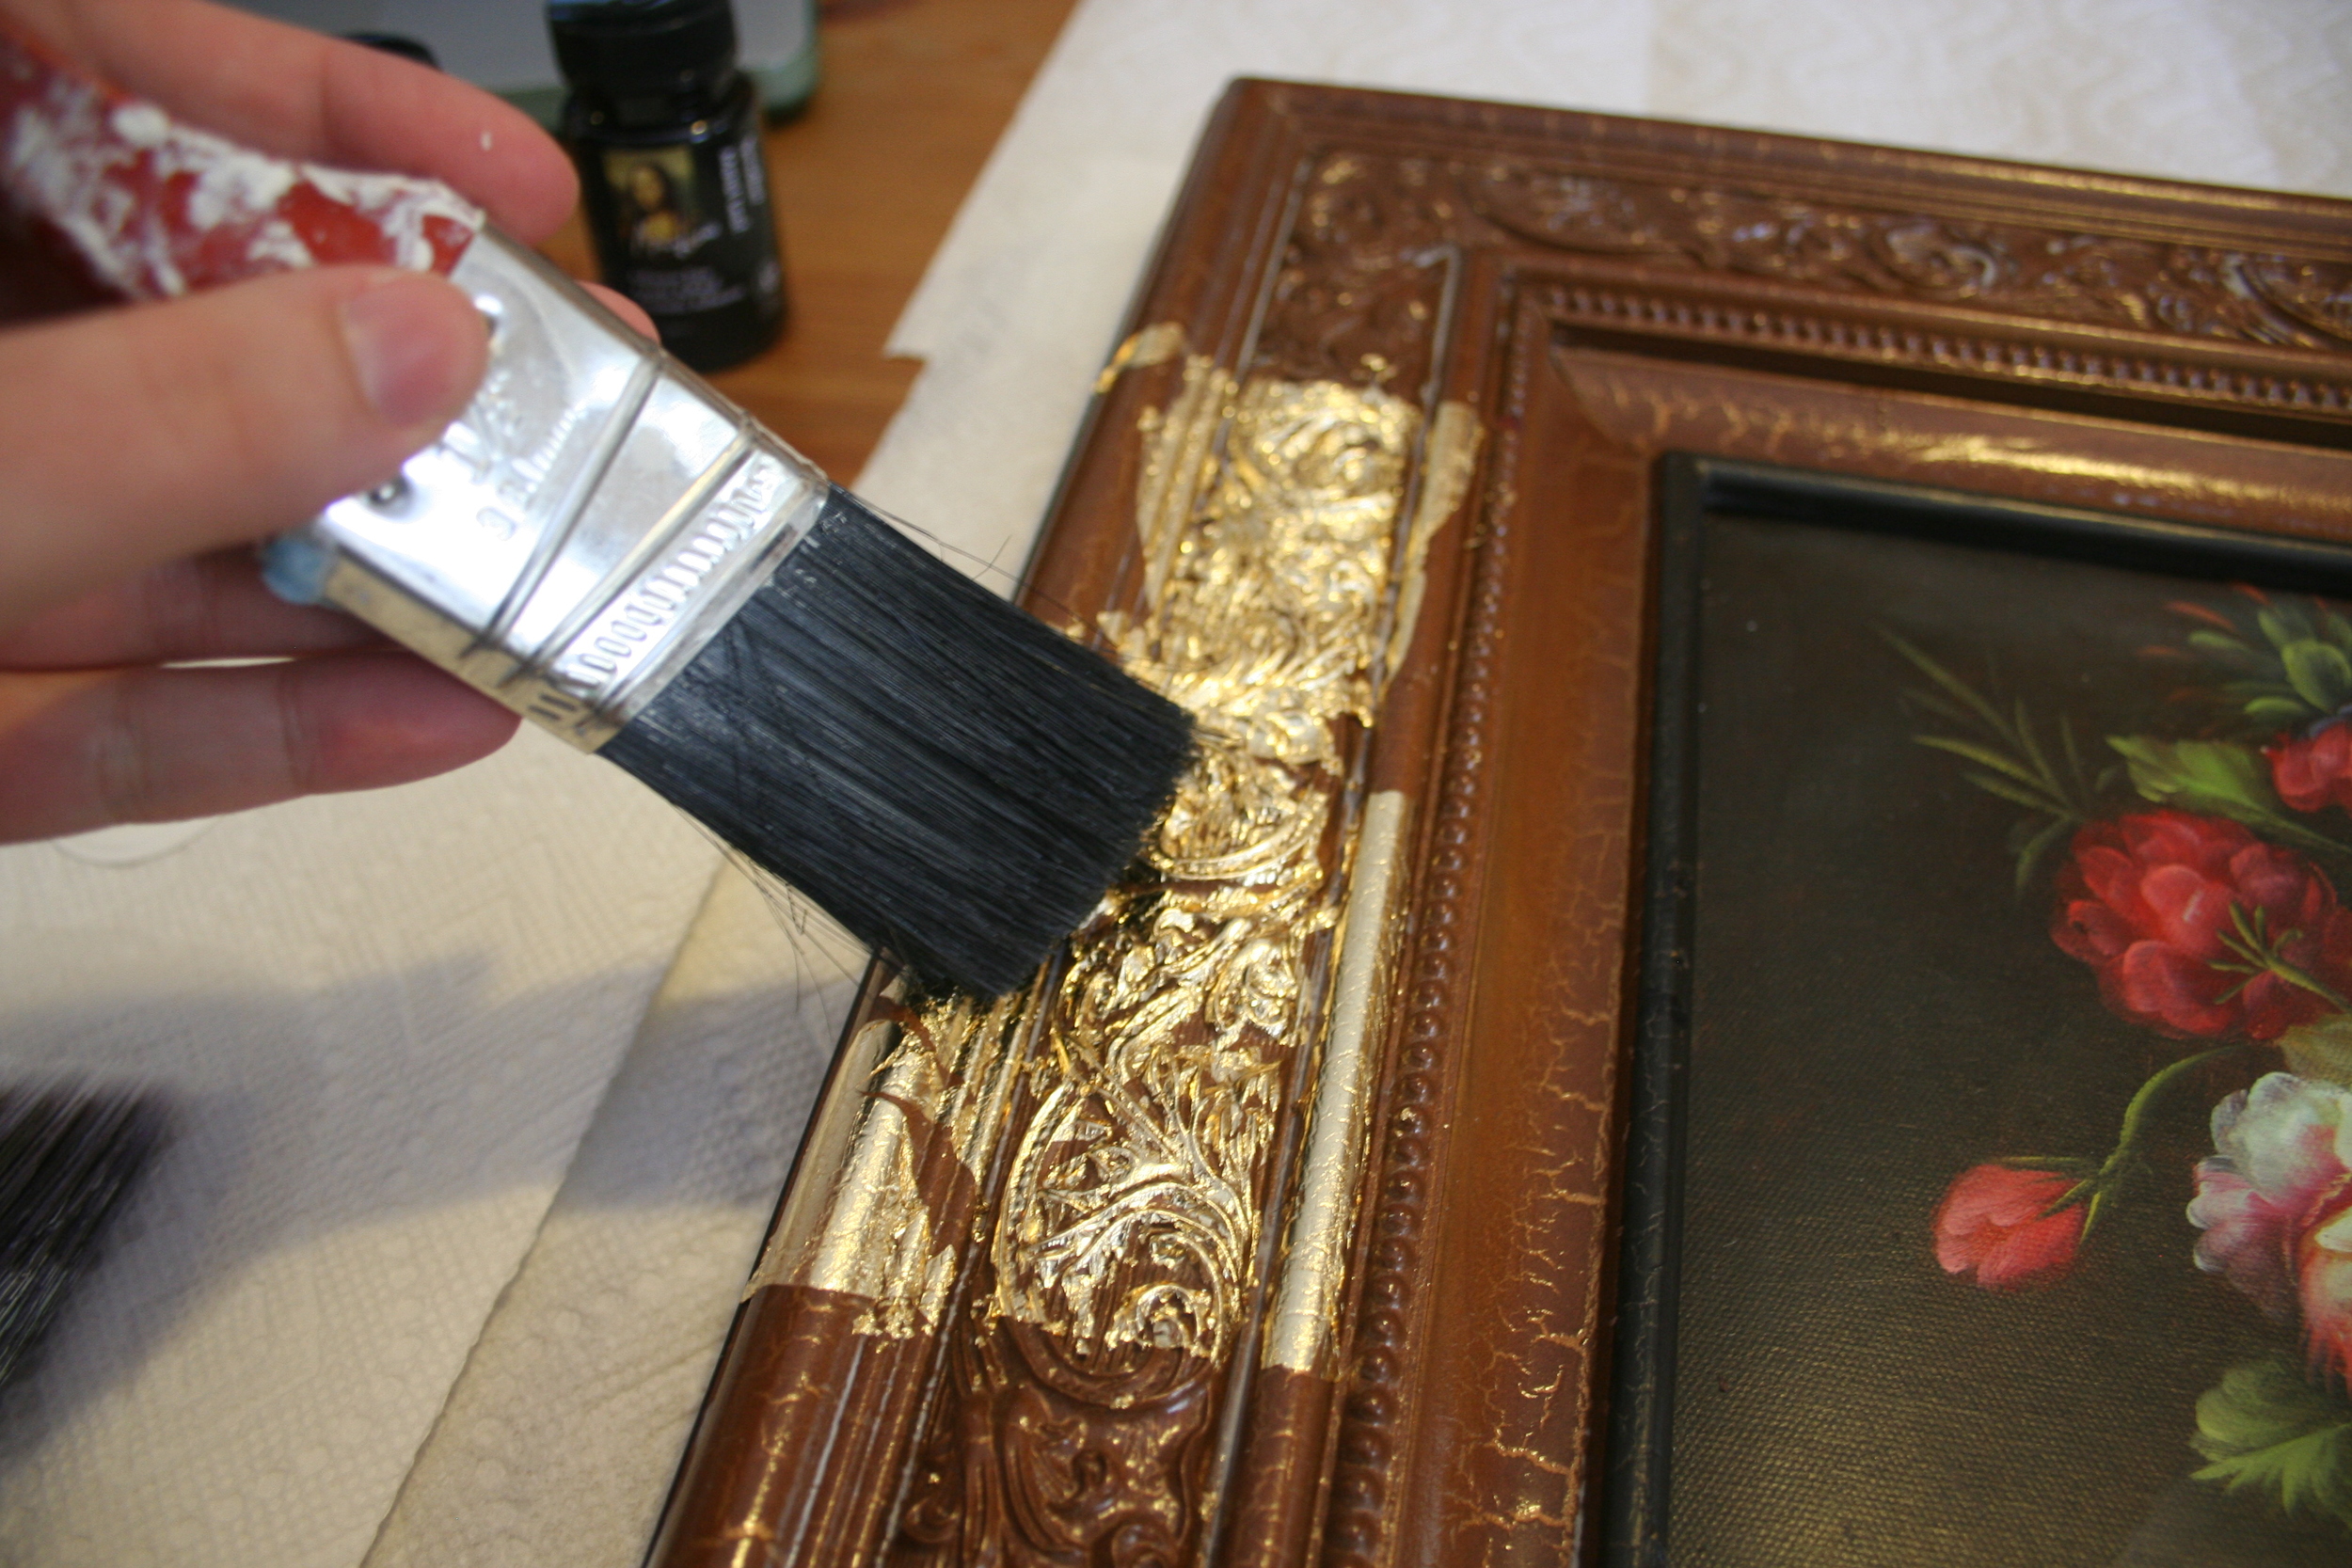
REPEAT STEPS THREE AND FOUR, layering and adhering gold leaf sheets to your frame until you are satisfied with the finish and coverage.
STEP FIVE (OPTIONAL):
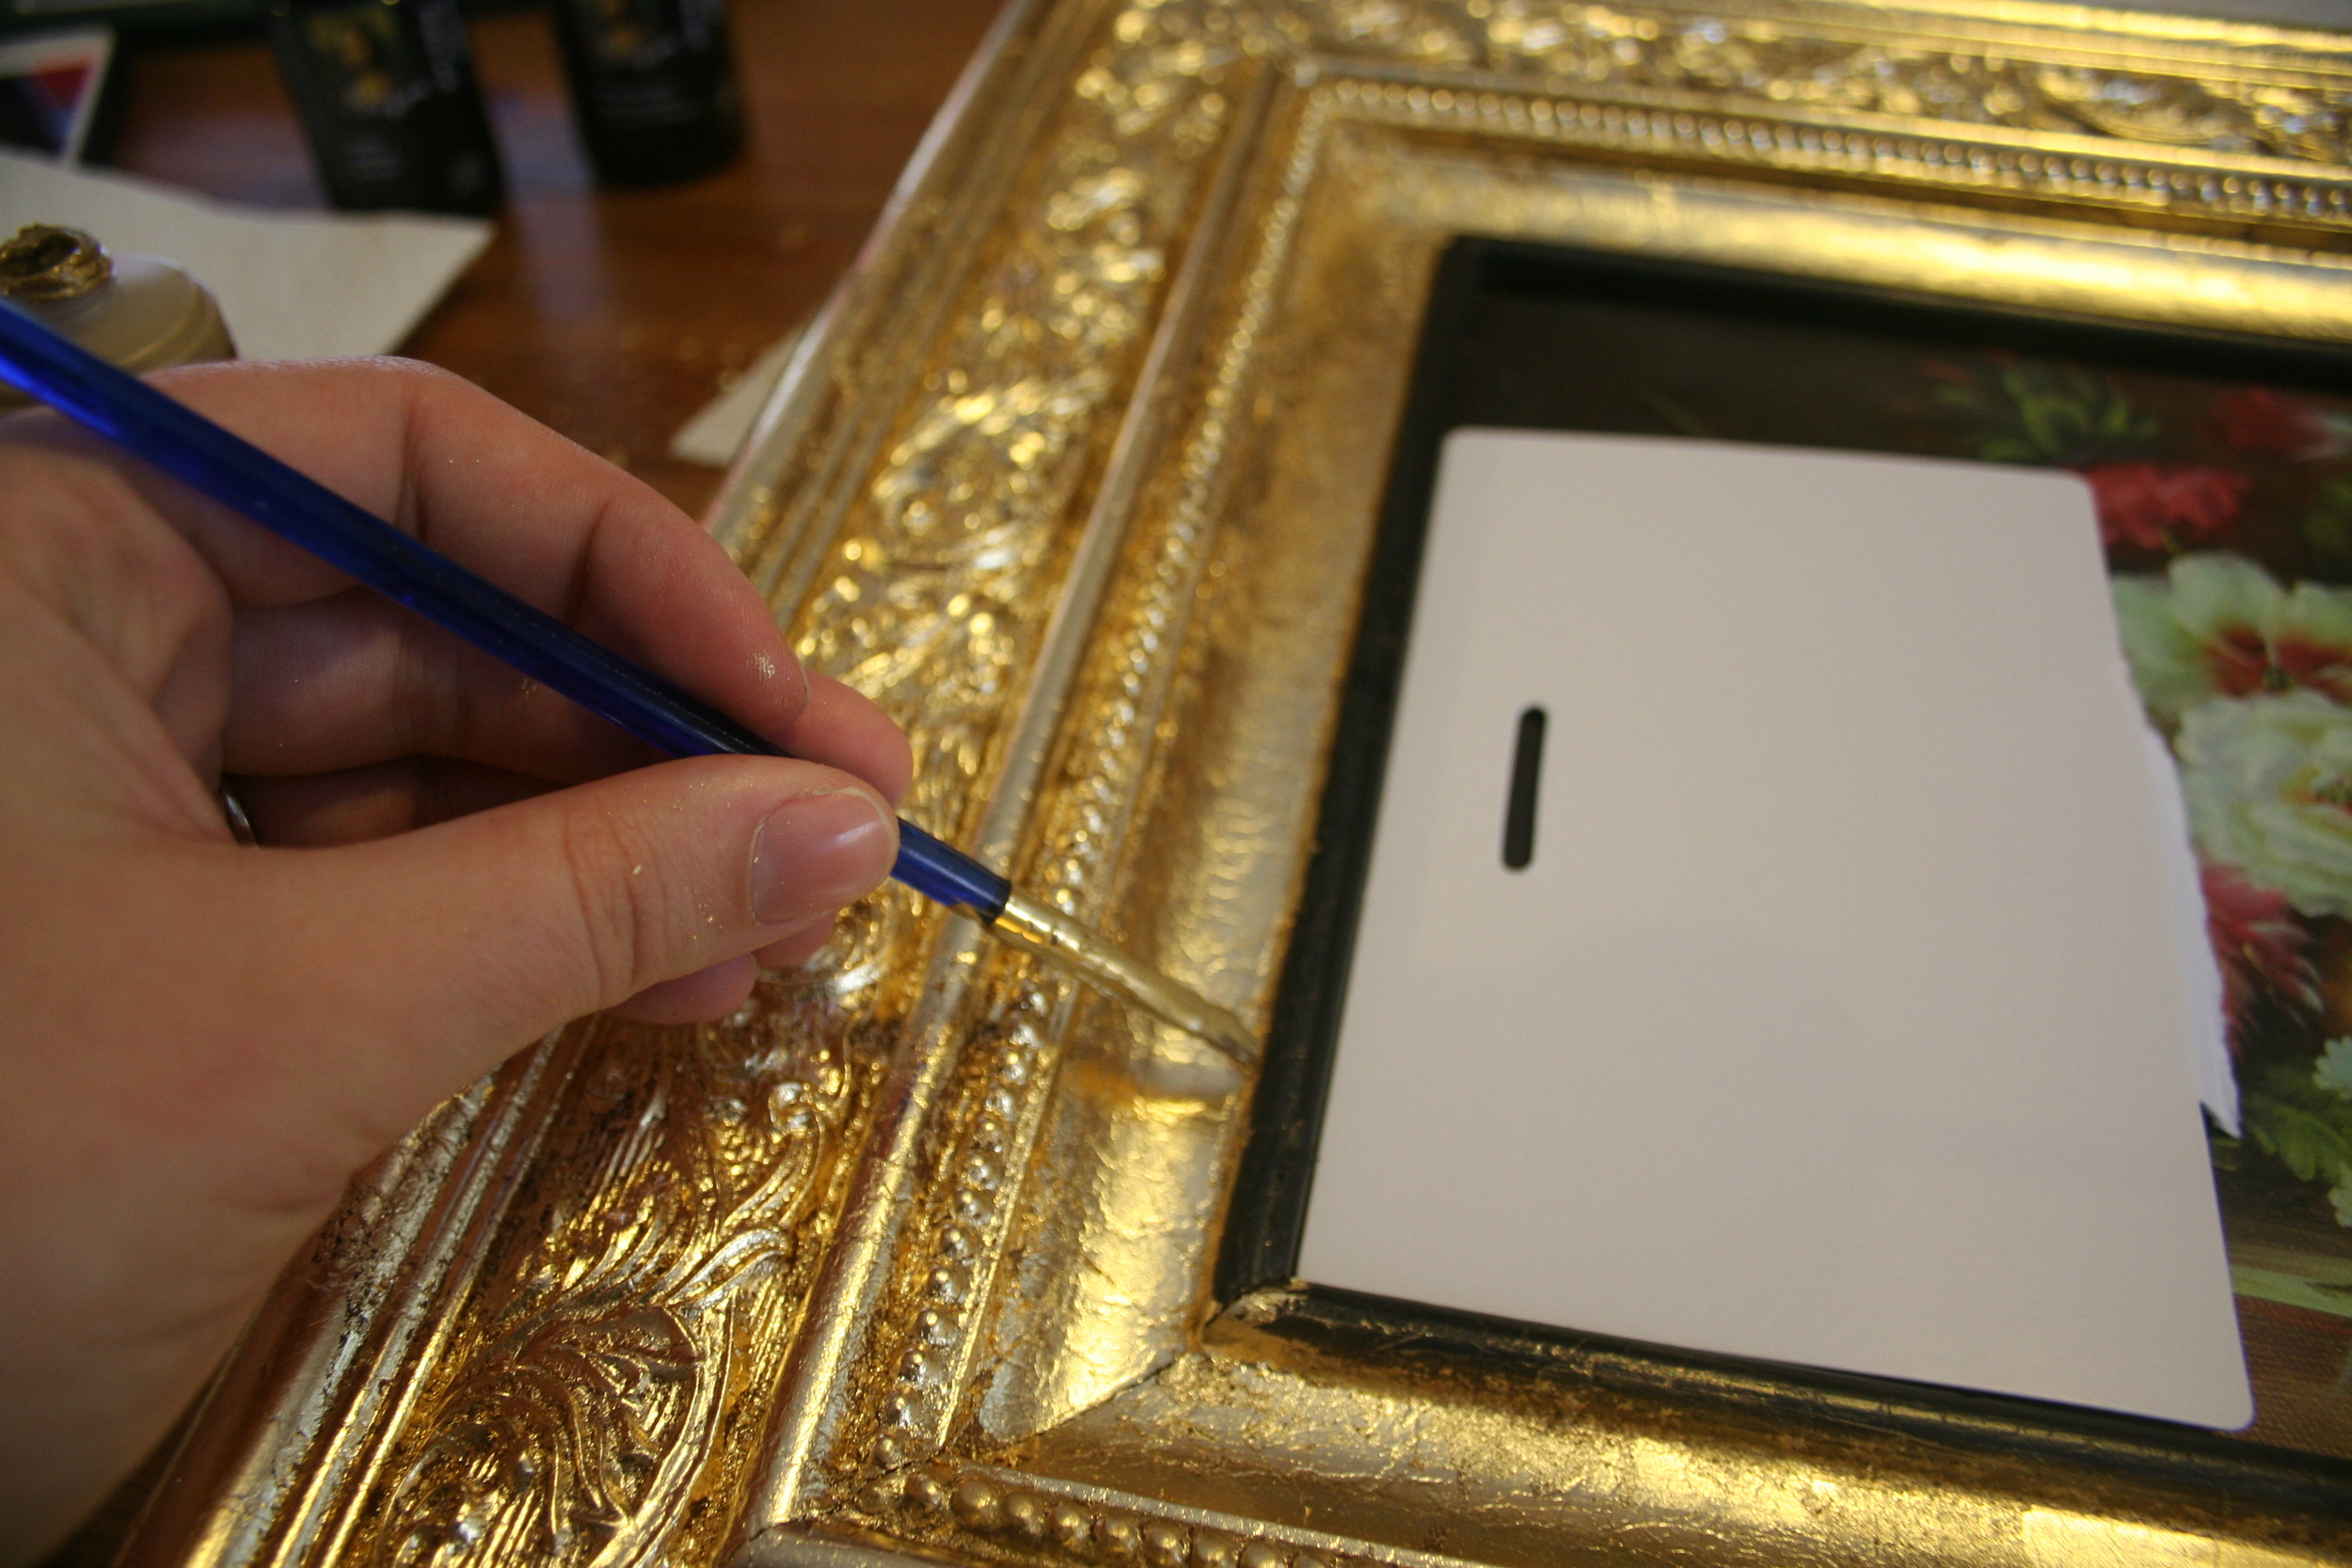
If there are any areas which you need a bit more coverage, feel free to touch up using Gold Metallic paint and a small paint brush. I decided to do this on the thin black band on the inside of the frame instead of gold leaf, since I didn't removed the canvas from the frame first. Again, I used my sheet of chipboard to guard the surface of the painting and carefully went around the inside edge of the frame. It took 2-3 coats to get the proper coverage to match the gold leaf. I used Martha Stewart Acrylic Metallic Paint in Gold (also available in my Resource Shop!)
STEP SIX:
Use a popsicle stick to stir the tub of Sealer well. Apply a thin layer of Sealer over the entire frame, being careful to avoid pooling. Apply 2-3 coats of Sealer, allowing 15-30 minutes of drying time between coats. Sealer will turn clear as it dries.
STEP SEVEN:
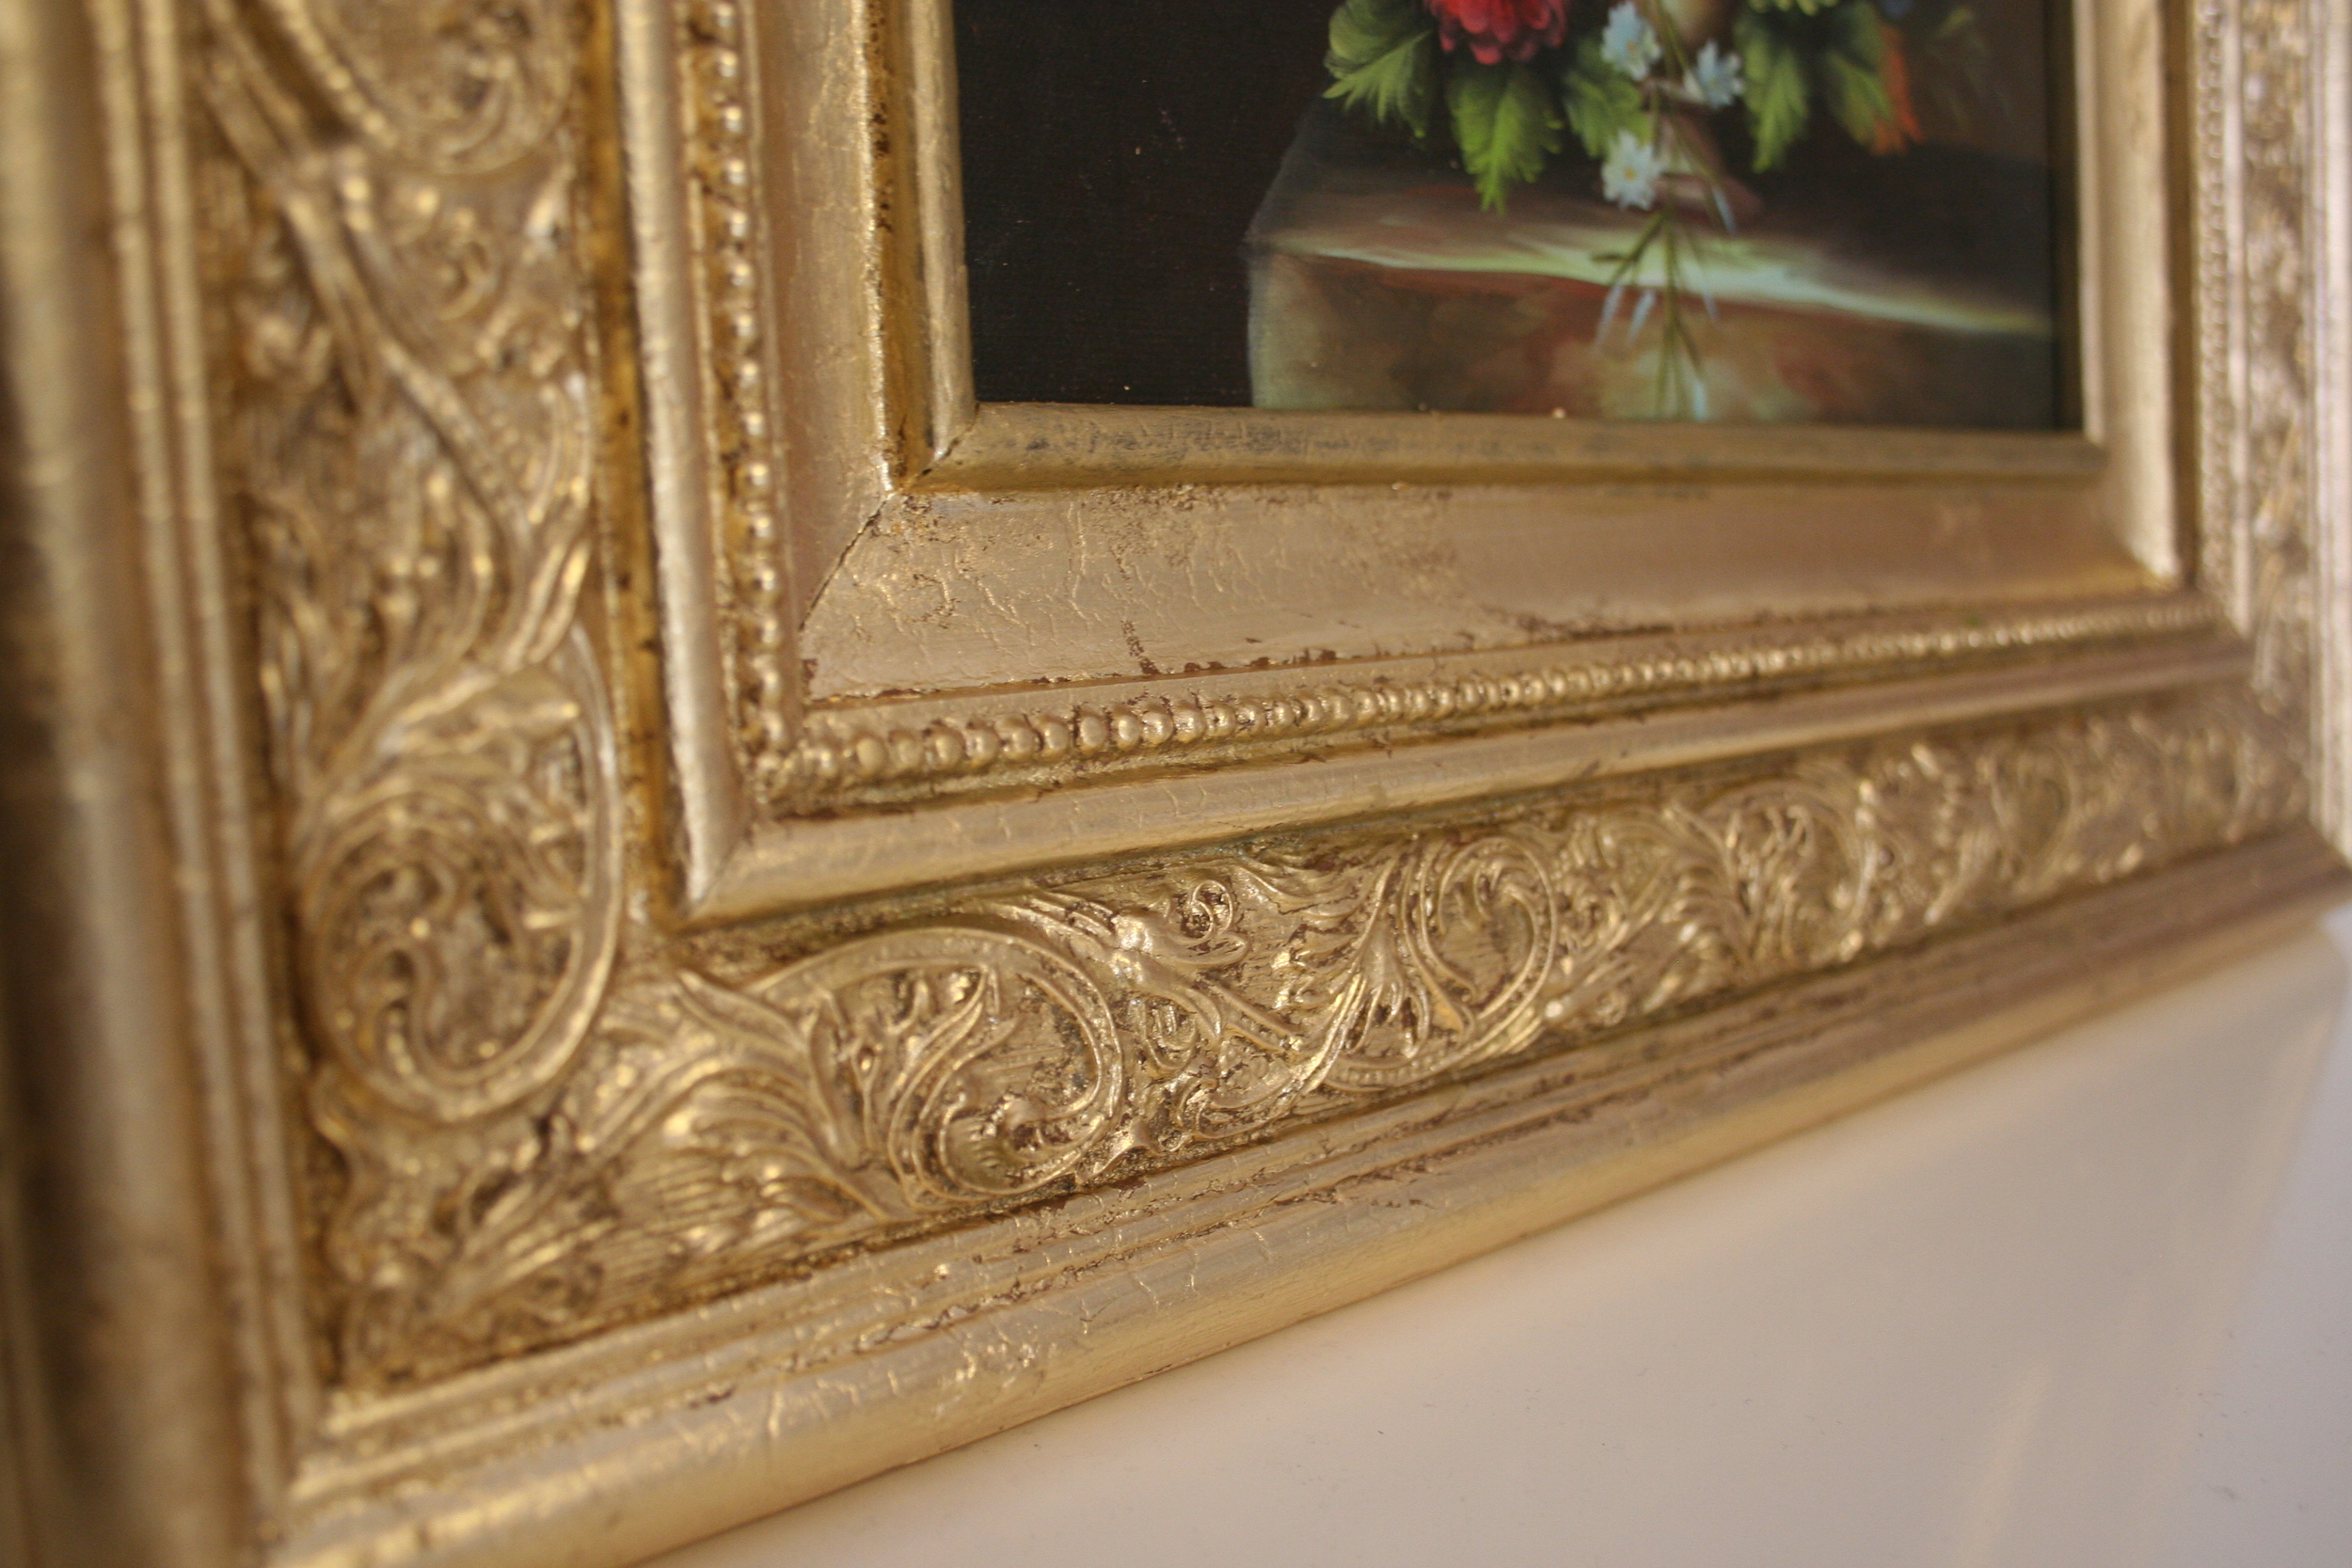
Stand back and admire your new gold-leafed frame!
Thanks for reading! If you try this DIY on your own and post it on social media, please remember to tag me so I can see your creations! (Twitter & Instagram: @steviestorck)