
DIY Leather Tassel Keychain Tutorial

What's the best/worst part of being an interior designer, you ask? Access to discontinued samples. Now, do I NEED randomly sized swatches of fabrics and leathers that I will never be able to match/order more of in the future? Definitely not. But that hasn't stopped me from hoarding a small pile of dropped leather samples over the last year.
Well, I finally made an honest woman of myself and DID something with the stash I've been accumulating. That means I'm not a hoarder, right? These leather tassel keychains are super simple to make, and require just a few supplies -- 3 of which I'm sure you already have.
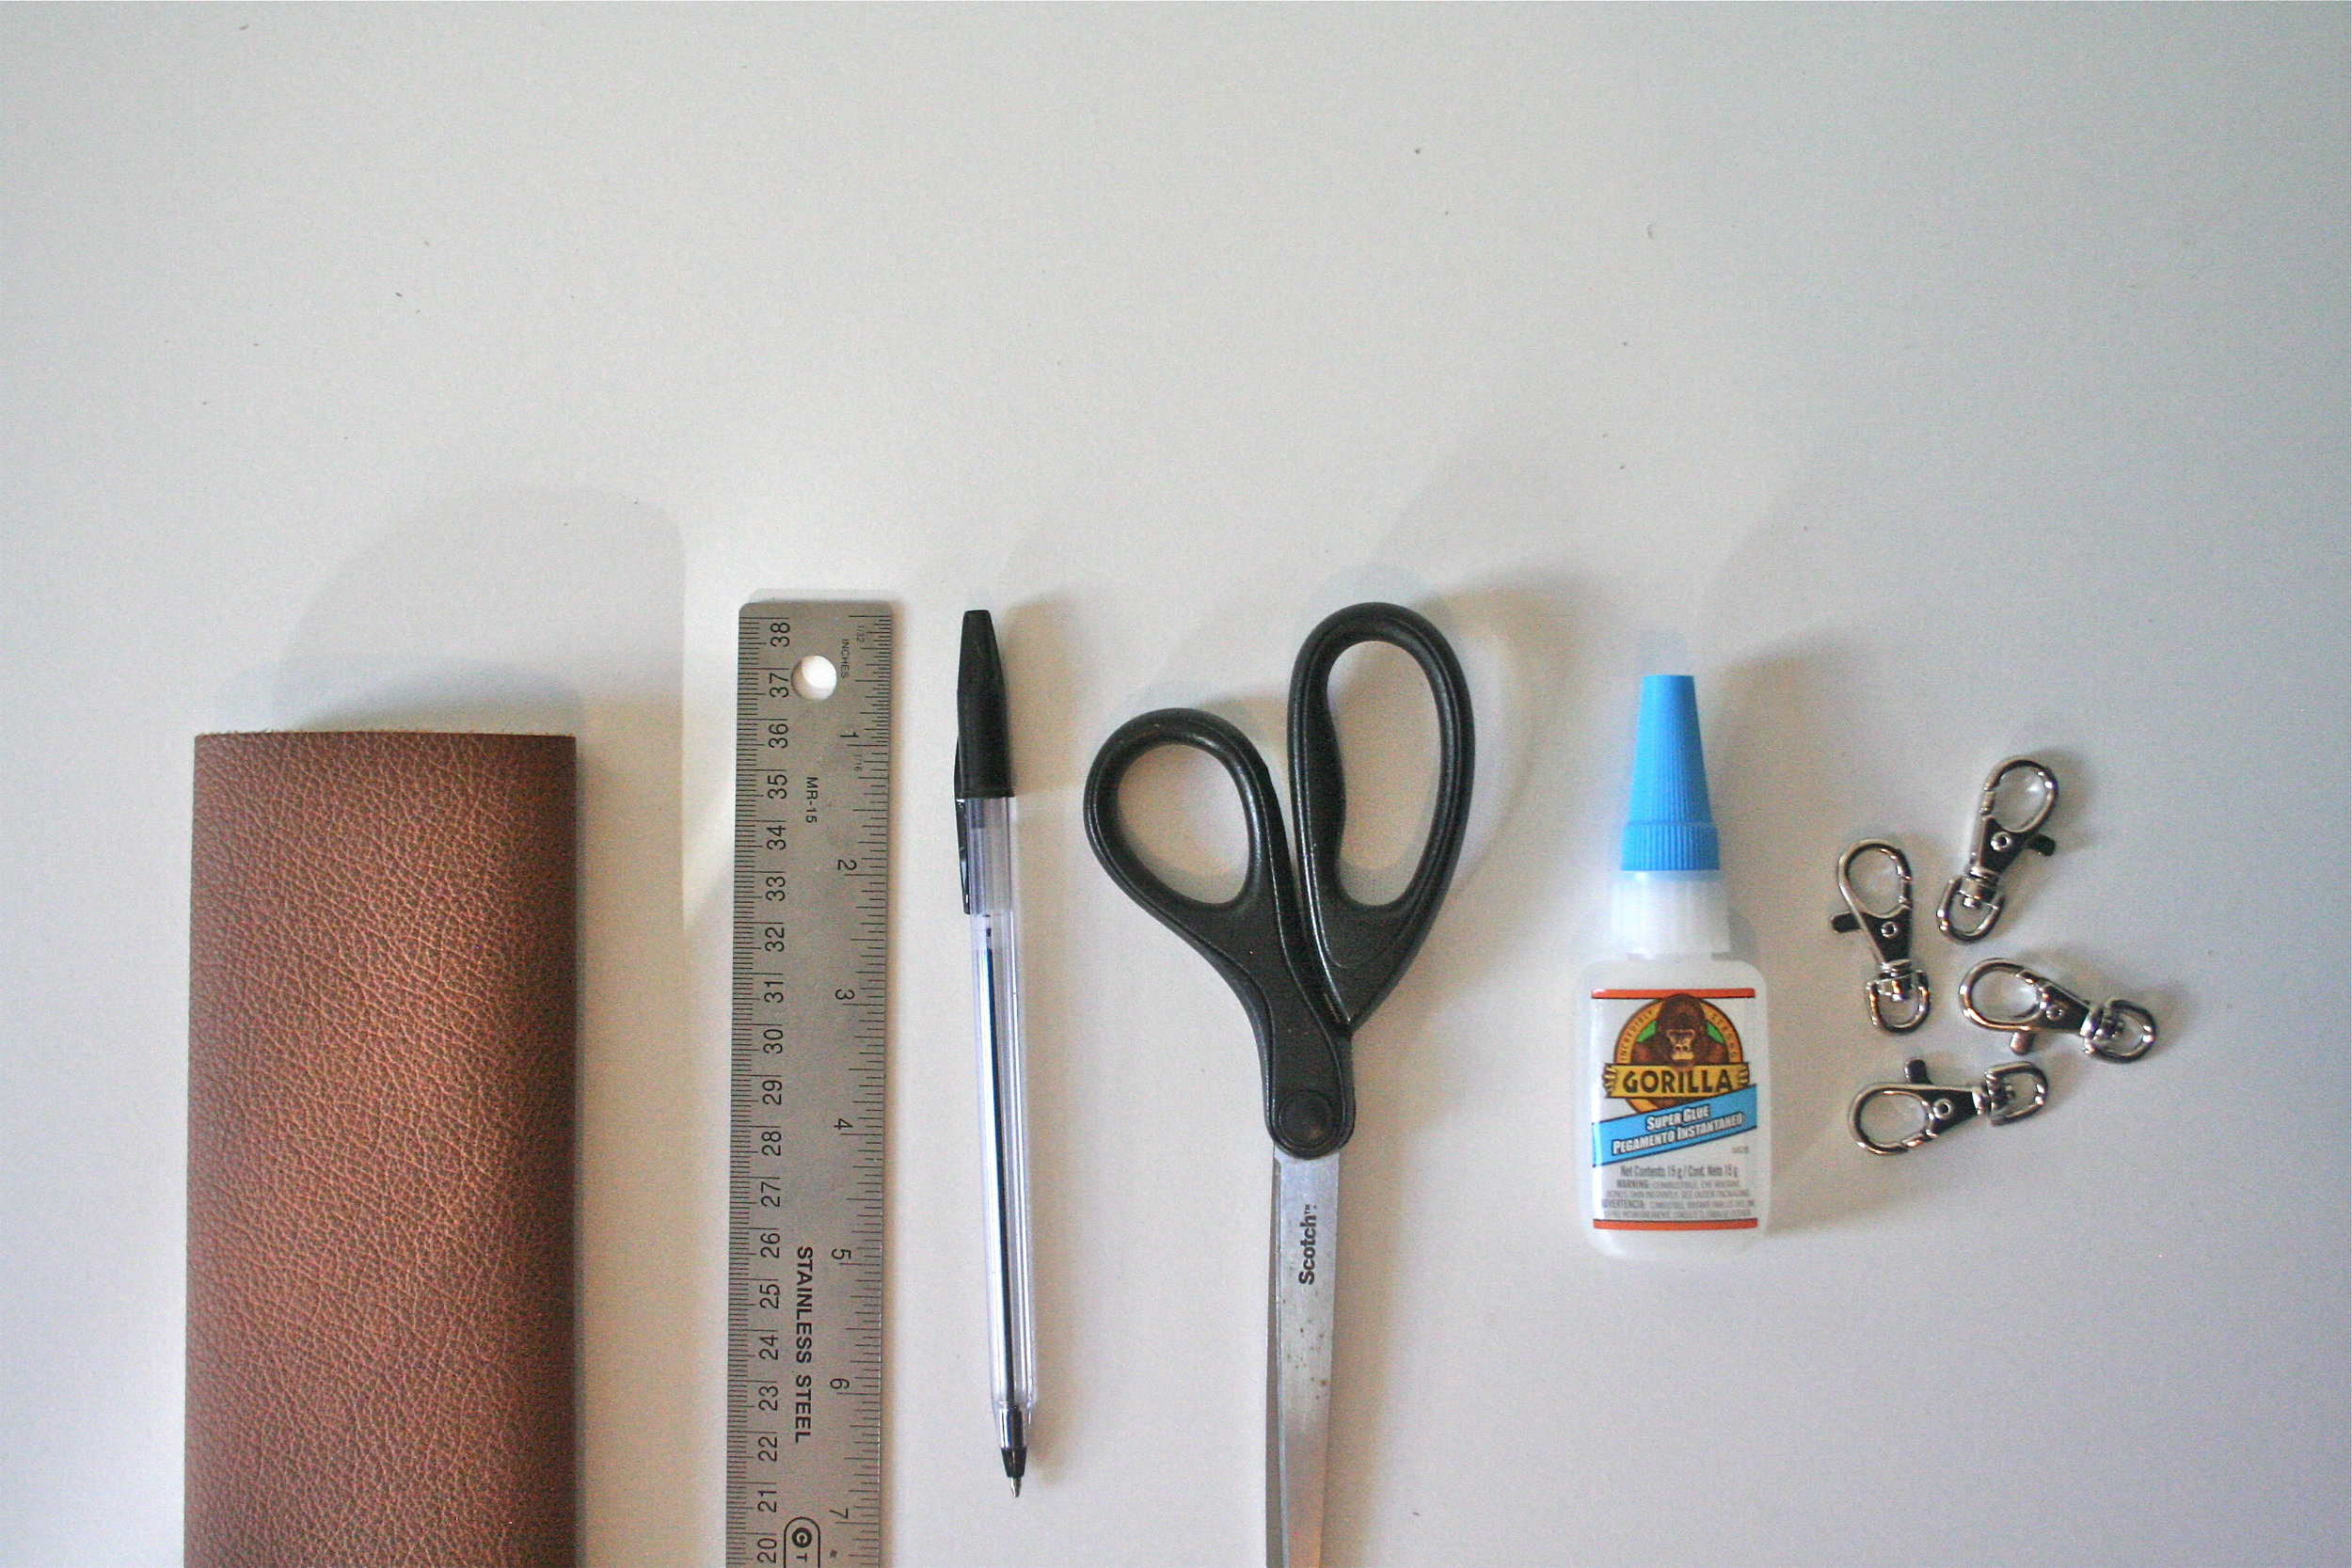
What You'll Need
- Leather - to make two tassels you'll need a piece at least 8" x 12"
- Gorilla Glue
- Keychain Clasp
- Ruler
- Pen
- Scissors- the sharper the better!
Ok, here we go!
With the unfinished/suede side of your leather up, first, use your ruler and pen to outline an 8" x 12" rectangle. Draw another line right in the middle to create two 4" x 12" rectangles.


Measure 1/2" on either side of the center cut line to draw two more lines. These lines will not be cut, they are just reserving space for the top part of your tassel. Along the top and bottom lines of the 8" x 12" rectangle, make tick marks at 1/4" increments.
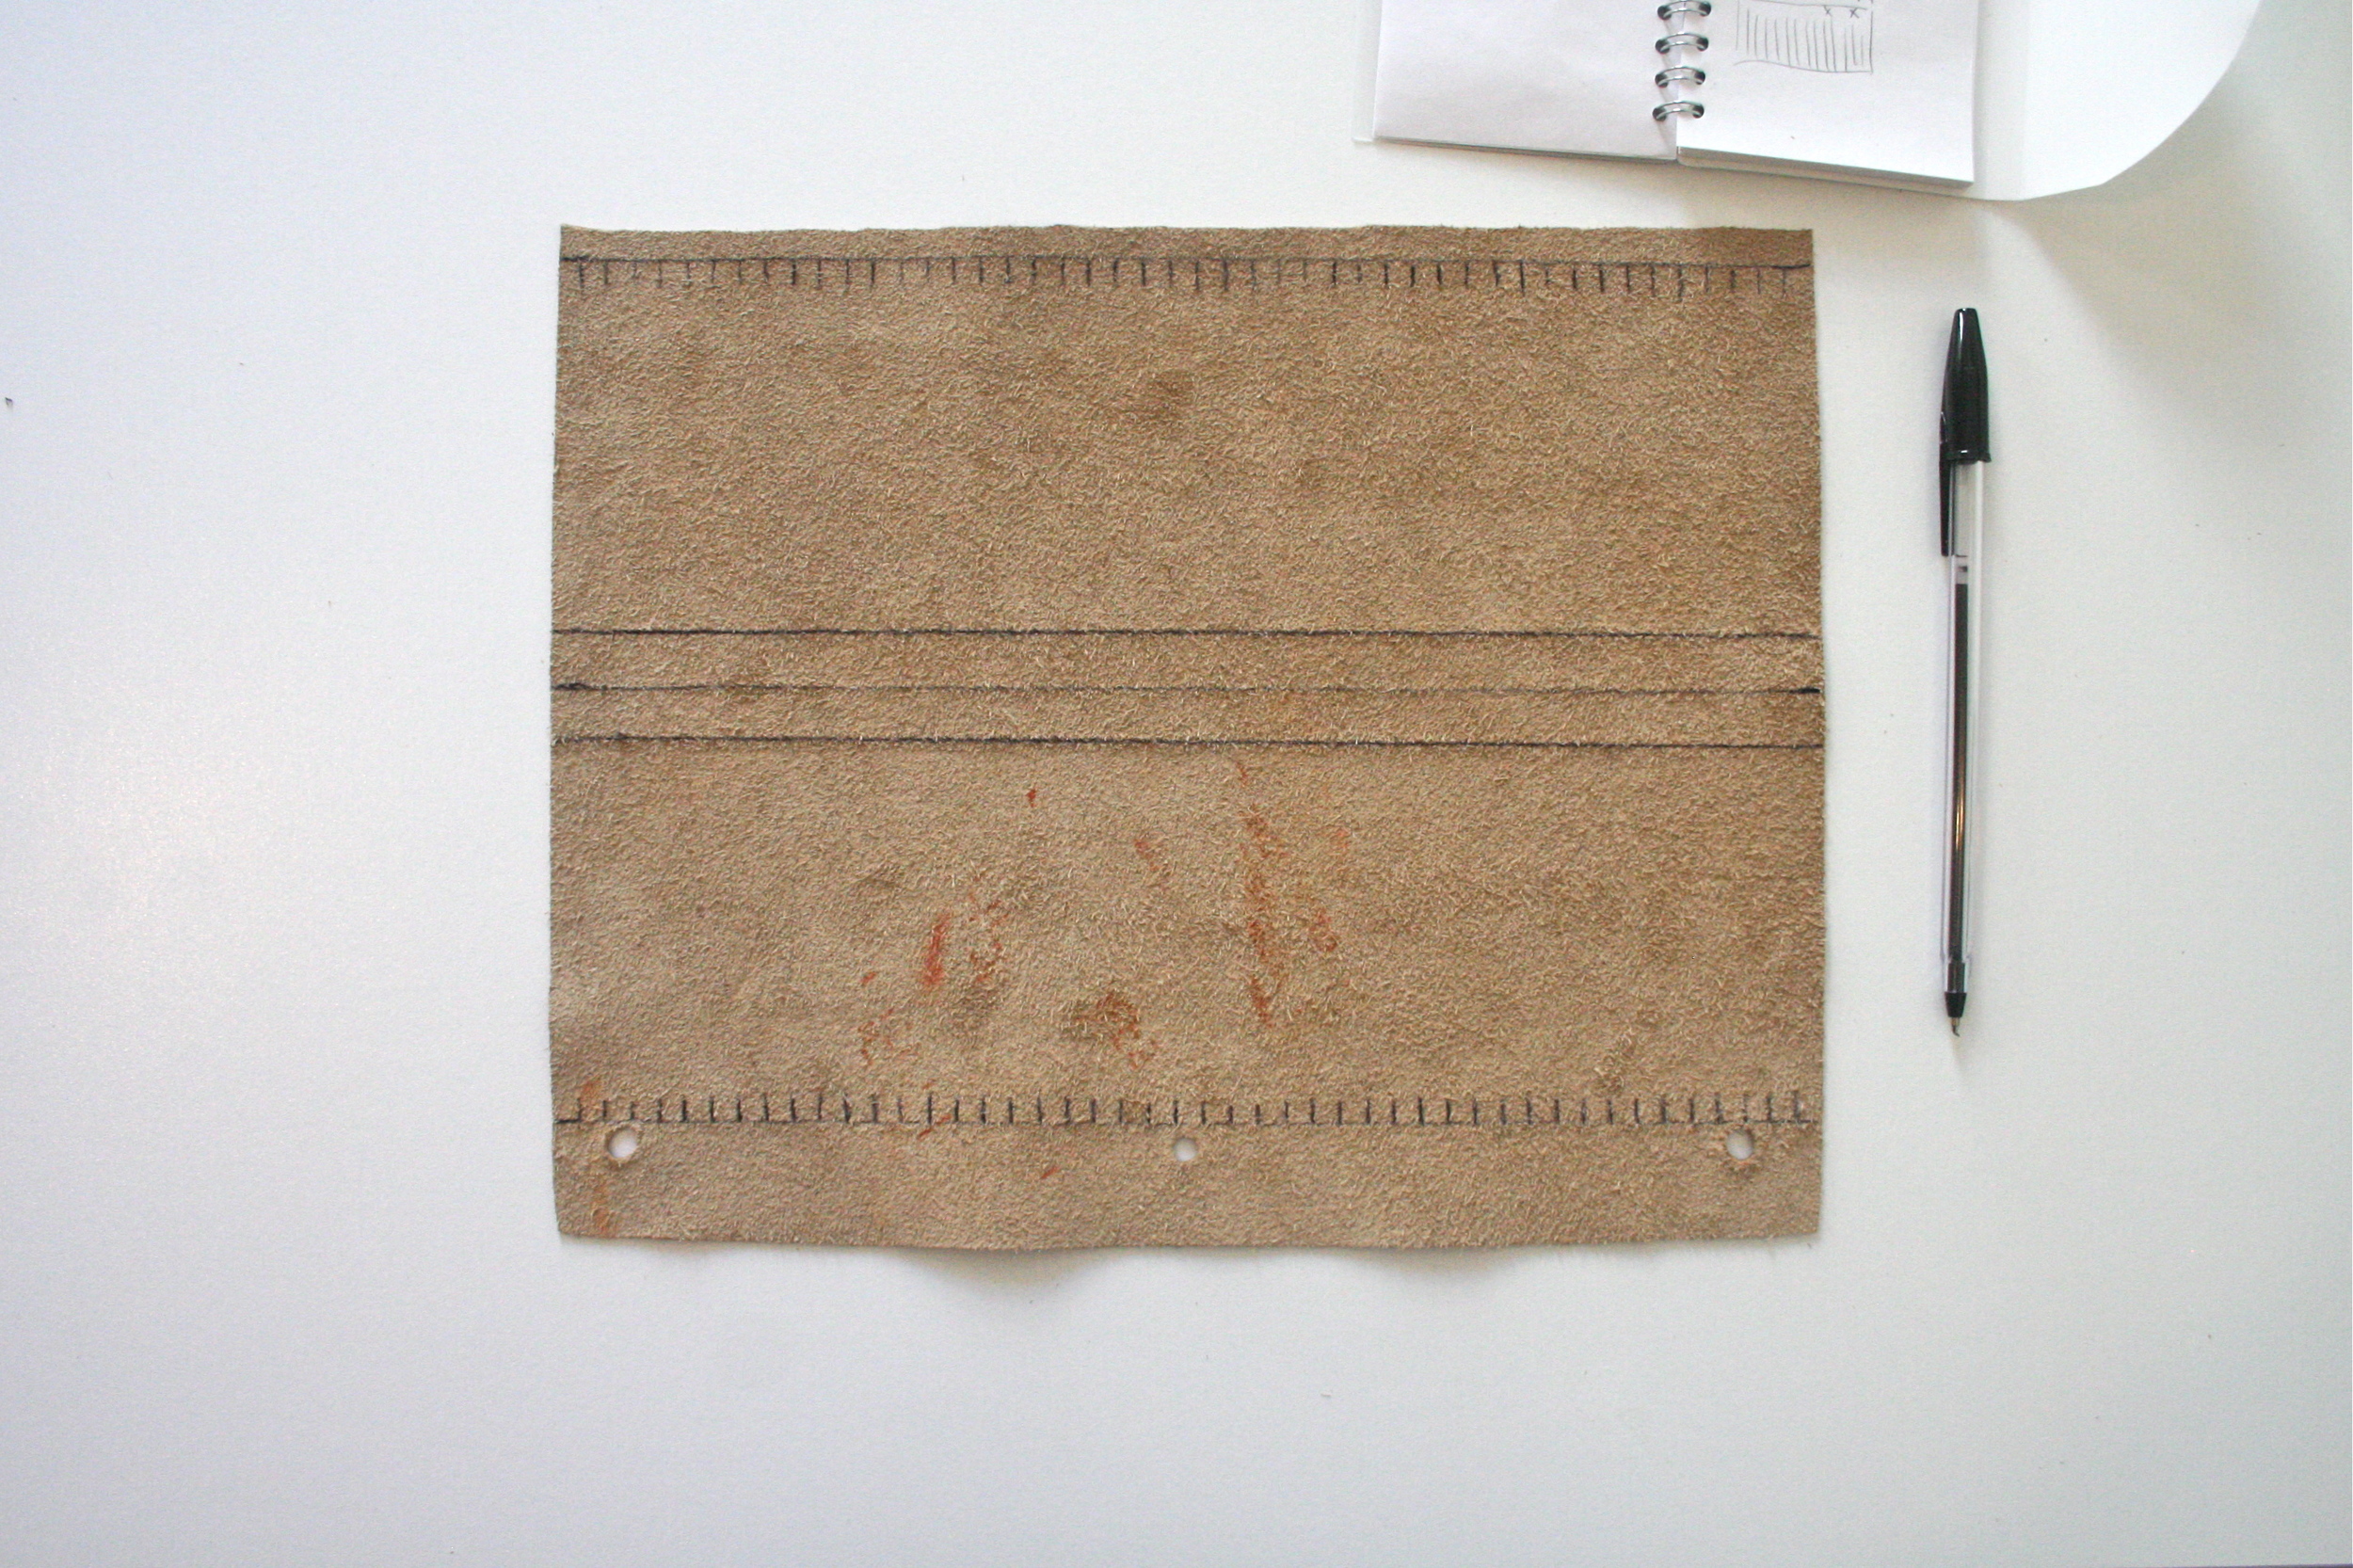
Use your ruler and pen to draw straight lines connecting the tick marks at the top and bottom of the rectangle, lifting your pen over the three horizontal lines in the middle.


Trim away any excess leather outside of the template you've just created. Out of that excess, cut two strips about 3/8" x 2". These strips will become the loop that secures your keychain to the tassel. These measurements aren't exact-- I just eyeballed them. But basically you want your loop to be a little bit thicker than the 1/4" fringe for stability and long enough that you'll be able to tuck it into both sides of your tassel.

And you'll be left with something like this. At this point, I think it's easier to leave the two 4" x 12" rectangles together for cutting. It gives you more to hold onto as you guide your scissors.
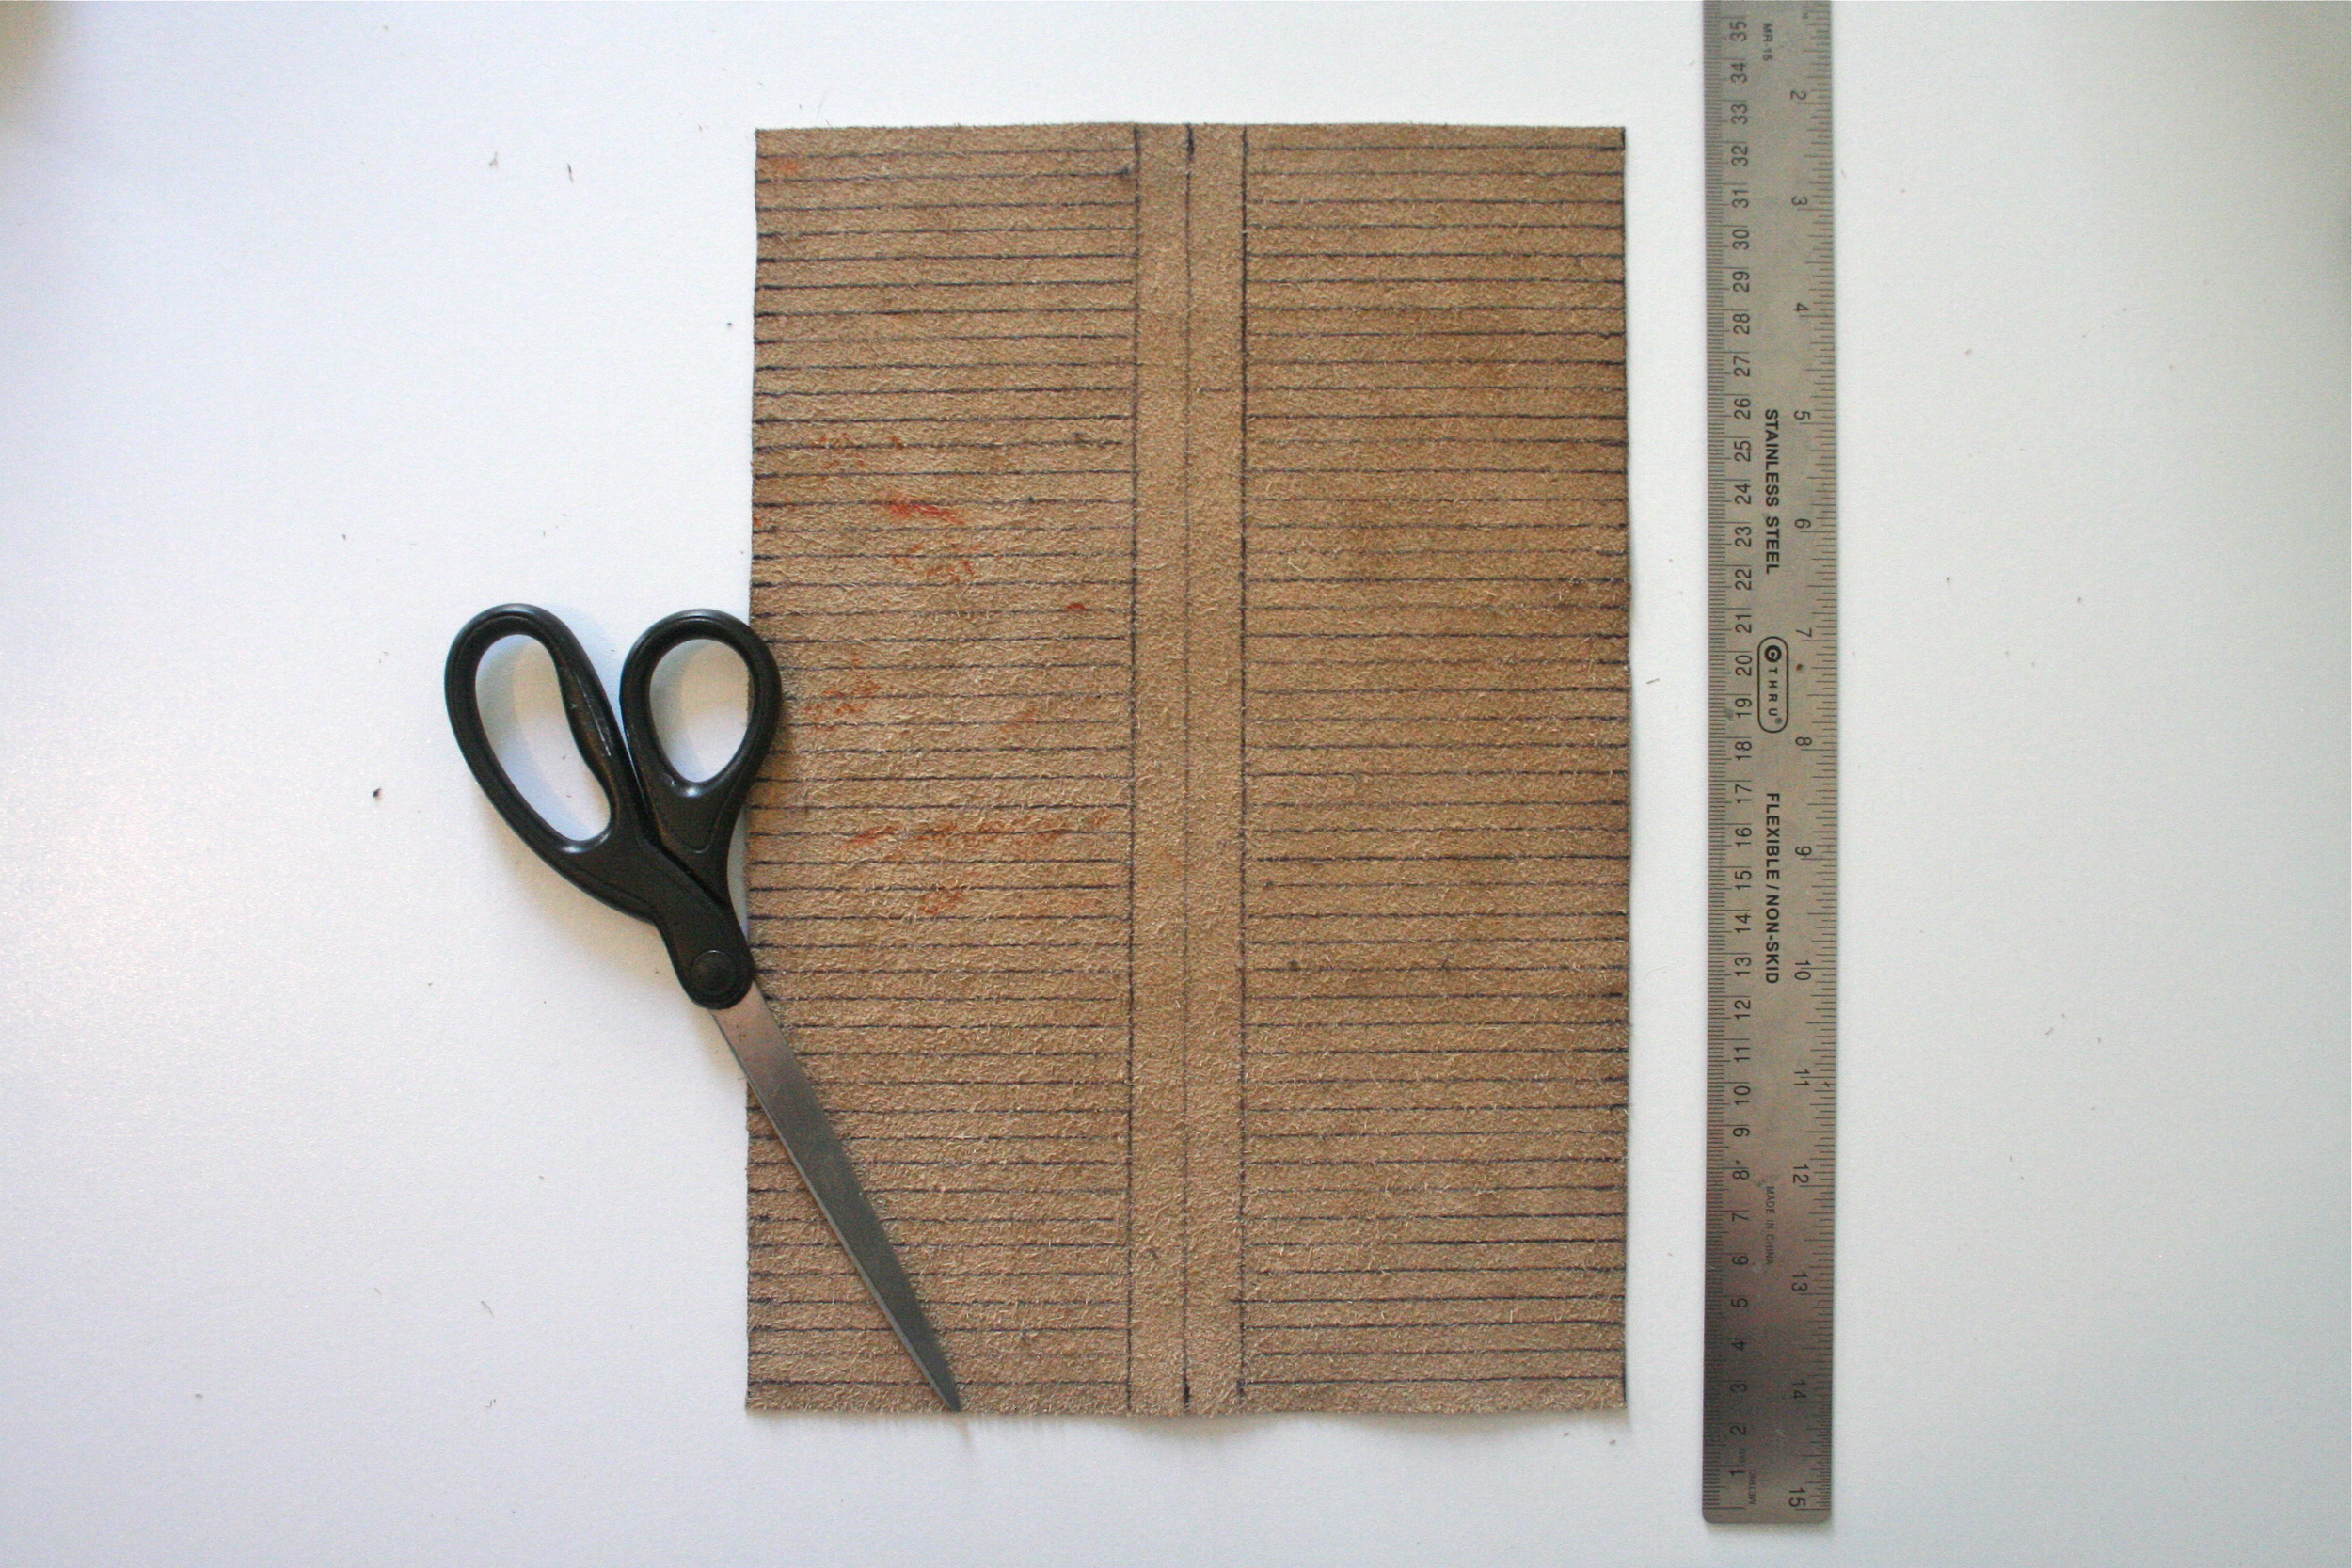
Now it's time for cutting! Start cutting your 1/4" fringe, making sure not to cut past the 3 parallel lines in the middle. Otherwise, when you cut the template in half, you'll end up with 1/4" strips instead of fringe!

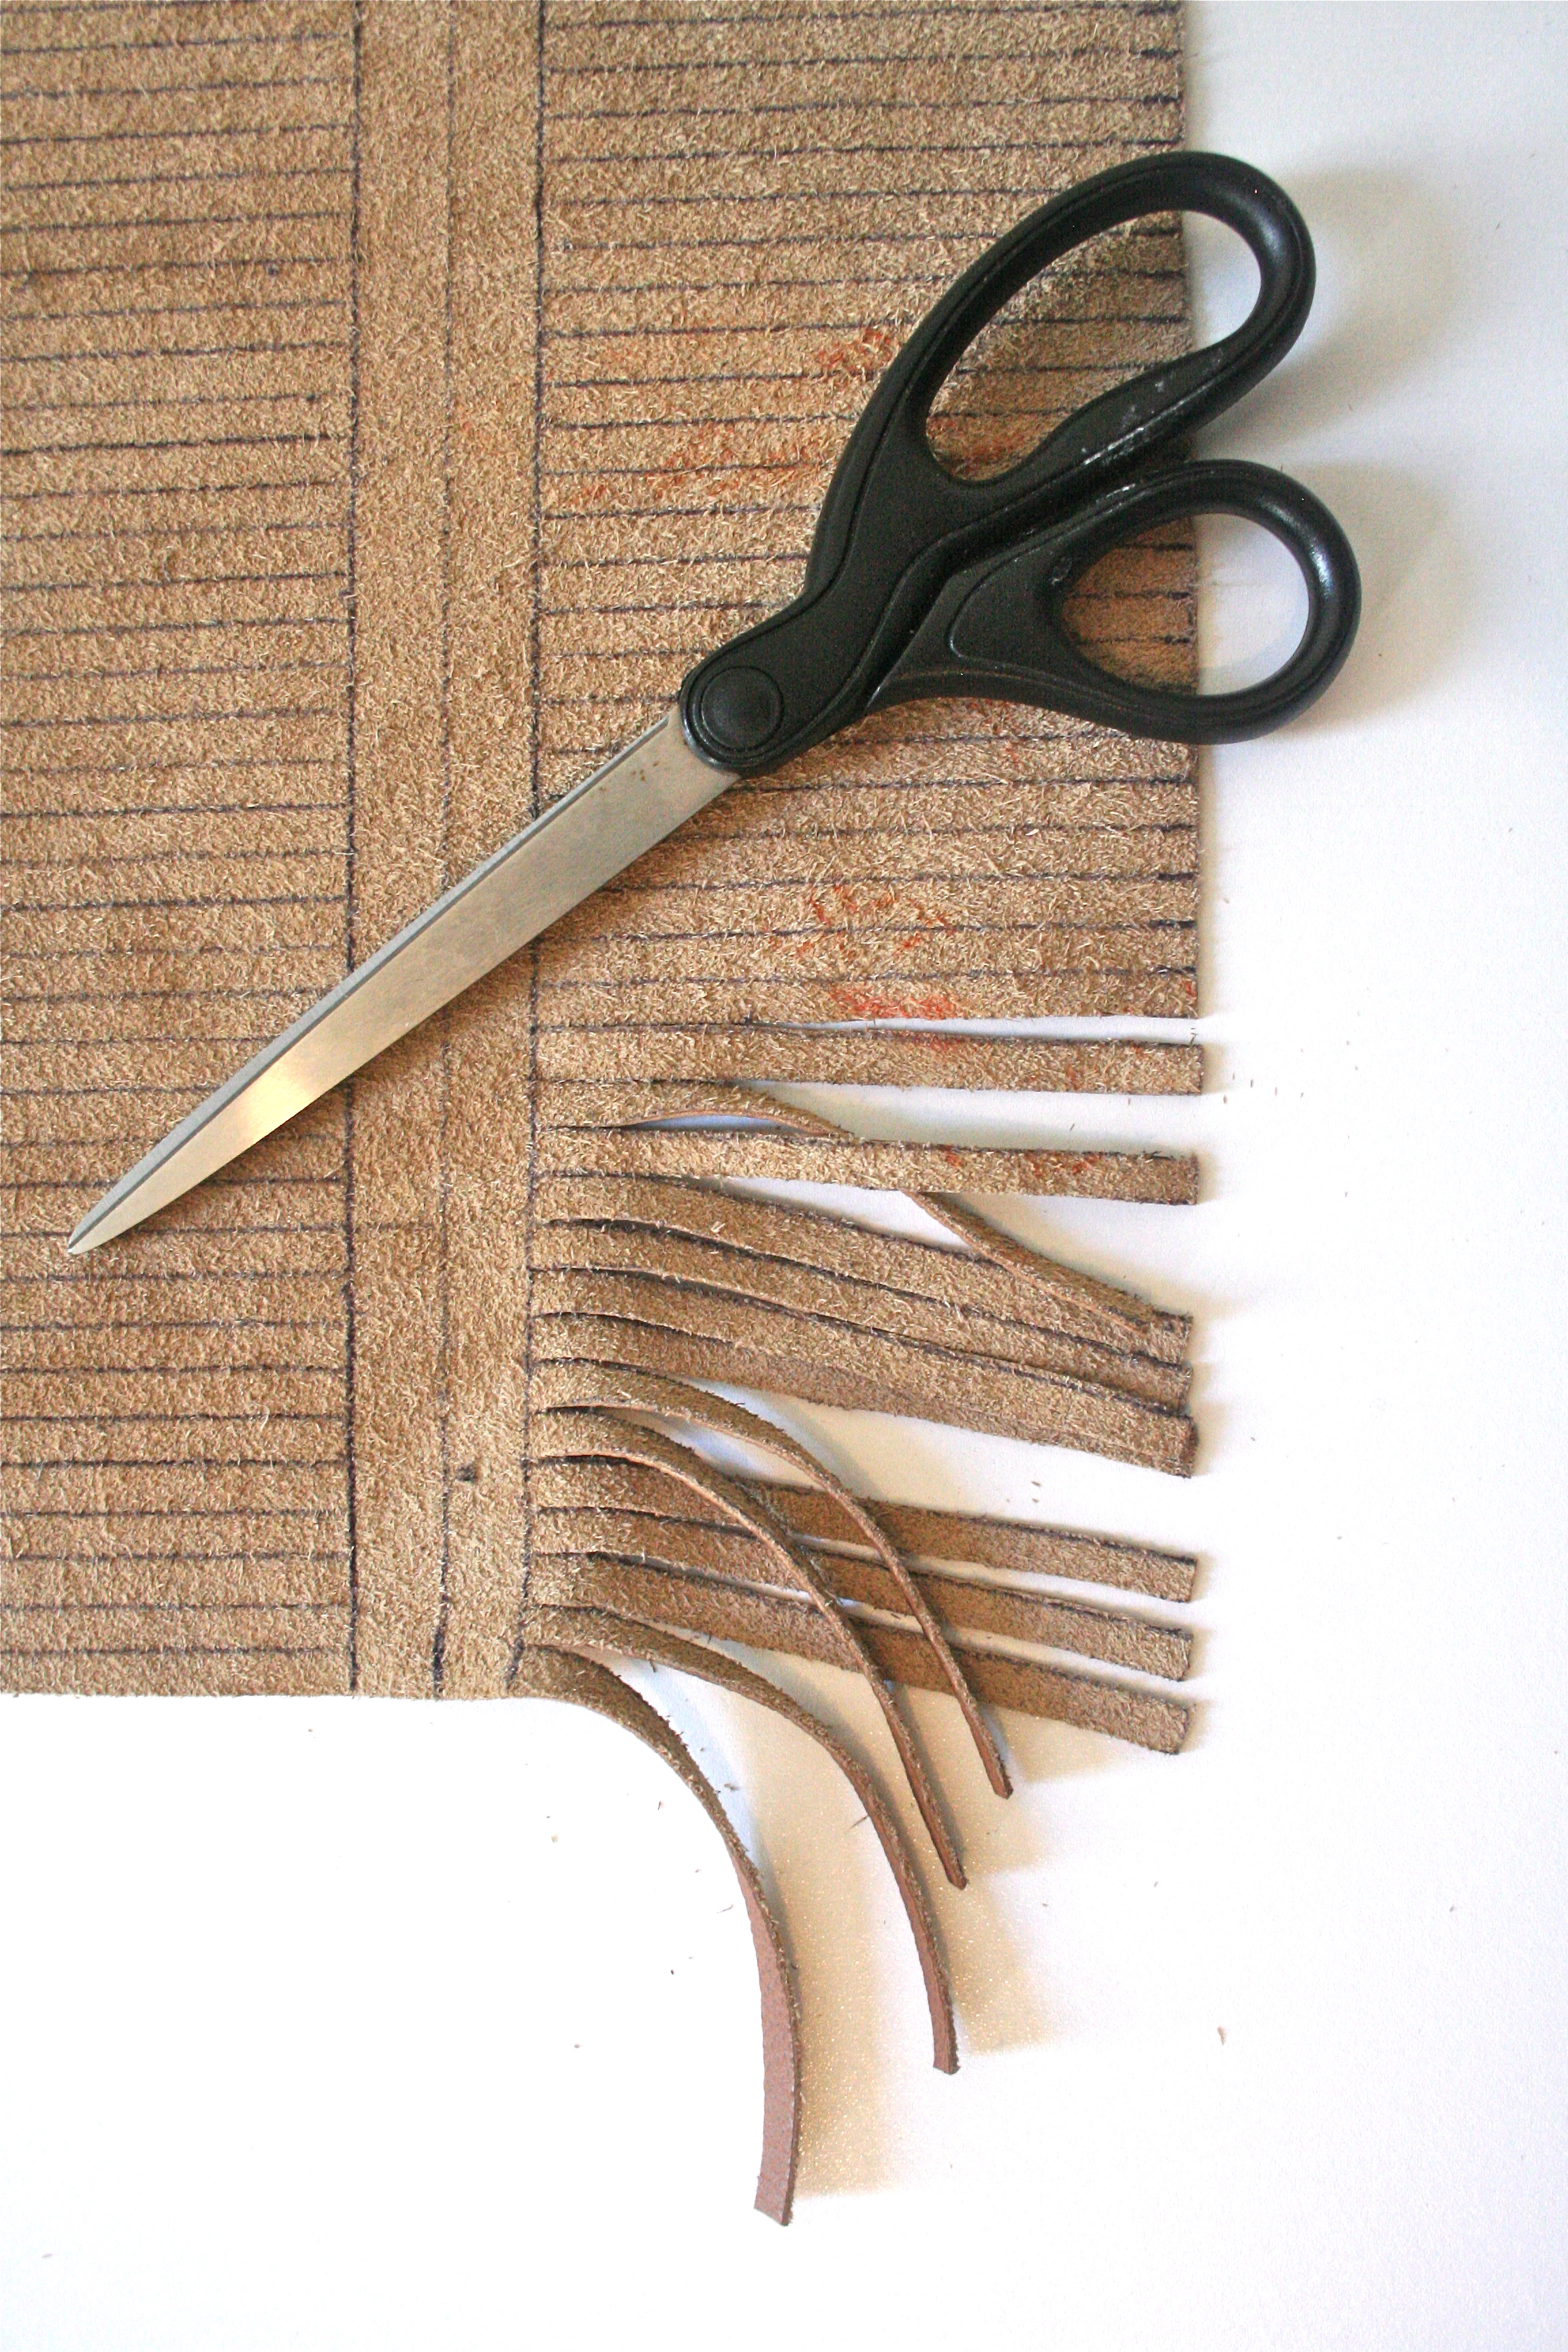
Once both sides of your leather has been cut into fringe, then go ahead and cut on the center line, creating two 4" x 12" rectangles.

Measure 2.5" in from the right edge of your fringe. This will mark where you'll attach your 3/8" x 2" strip to become your loop.

Starting at the opposite end (aka, not the one you just marked), place a small drop of glue about 1/4" in from the corner.

Fold up the corner and roll tightly, until you have covered the entire drop of glue.

Add more glue and continue rolling tightly, applying pressure as you go to ensure adhesion.


Continue rolling until you get about 1" away from the mark you made at the other end. Make sure you have your 3/8" x 2" strip and your keychain handy and then place a drop of glue directly over the mark.

Place the end of your 3/8" x 2" strip down on the glue spot, and apply pressure for 10 seconds using the glue bottle cap. We're not trying to get our fingers superglued together here!

Add another drop of glue on top of the strip and roll 1/4 of a turn.

Slide the keychain ring onto to end of the 3/8" x 2" strip. The, place a drop of glue on the top of the tassel, on opposite side that the strip is sticking out.

Holding the keychain out, fold over the strip to the desired length and press onto the glue dot using the bottle cap again. Apply more glue and roll up the end.

Apply pressure for a good 30 seconds, just to seal this all in and then, voila! Admire your work! But not for too long, because you still have another piece of fringe to turn into a tassel. Repeat the process to make your second tassel and then gift it to your friend/sister/mom/coworker. Or keep it for yourself, I won't judge.
