
DIY Hand-painted Tumbling Block Floor

We’ve been in the midst of long, labor intensive renovating projects for what seems like forever. I try to prioritize our limited time and home improvement budget on the projects that will make the biggest difference to the way our home functions and works for us (i.e. installing a dishwasher and building custom closet organization) so that doesn’t always mean pretty before and afters. One thing I feel like I’ve been neglecting is little DIY projects that are just for fun! Enter this handpainted tumbling block pattern I recently painted on Anthony’s closet floor…
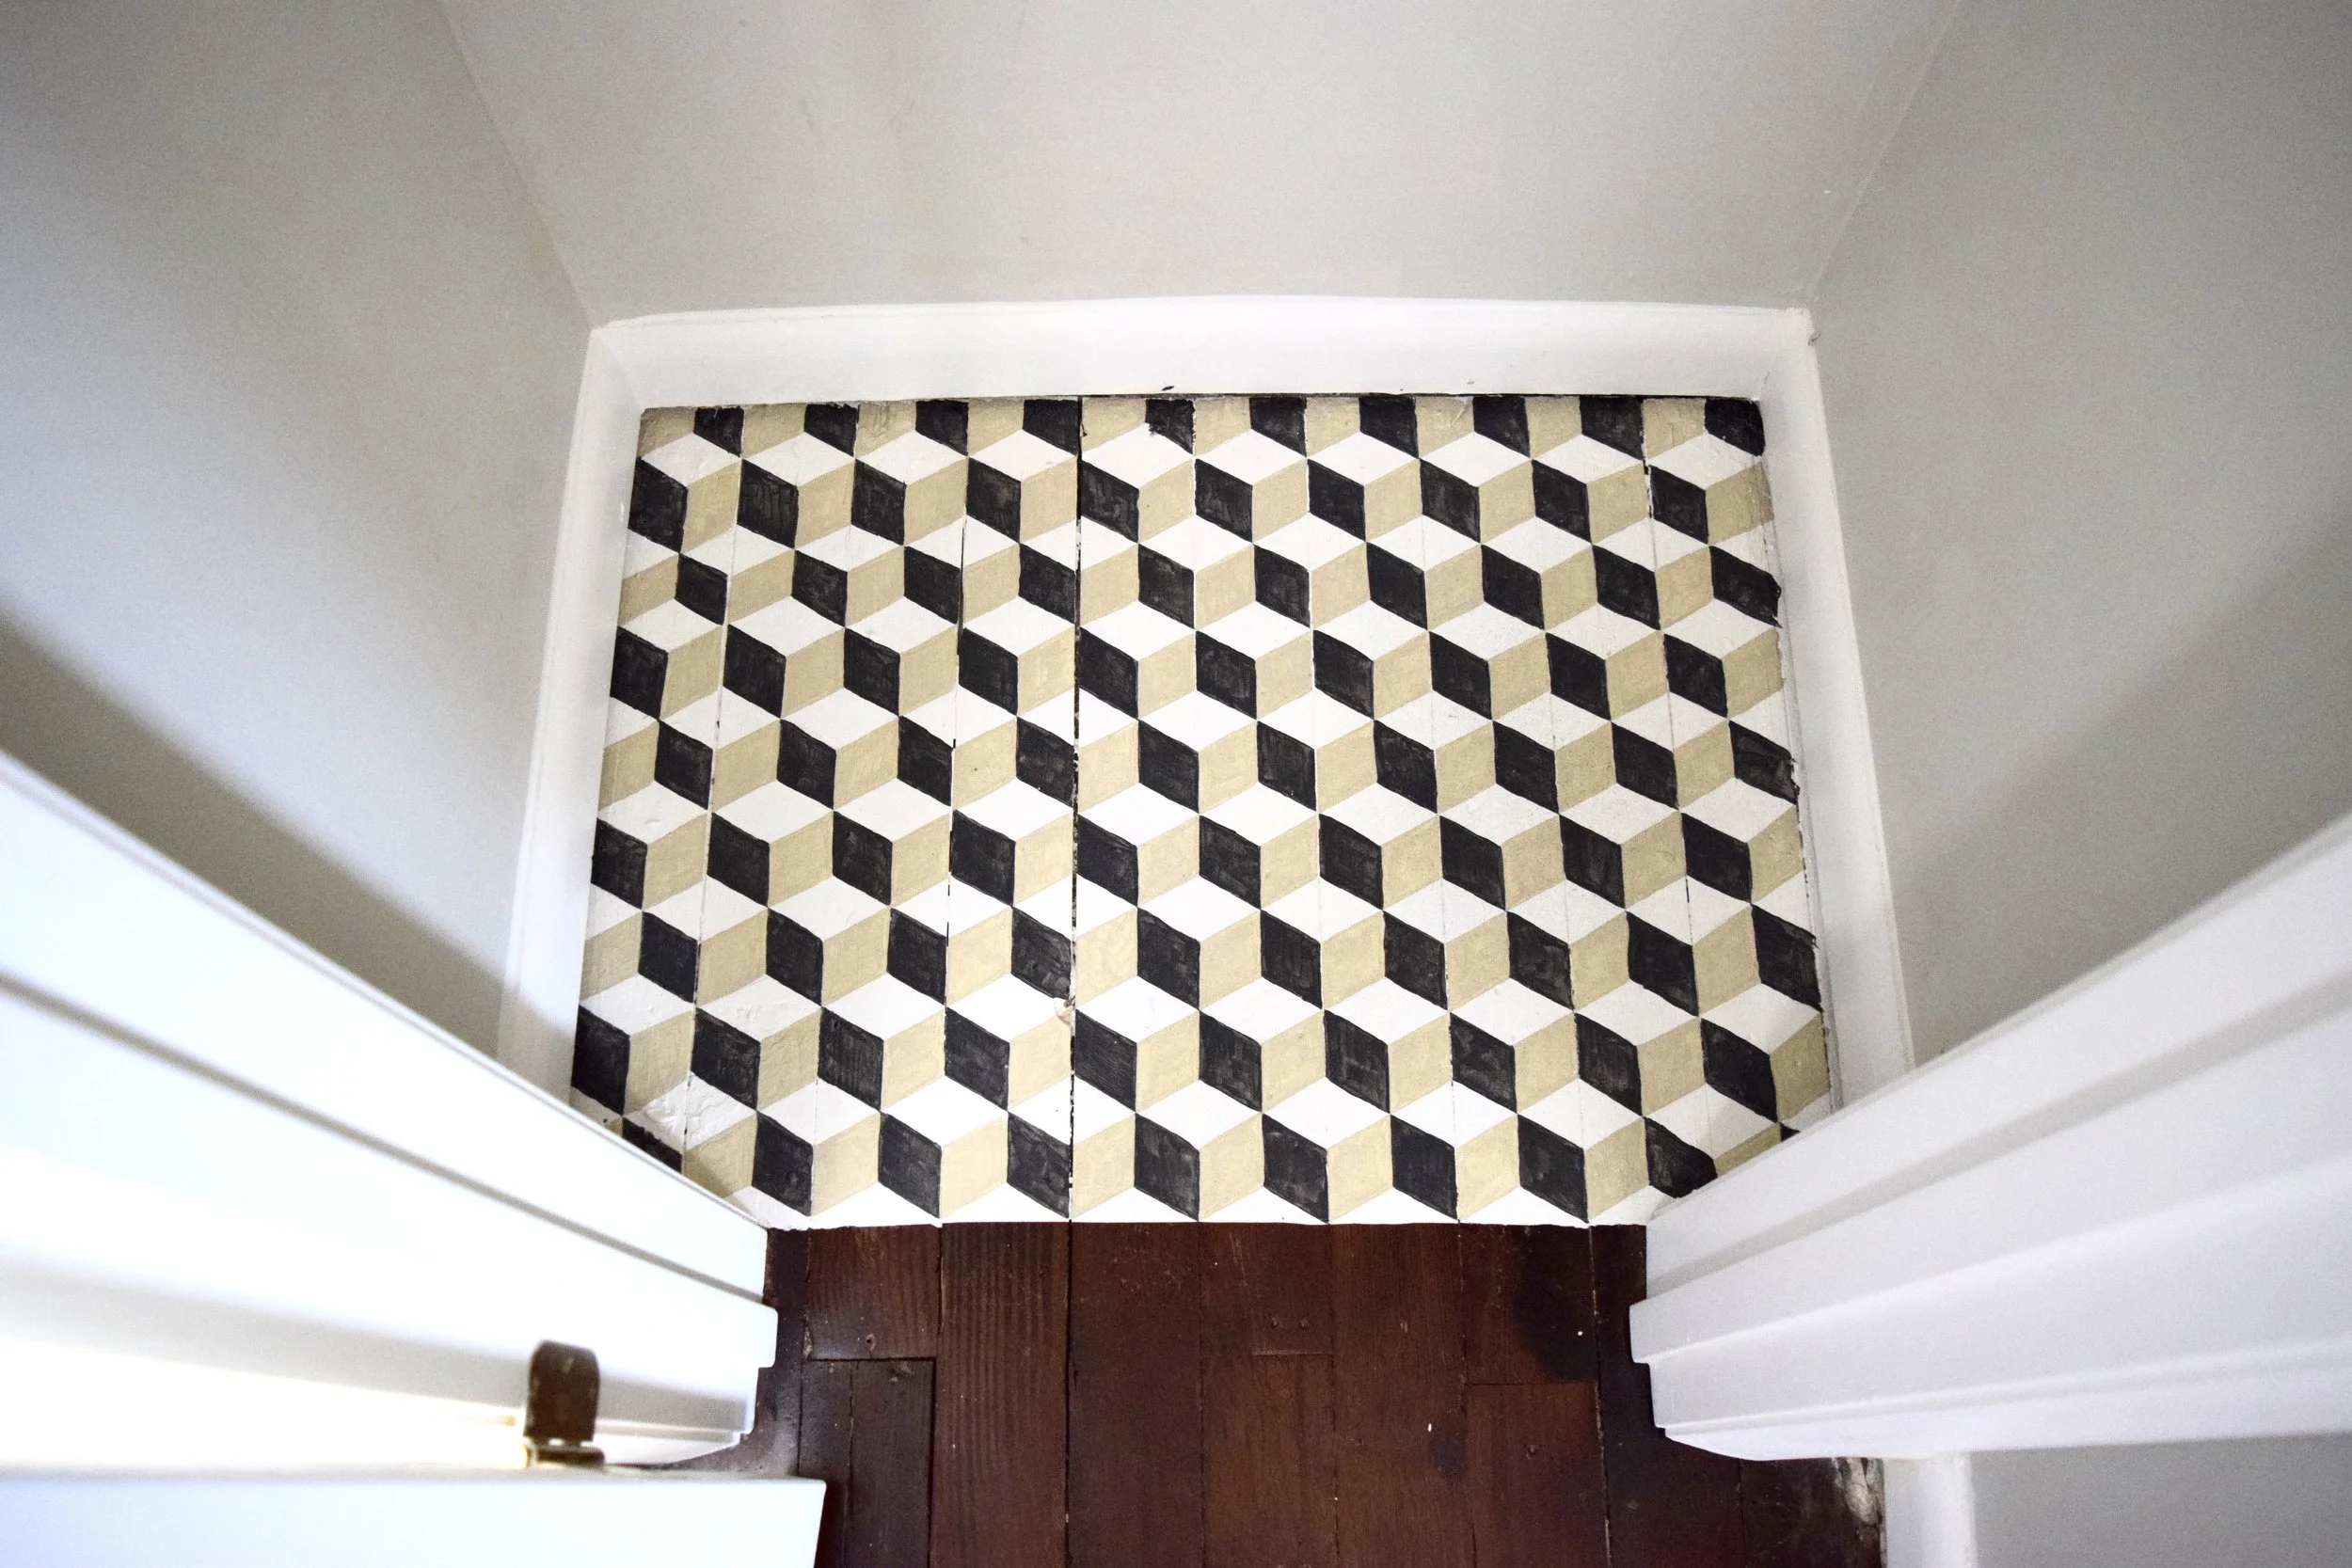
Part of Anthony’s closet floor had been painted over and it was taking FOREVER to get the paint off. So instead of messing with it, we just finished the rest of the room and I made a mental note to think of something cool to paint there to make it look intentional. Between Making It Lovely’s handpainted floor and House of Brinson’s tumbling block tile, I found my inspiration! I found a tumbling block template for quilt-making on Google and then used Mac Pages to resize the pattern so each cube was 3” across and would line up with our wood floors. I then used this easy transfer method to pencil the template onto the floor boards. I found it was best to use the ruler when tracing to keep my pattern lined up, although I did have to do a little improvisation to make the pattern work around the edges and across some wider gaps between boards. I started the pattern here at the front because with the clothes hanging up, this is what you’ll see the most.

After painting the base coat of white and then transferring my template onto the floor, I set about painting each block by hand. I have a pretty steady hand so I just freehanded this with a small angled artist brush. Tape seemed like too much of a hassle and I didn’t want to damage the paint as I went. I was ok with it looking a bit imperfect and hand done, because that’s what it is! I used leftover paint samples that I already had on hand (Sherwin Williams Iron Ore and Relaxed Khaki if anyone is curious!) If I were doing this on a larger area that got foot traffic, I would have used porch and floor enamel but since this is just on the inside of a closet latex wall paint will be just fine. So since I already had the paint on hand, this project cost me absolutely nothing!
It took me probably 3-4 hours to finish this project from start to finish, split up over the course of a week between nap times and a couple hours on a Sunday! The closet (along with the rest of the room) will soon get new baseboards and I decided to paint the interior of each of our closets white, so that’s next on my to-do list. It’s really easy for me to put off sharing a space because I have 937 more things I want to do with it until it’s “done” but I’m going to try to resist that temptation from here on out! While my client projects are relatively quick transformations with distinct before and afters (like this one I shared recently), our own house is just a slower process than that. So in addition to making more time to play around and do fun little creative projects, I also want to start sharing more of the process along the way with you guys.


This was such a fun project to do and both Anthony and I really love how it turned out. Is there somewhere in your home you can imagine doing a fun hand-painted pattern? Tell me where and what pattern you would do in the comments below!


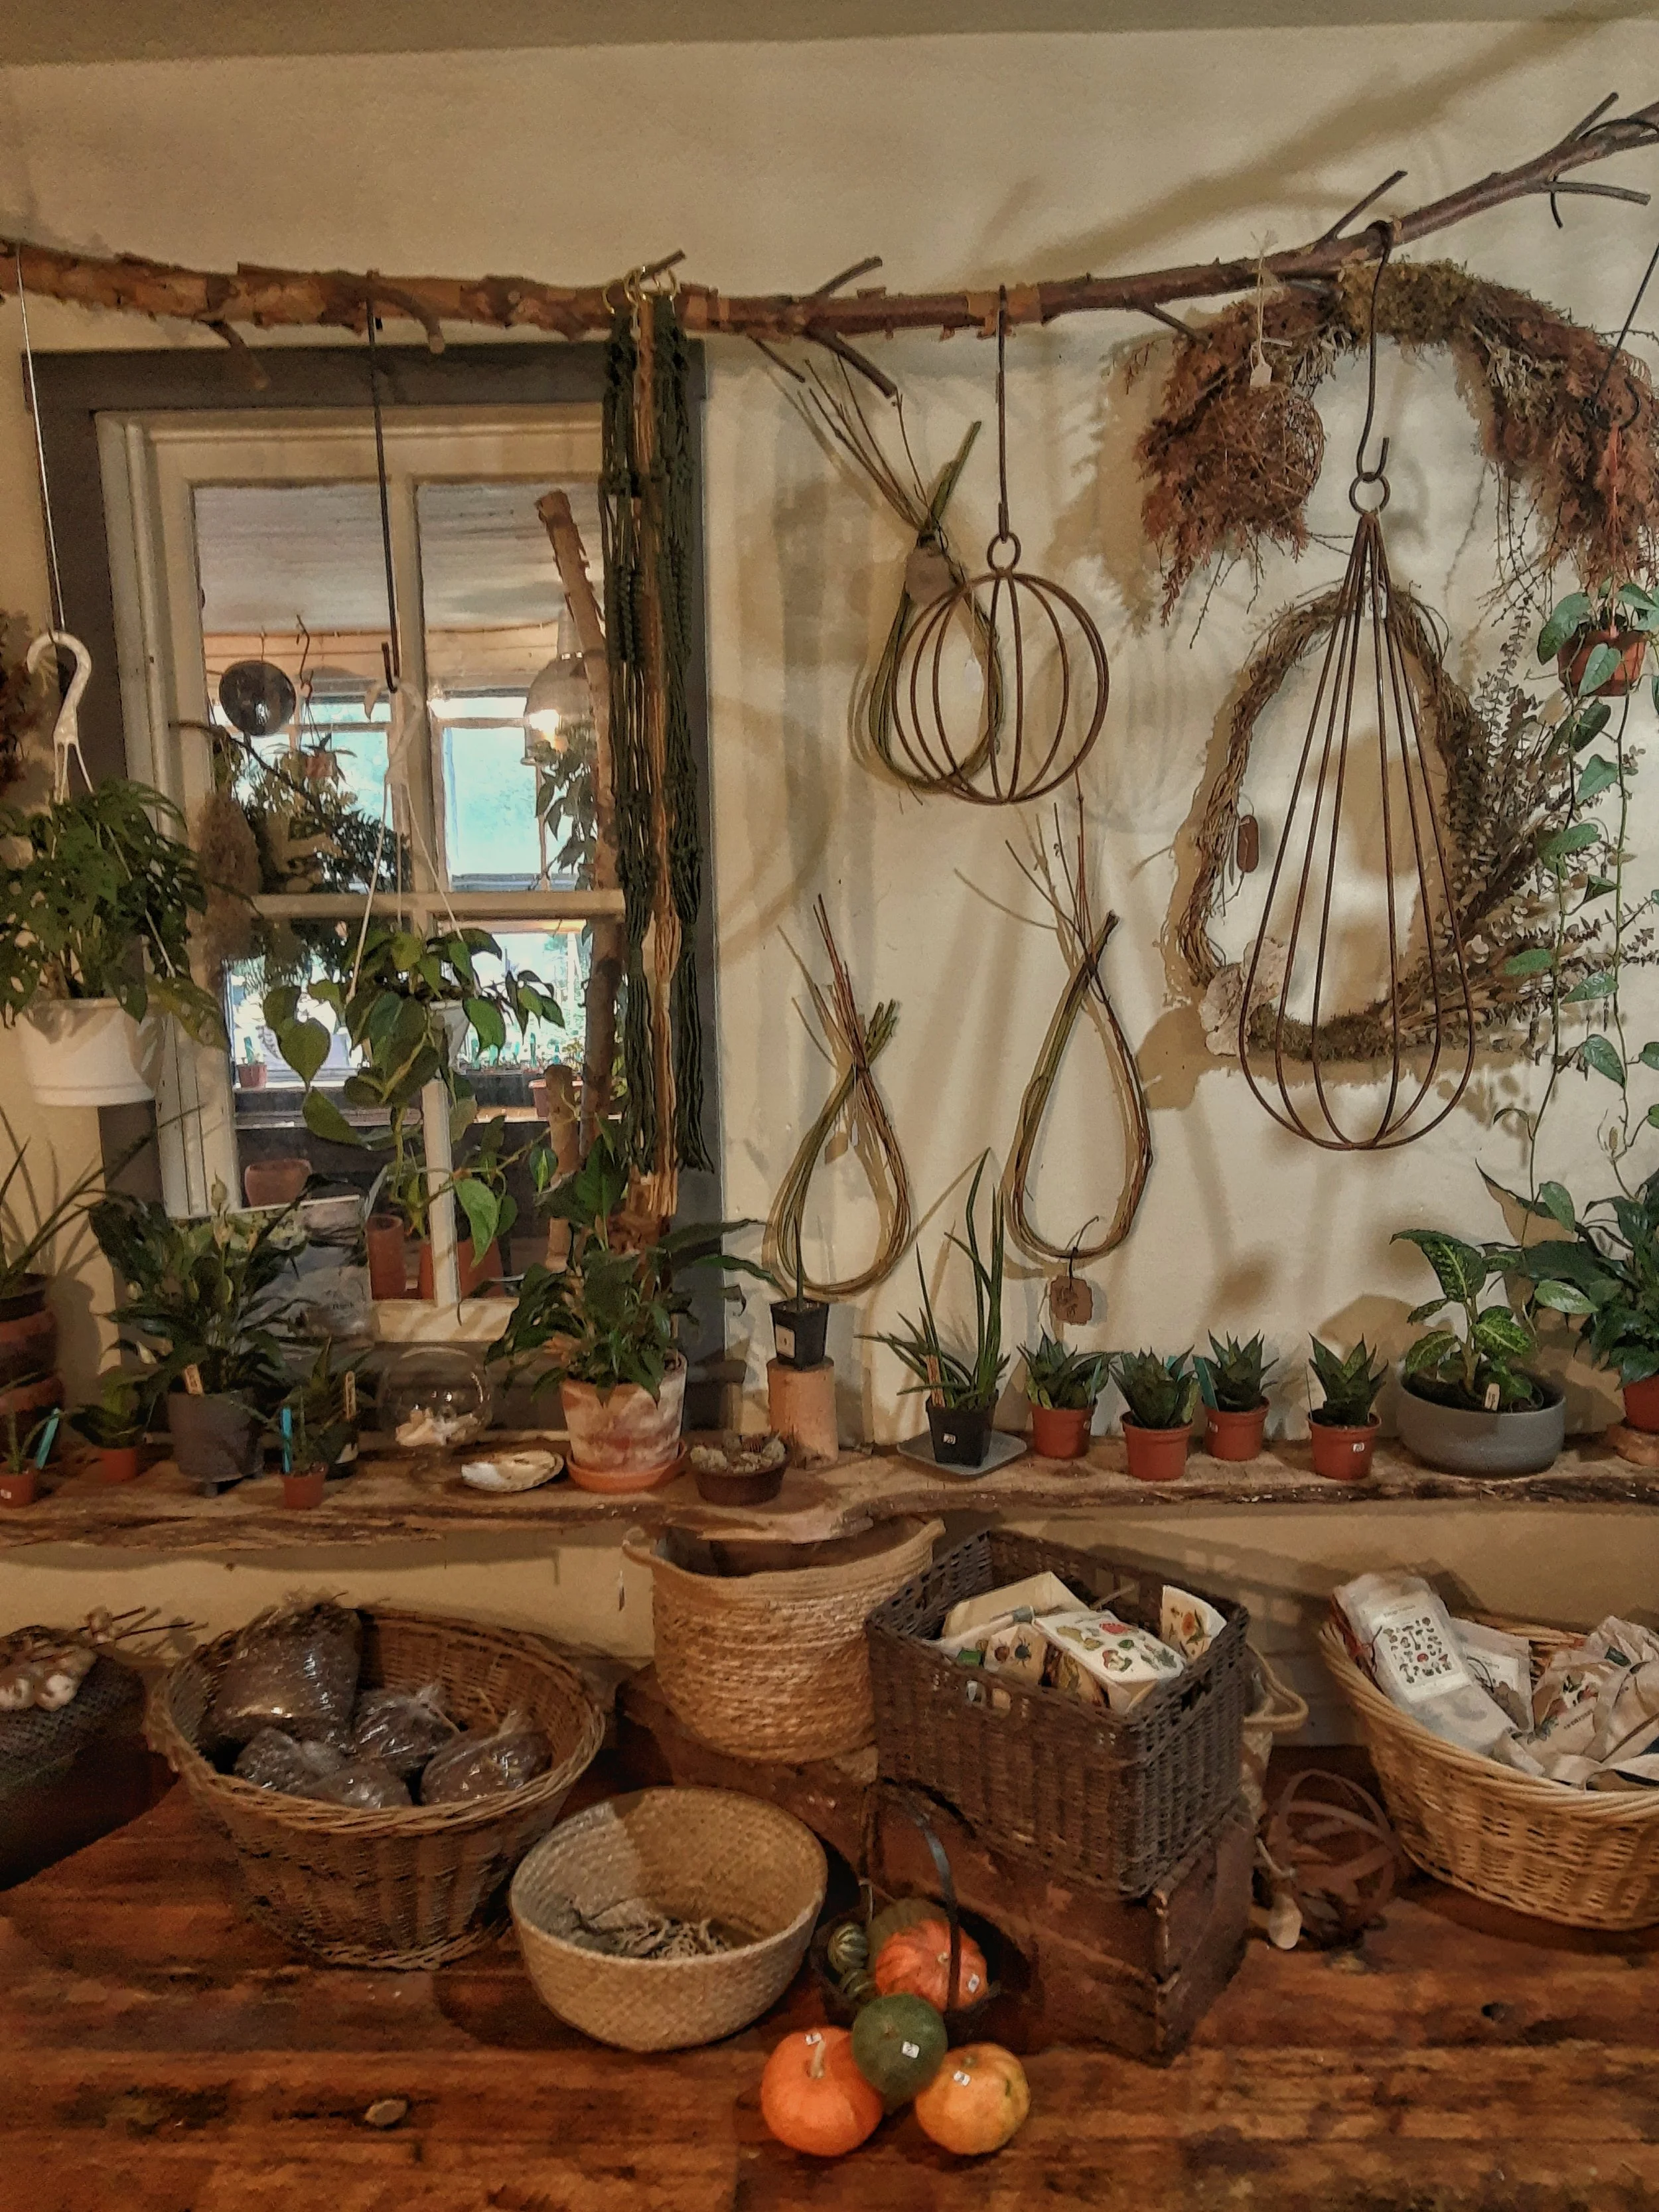

Looking for where to buy plants in York, PA? Here’s a list of my favorite independent, locally-owned, family run greenhouses and plant nurseries so you can support small business and your gardening hobby at the same time!