
DIY Gold Alphabet Magnets
What's more fun than spelling out cute messages for your husband or kids using old-school refrigerator magnets?
Spelling out cute messages for your husband or kids using these awesome GOLD refrigerator magnets, that's what!
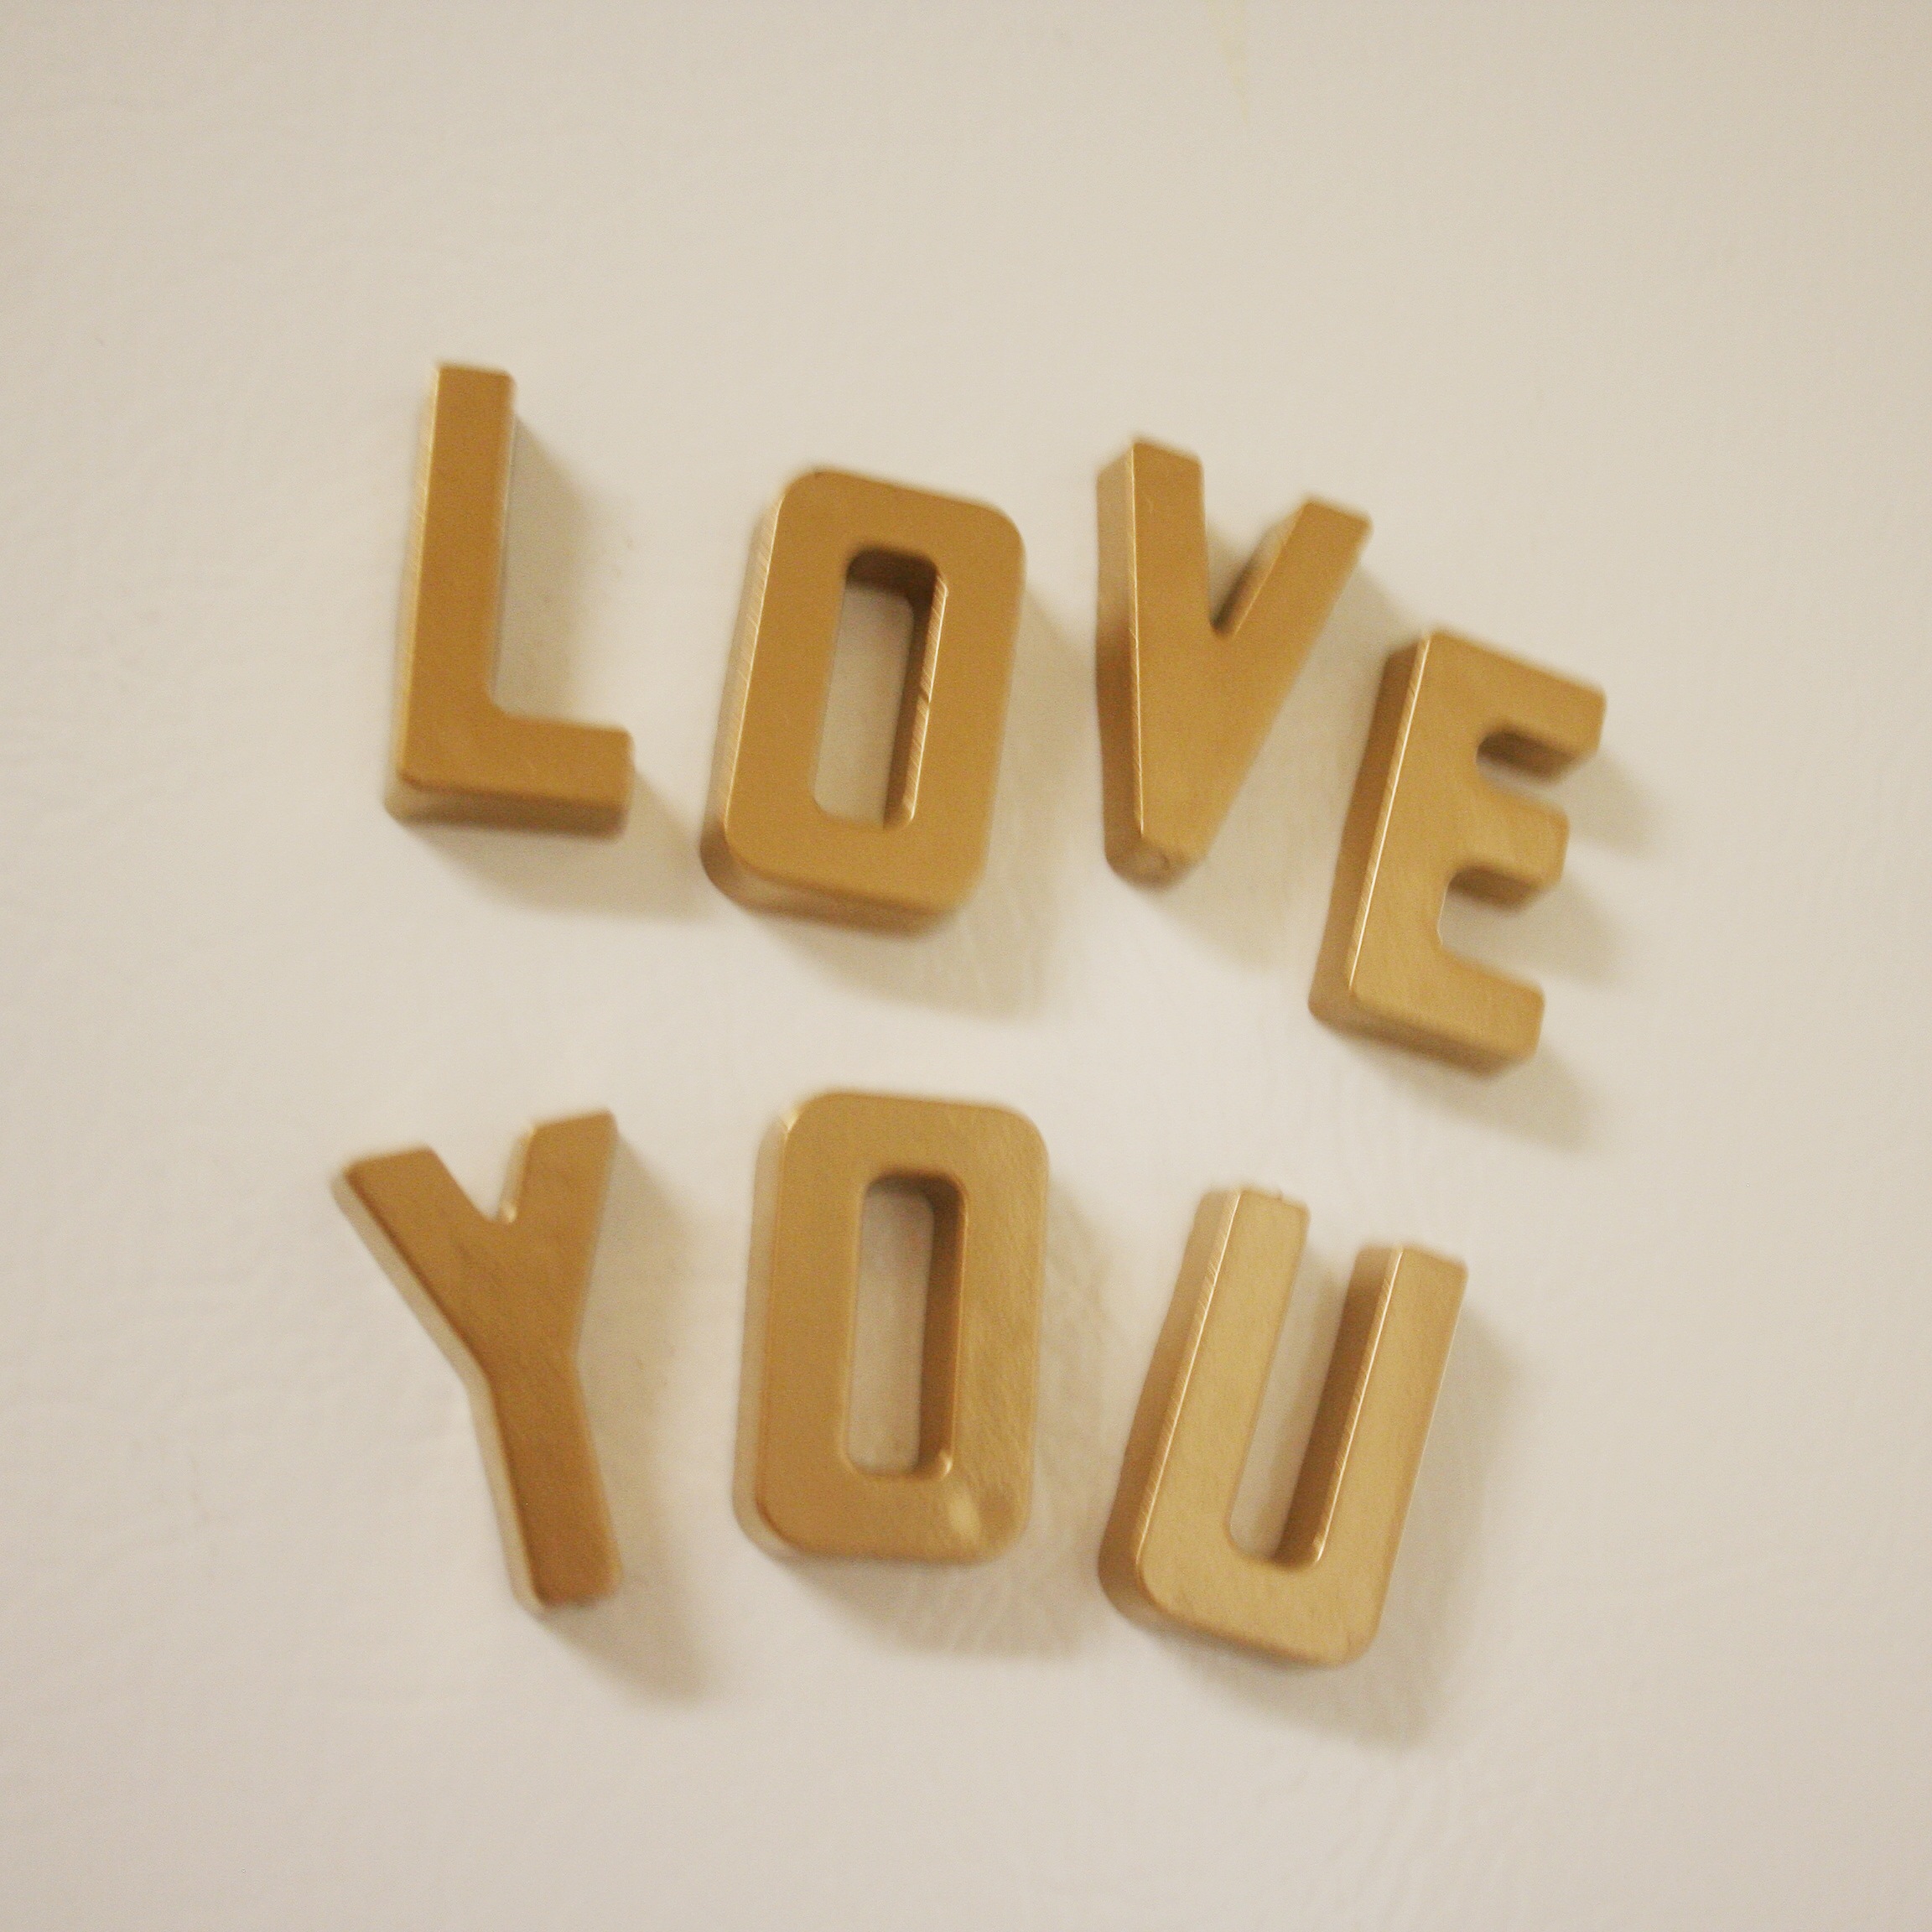


They are much more stylish than the multicolored originals but just as nostalgic. If you have a free weeknight and a can of gold spray paint, then these babies can be yours!
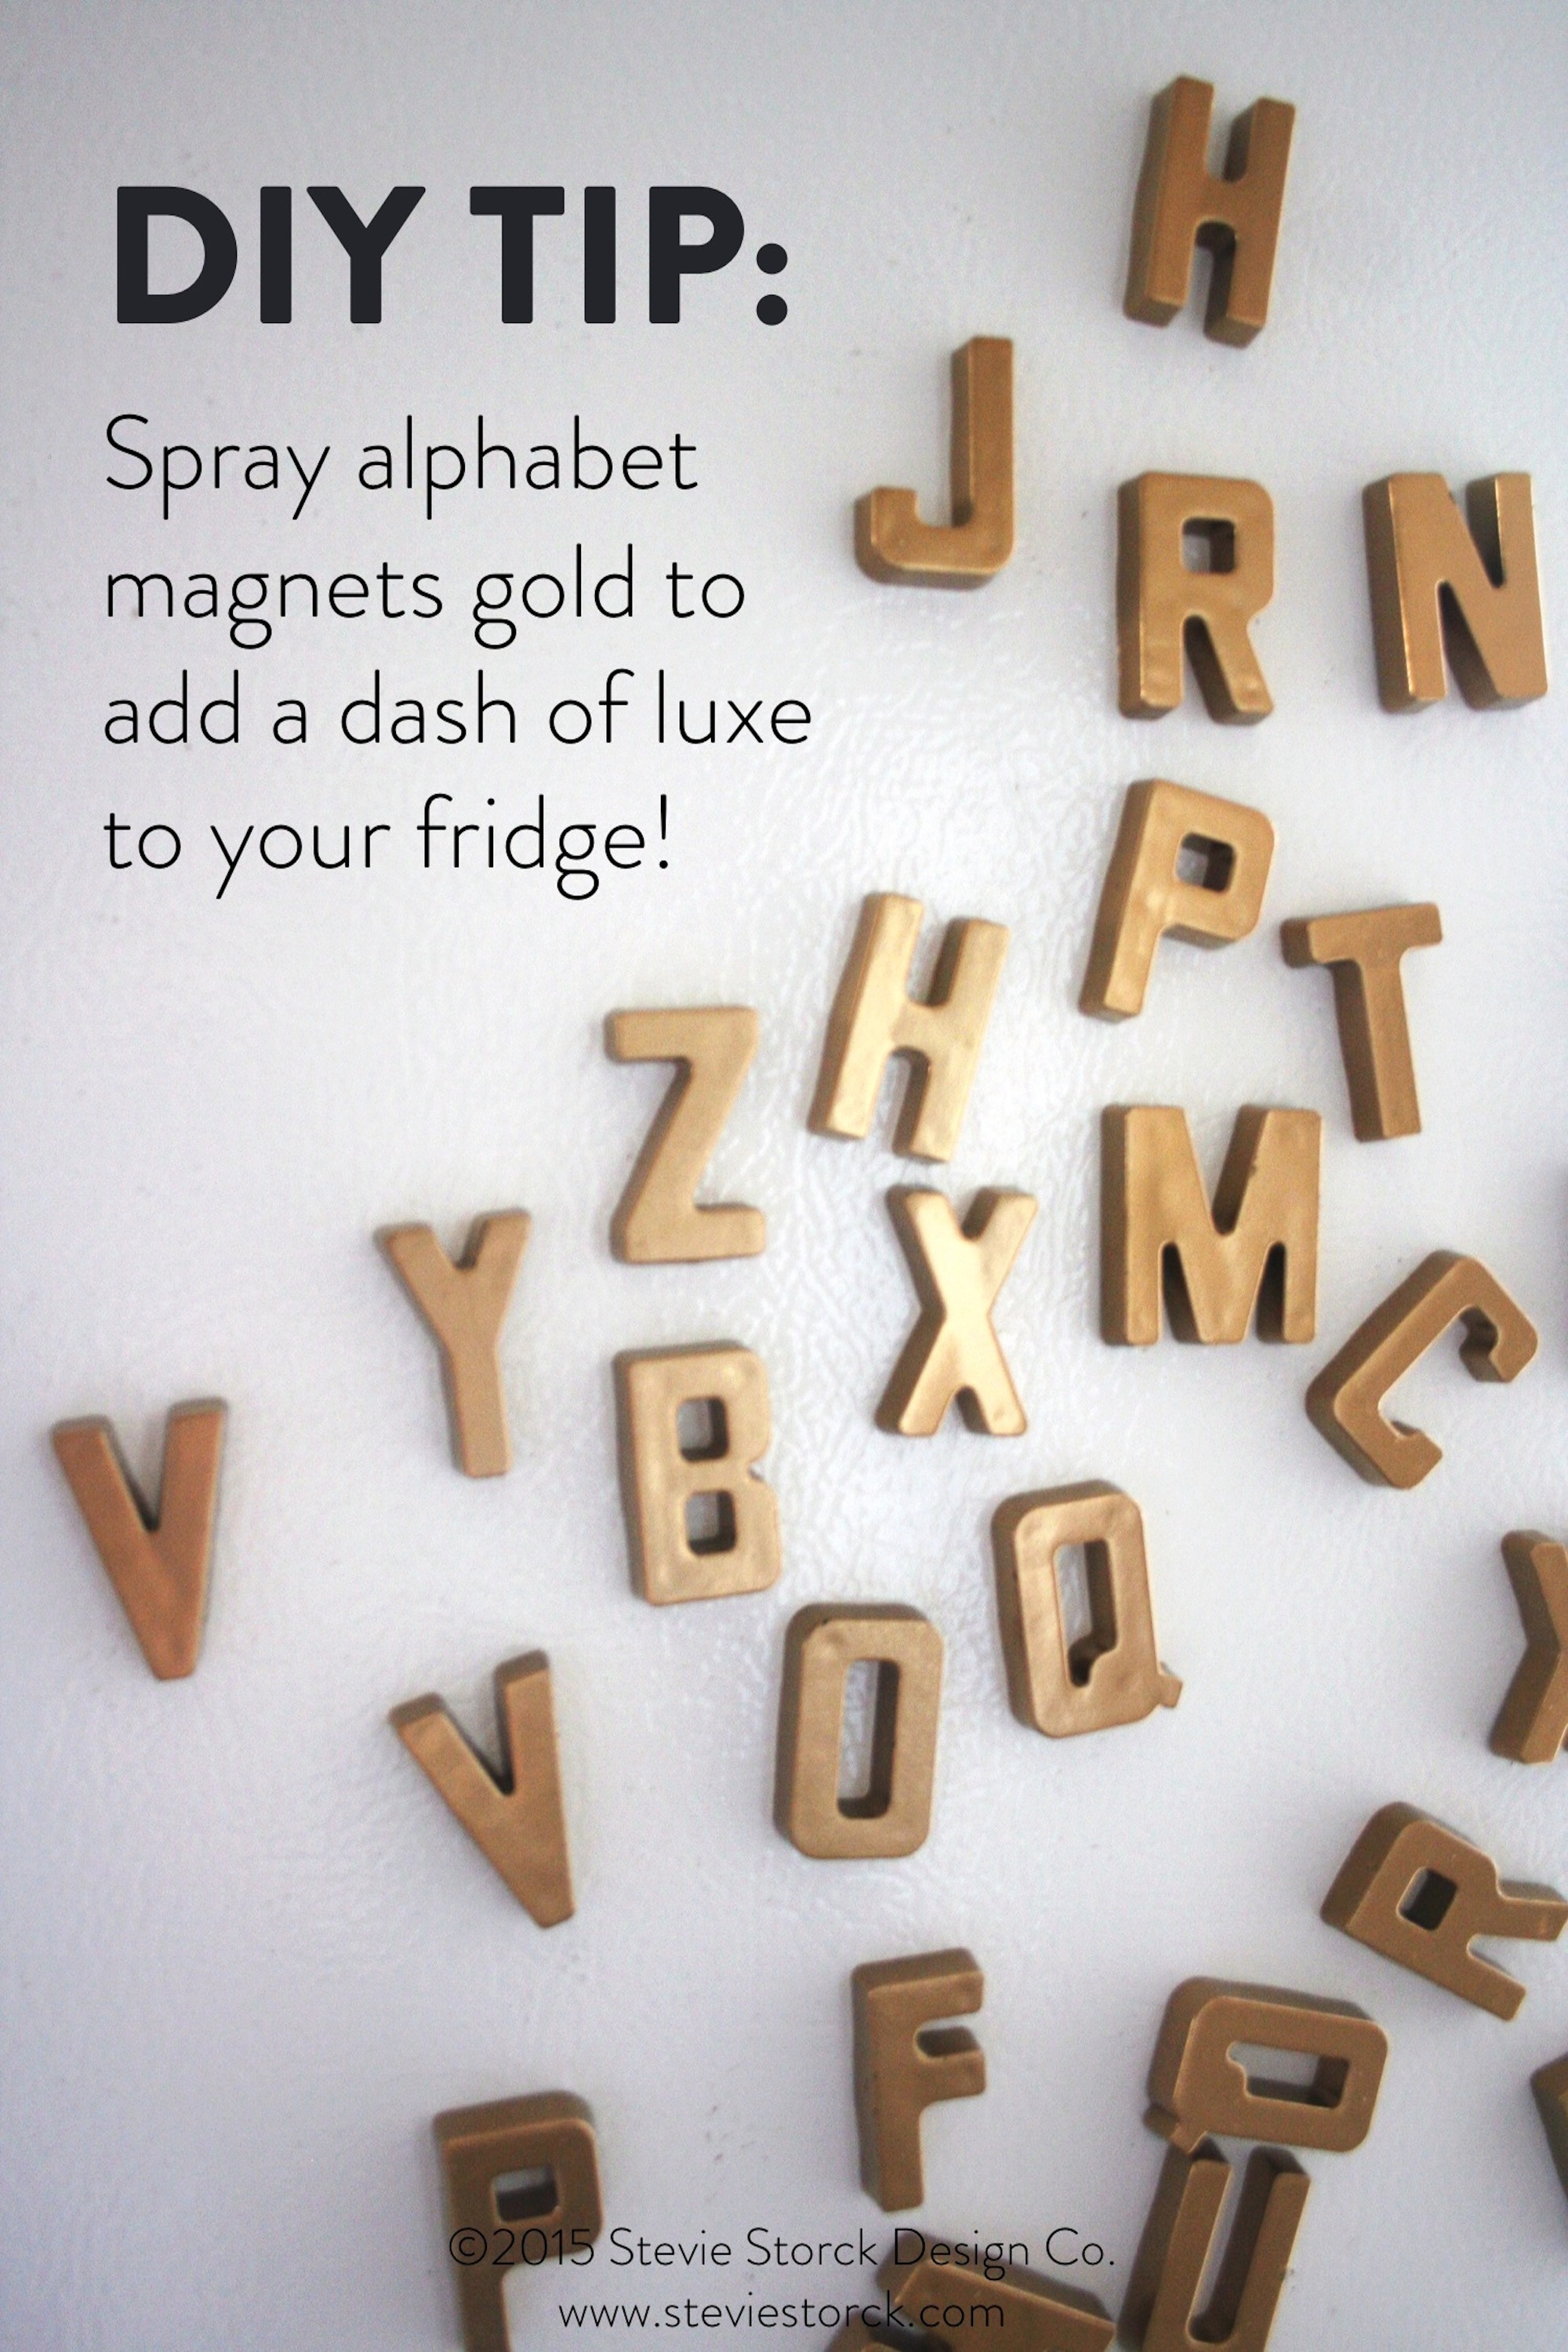
For you seasoned spray painters out there, you go ahead and skip this next section and just pin the image below to your "DIY" Pinterest Board (...you know you want to!). But for anyone who is a spray painting newbie, read on for my 5 tips that will make your next spray painting project easier.
1. Use an empty pizza box to contain overspray.
Hey, it's a great excuse to order pizza! (You deserve it, you crafty DIYing queen!) The added bonus: if you need to take your project inside to dry, just close the lid and you've got an excellent portable project carrier...
2. Don't forget to wear rubber gloves!
You'll thank me later when you are relaxing with your favorite TV show instead of scrubbing paint off of your fingers for days. You may think you can be careful with spray paint and not get any on you, but that is literally impossible. Especially on the finger you use to depress the nozzle. So unless you want a semi-permanent gold manicure, wear your rubber gloves!
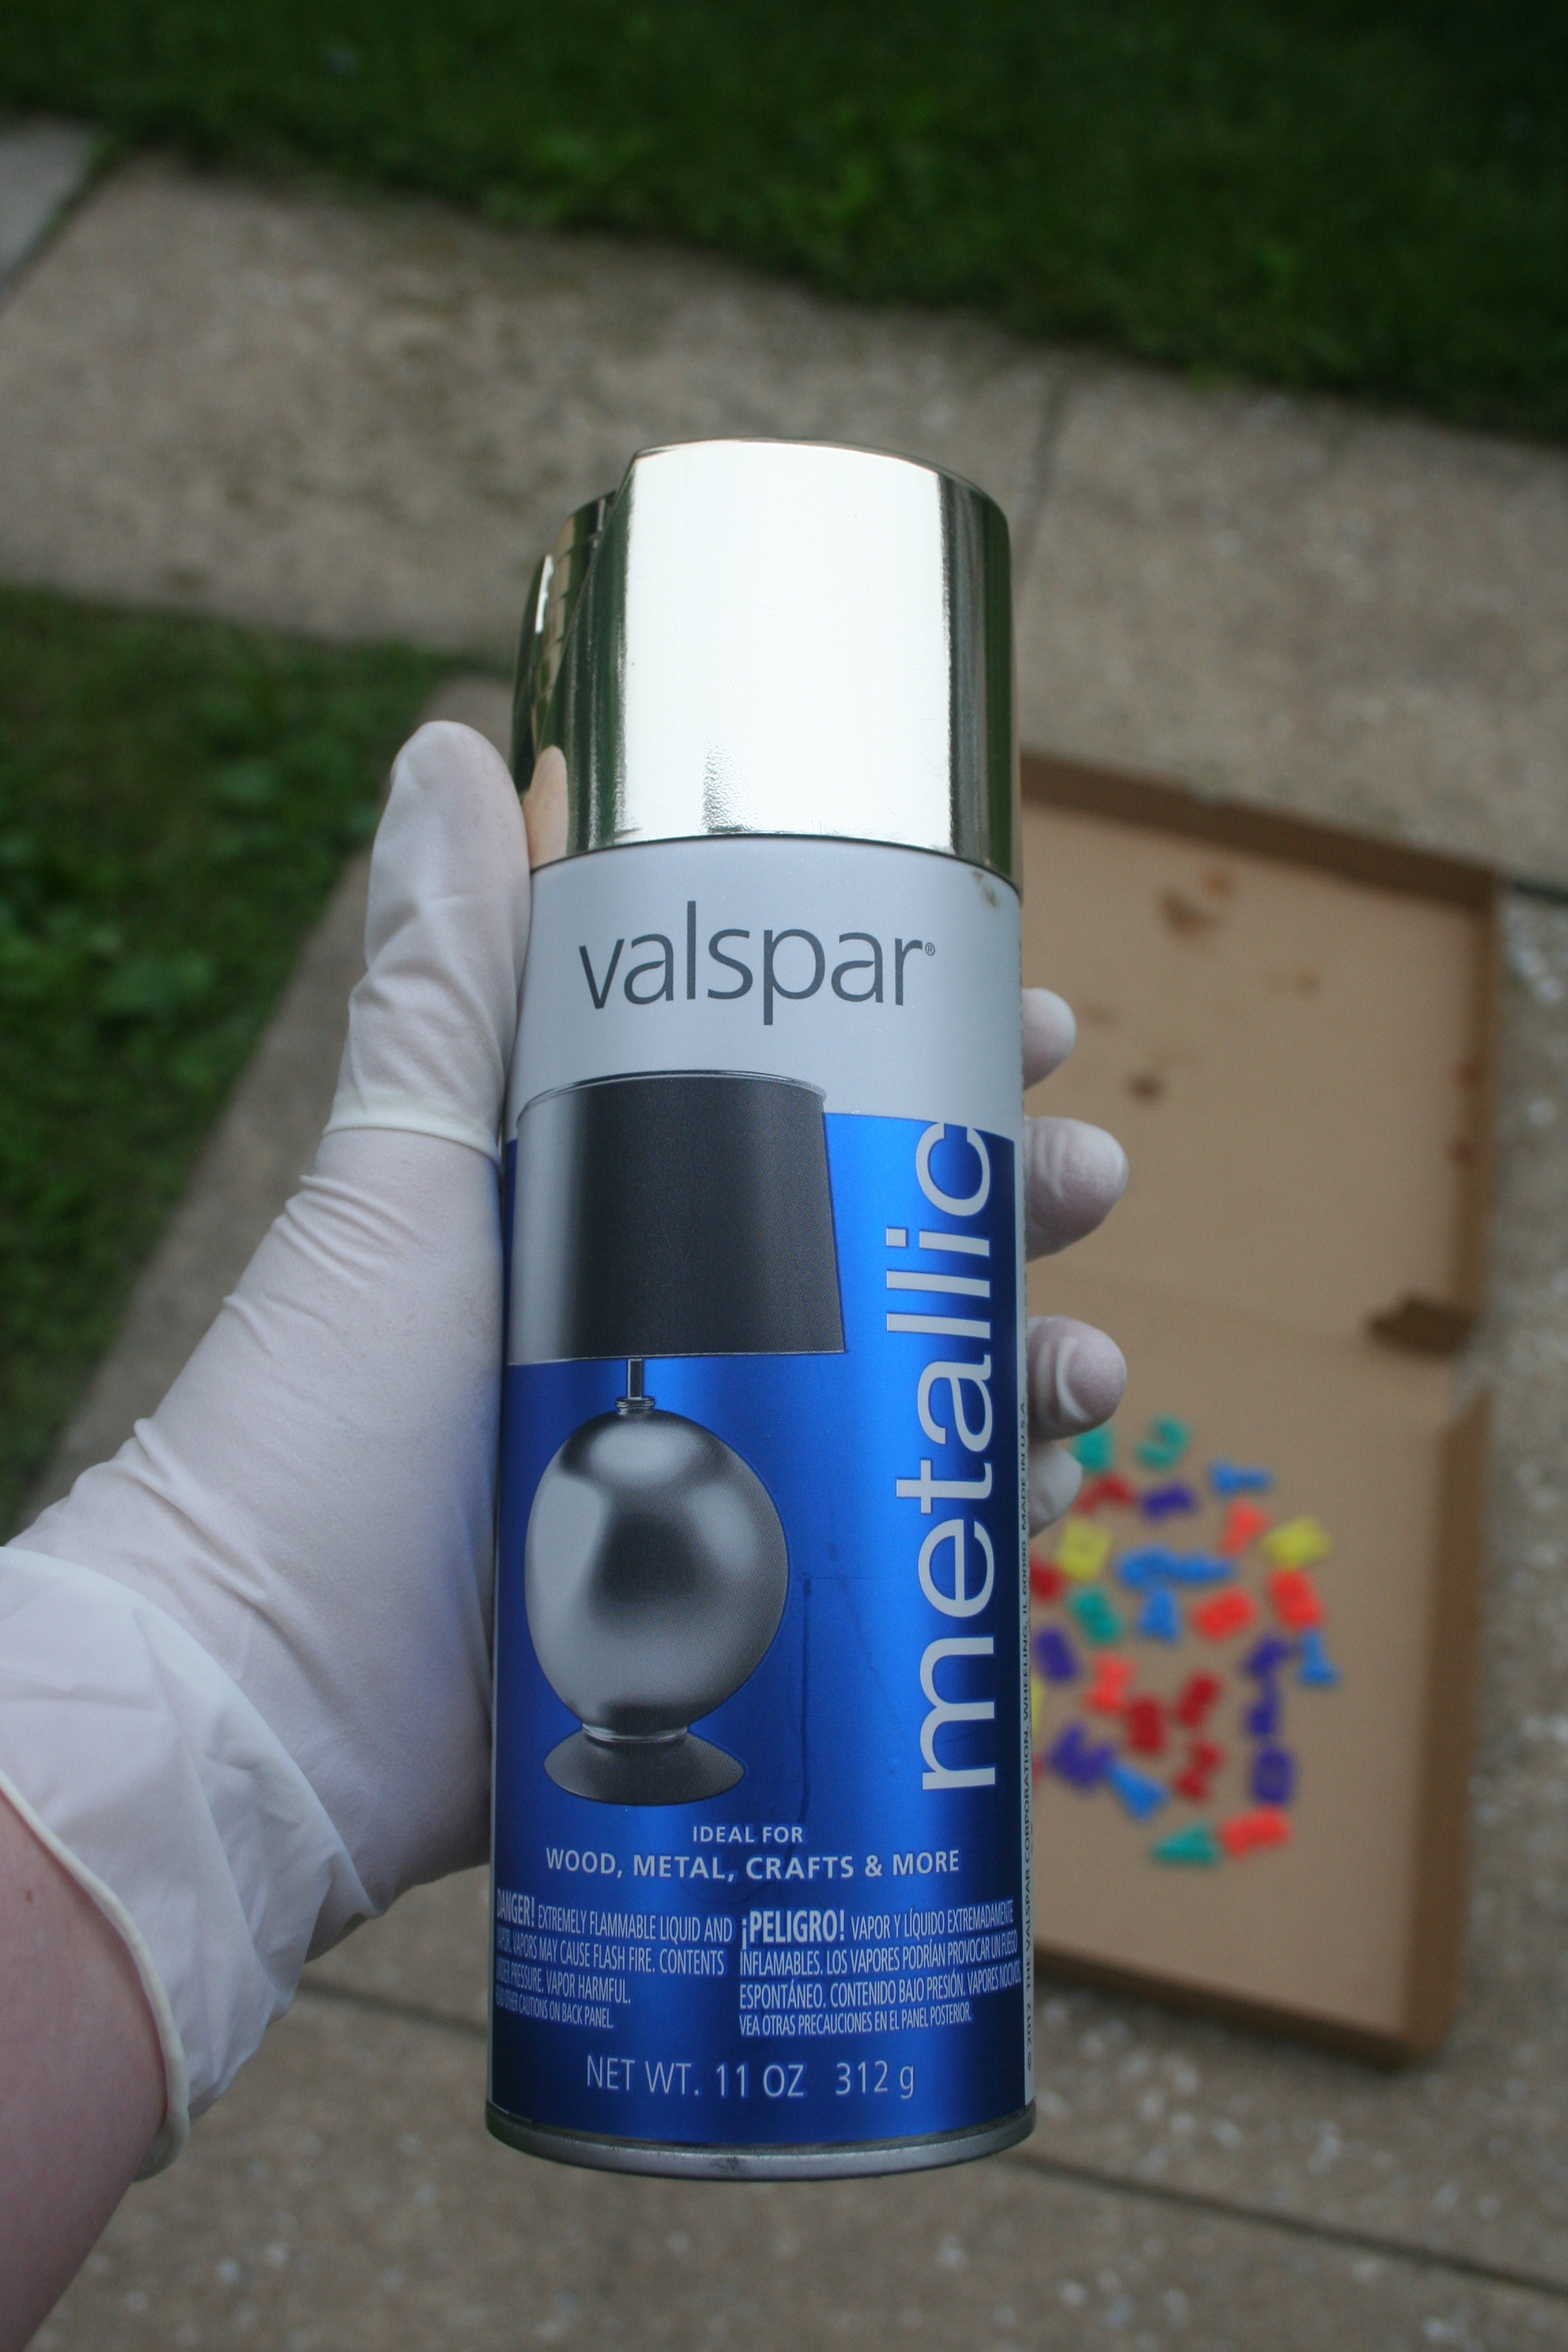
3. Buy good spray paint.
Spray painting doesn't take too long, but it's still not something you want to do twice. See what brands other people have used and had success with. I bought this Valspar spray paint after reading a review on A Beautiful Mess.
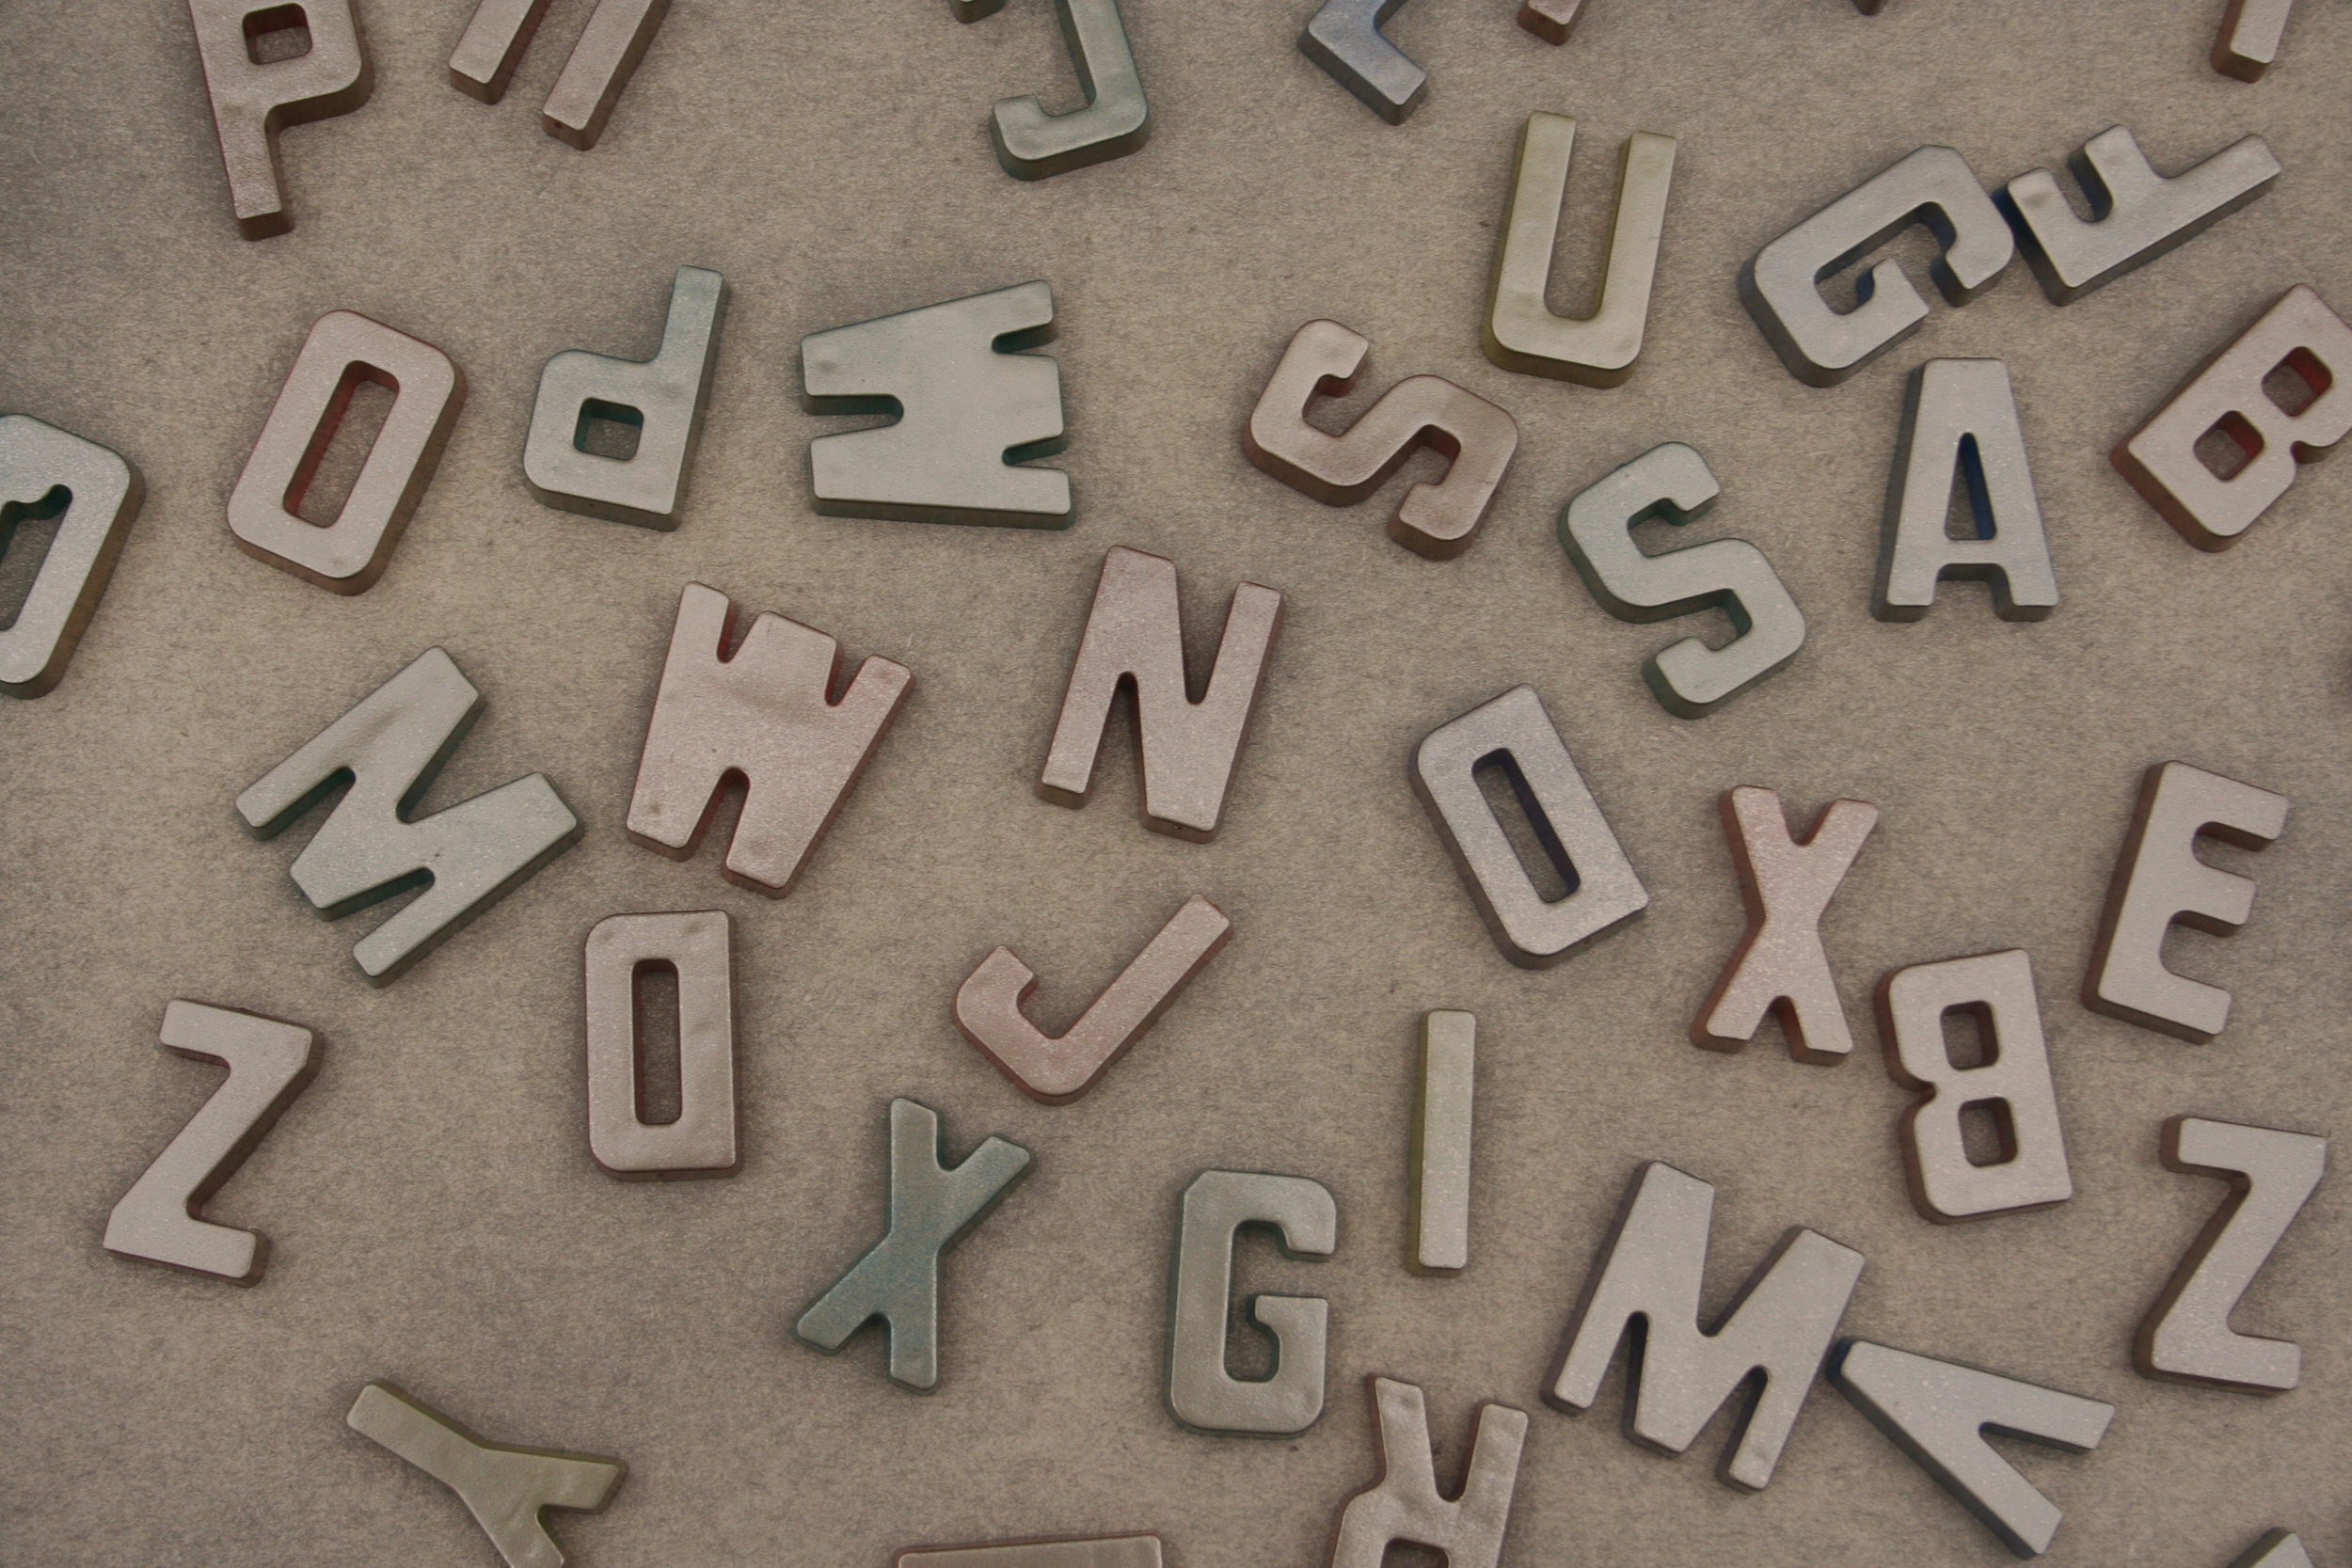
4. Multiple thin coats > One heavy goopy coat.
You may be tempted to just finish the project with one thick coat of spray paint, but I can guarantee that you won't be happy with the result. Apply 3-4 thin coats of paint, allowing 5-10 minutes between coats for each layer to fully dry. If you don't let one coat dry completely before adding another, the bottom coat will never totally dry and your finish will feel soft and goopy no matter how long you let the top coat dry.
If you are doing the Alphabet Magnet DIY, your letters should look like this after the first coat of gold -- lightly coated but still showing the original colors through:
5. If you are going to be spray painting the backside of something, do that FIRST.
On these magnets, I decided to spray paint the back as well to ensure that none of the original color would show through once I stick them to my white refrigerator. (As long as you keep the coats thin, the spray paint won't interfere with the magnet at all). My problem was that I thought of this after I had already painted the fronts. I let the magnets dry for a good 15 minutes before flipping them over, but even with that the spray paint on the front of the magnets stuck to the overspray on my pizza box and chipped off some of my finish when I flipped them back over. See? Even the "pros" make mistakes. So learn from mine, and spray paint the backside first!

It's crazy how a simple coat of paint can totally transform the look and feel of an object. These magnets went from "Kindergarten" to "chic" and it only took about $5 and 30 minutes of my Thursday night.