
How To Remove Mold & Mildew From Your Basement | Part #2
Maybe you've recently discovered mold or mildew in your basement, or maybe you're like us and bought a house knowing full well that there was a mold problem. Either way, you want to know how to get rid of the problem, and FAST. Depending on the extent of the problem, you may want to hire a pro, but this post will walk you through how to remediate mold yourself, like my husband and I did at our new (old) house.
The trick to getting rid of a mold problem is to find the source of the moisture and stop it. After that, all that's left to do is clean up.


Yesterday, I shared how we determined to source of our mold problem and what we did to fix it. (To read Part #1, click here.) Today, I'm going to take you through how we cleaned up our basement and remediated the mold and mildew ourselves.
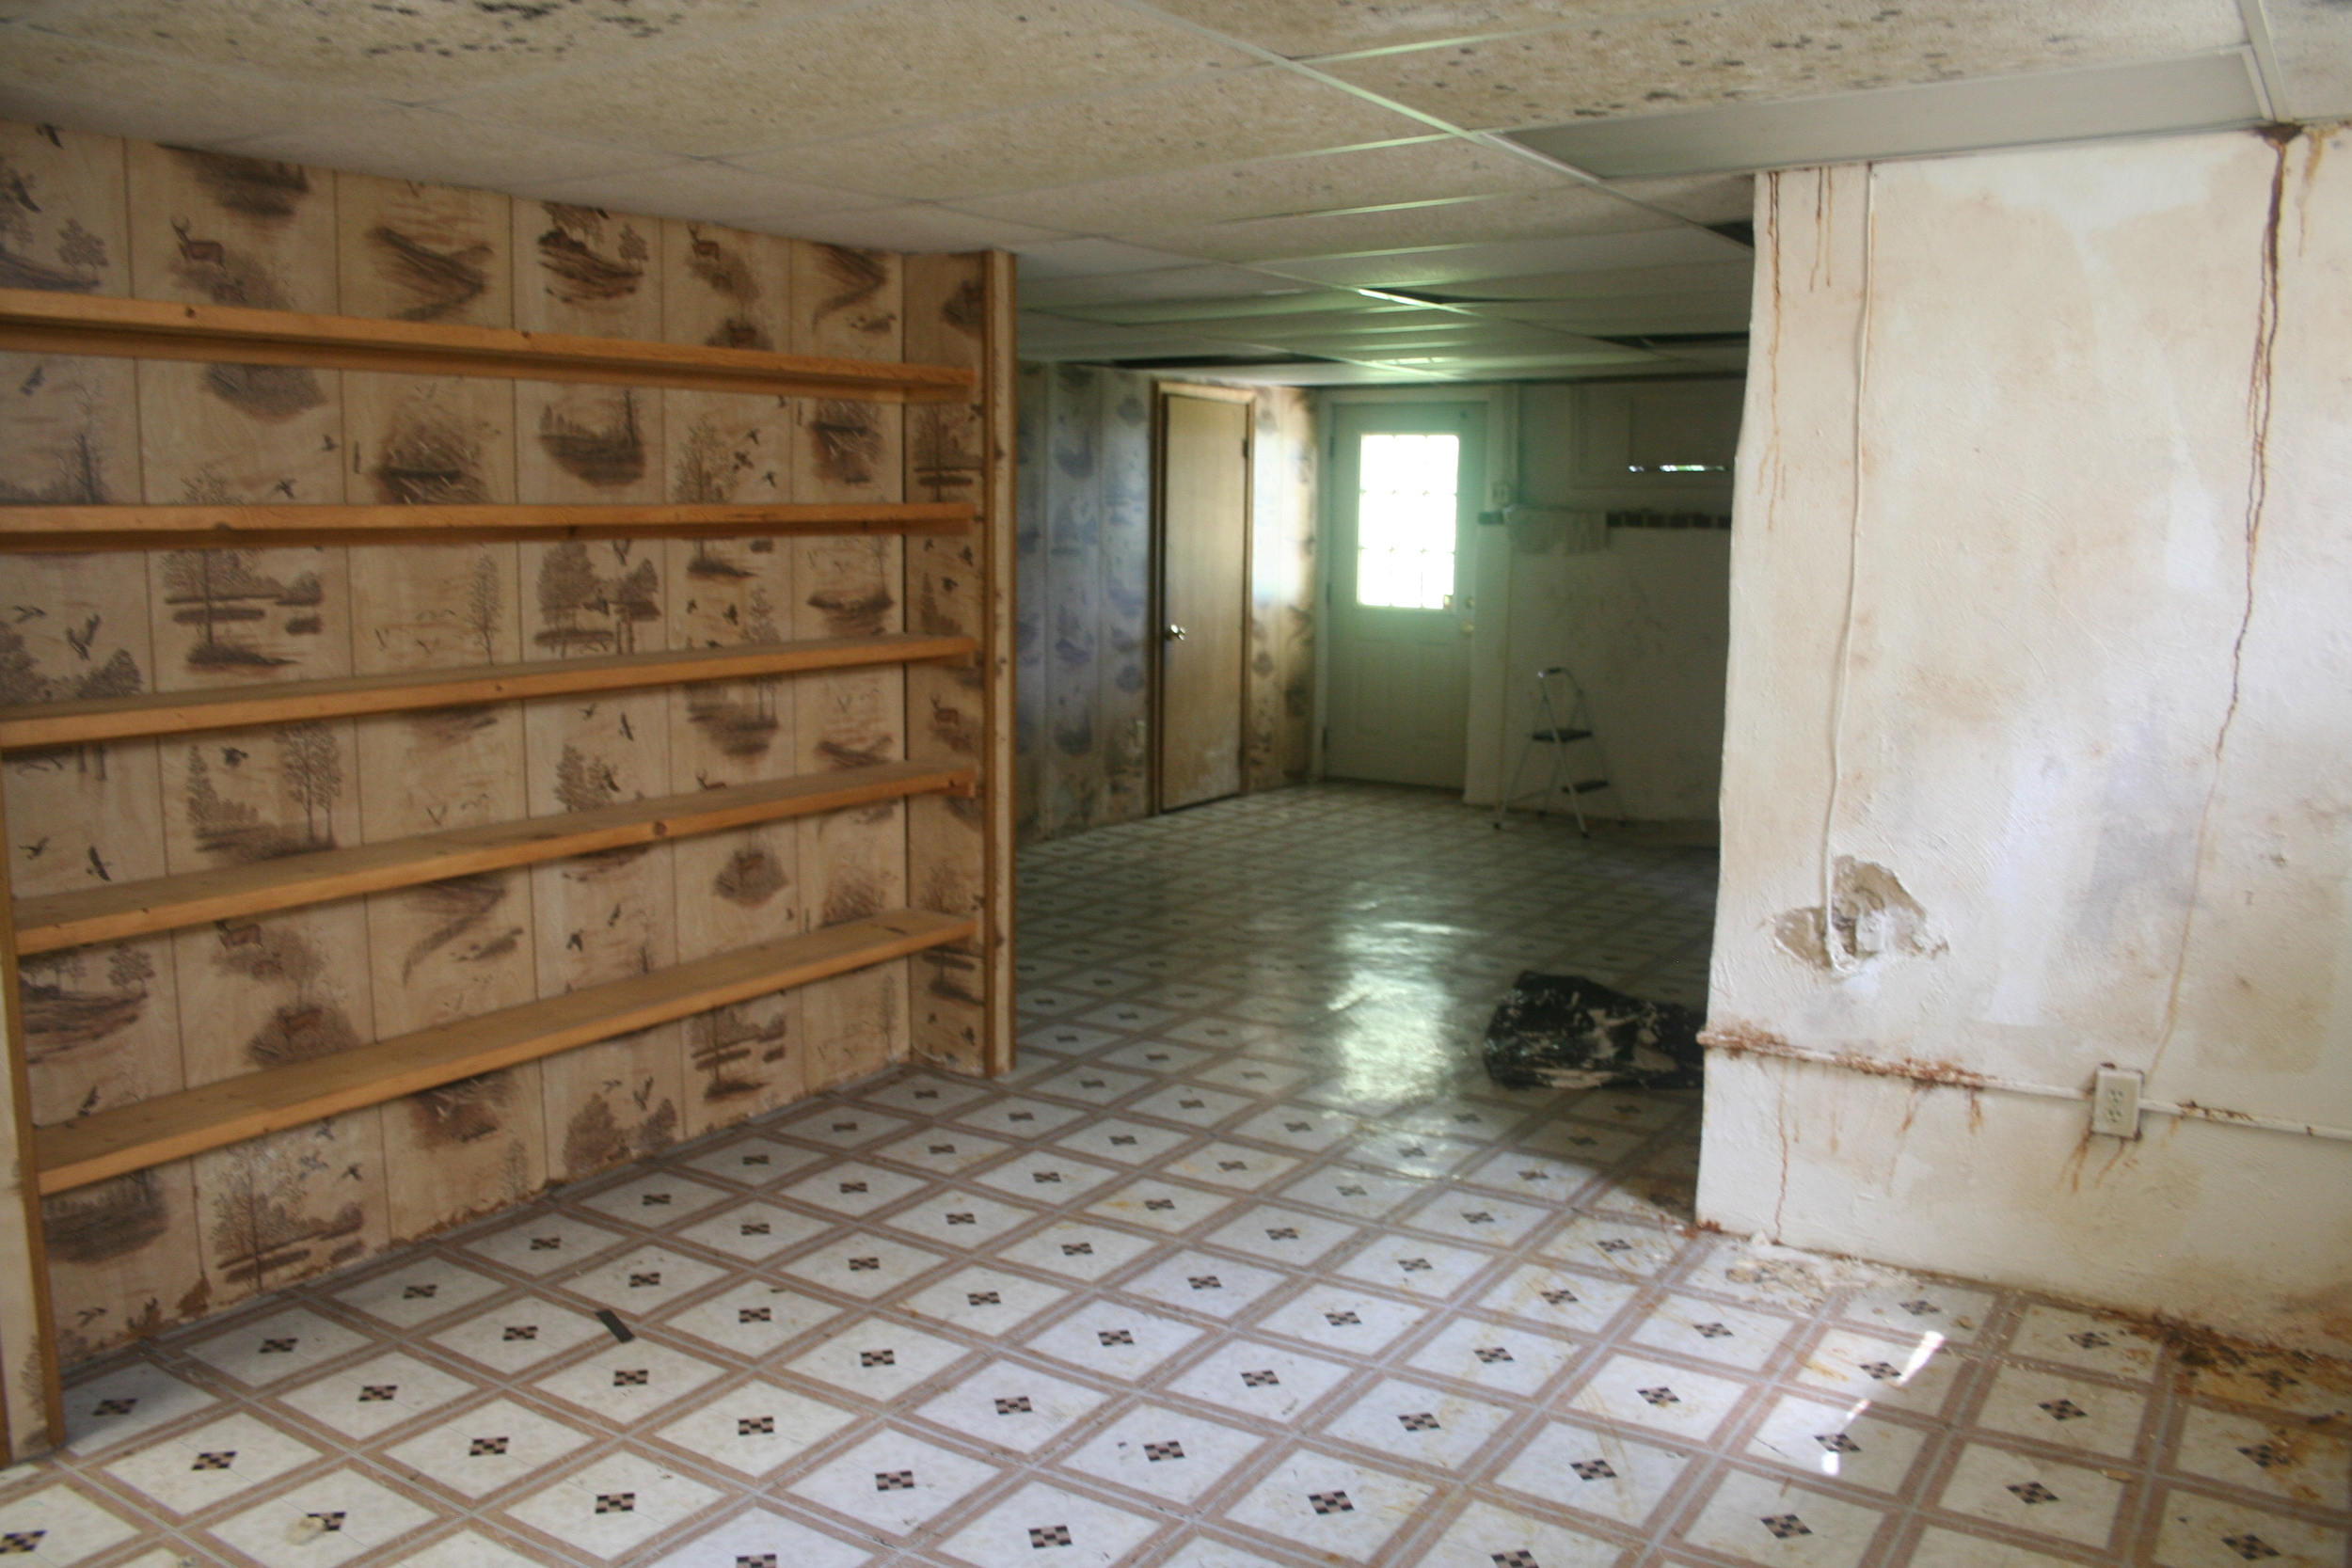
Once you've discovered the source of the moisture and fixed it, then you need to decide what is salvageable and what will need to be replaced. We were lucky that our walls were mostly concrete and plywood paneling. These surfaces are not as porous as drywall, and therefore were not as susceptible to damage caused by moisture and mold. The mold and mildew really just sat on the surface and was easy enough to remove.
Our drop ceiling tiles however, were a different story. Ceiling tiles like ours are made of mineral fiber, but they might as well be made of dish sponges. Those tiles sucked in the moisture like crazy, warping and fostering the growth of black mold in the process. These would not be salvageable. But since we could reuse the existing metal track system with some minor repairs, replacing the actual tiles wouldn't be very costly or labor intensive. It only took us about an hour to pull down all of the damaged tiles.
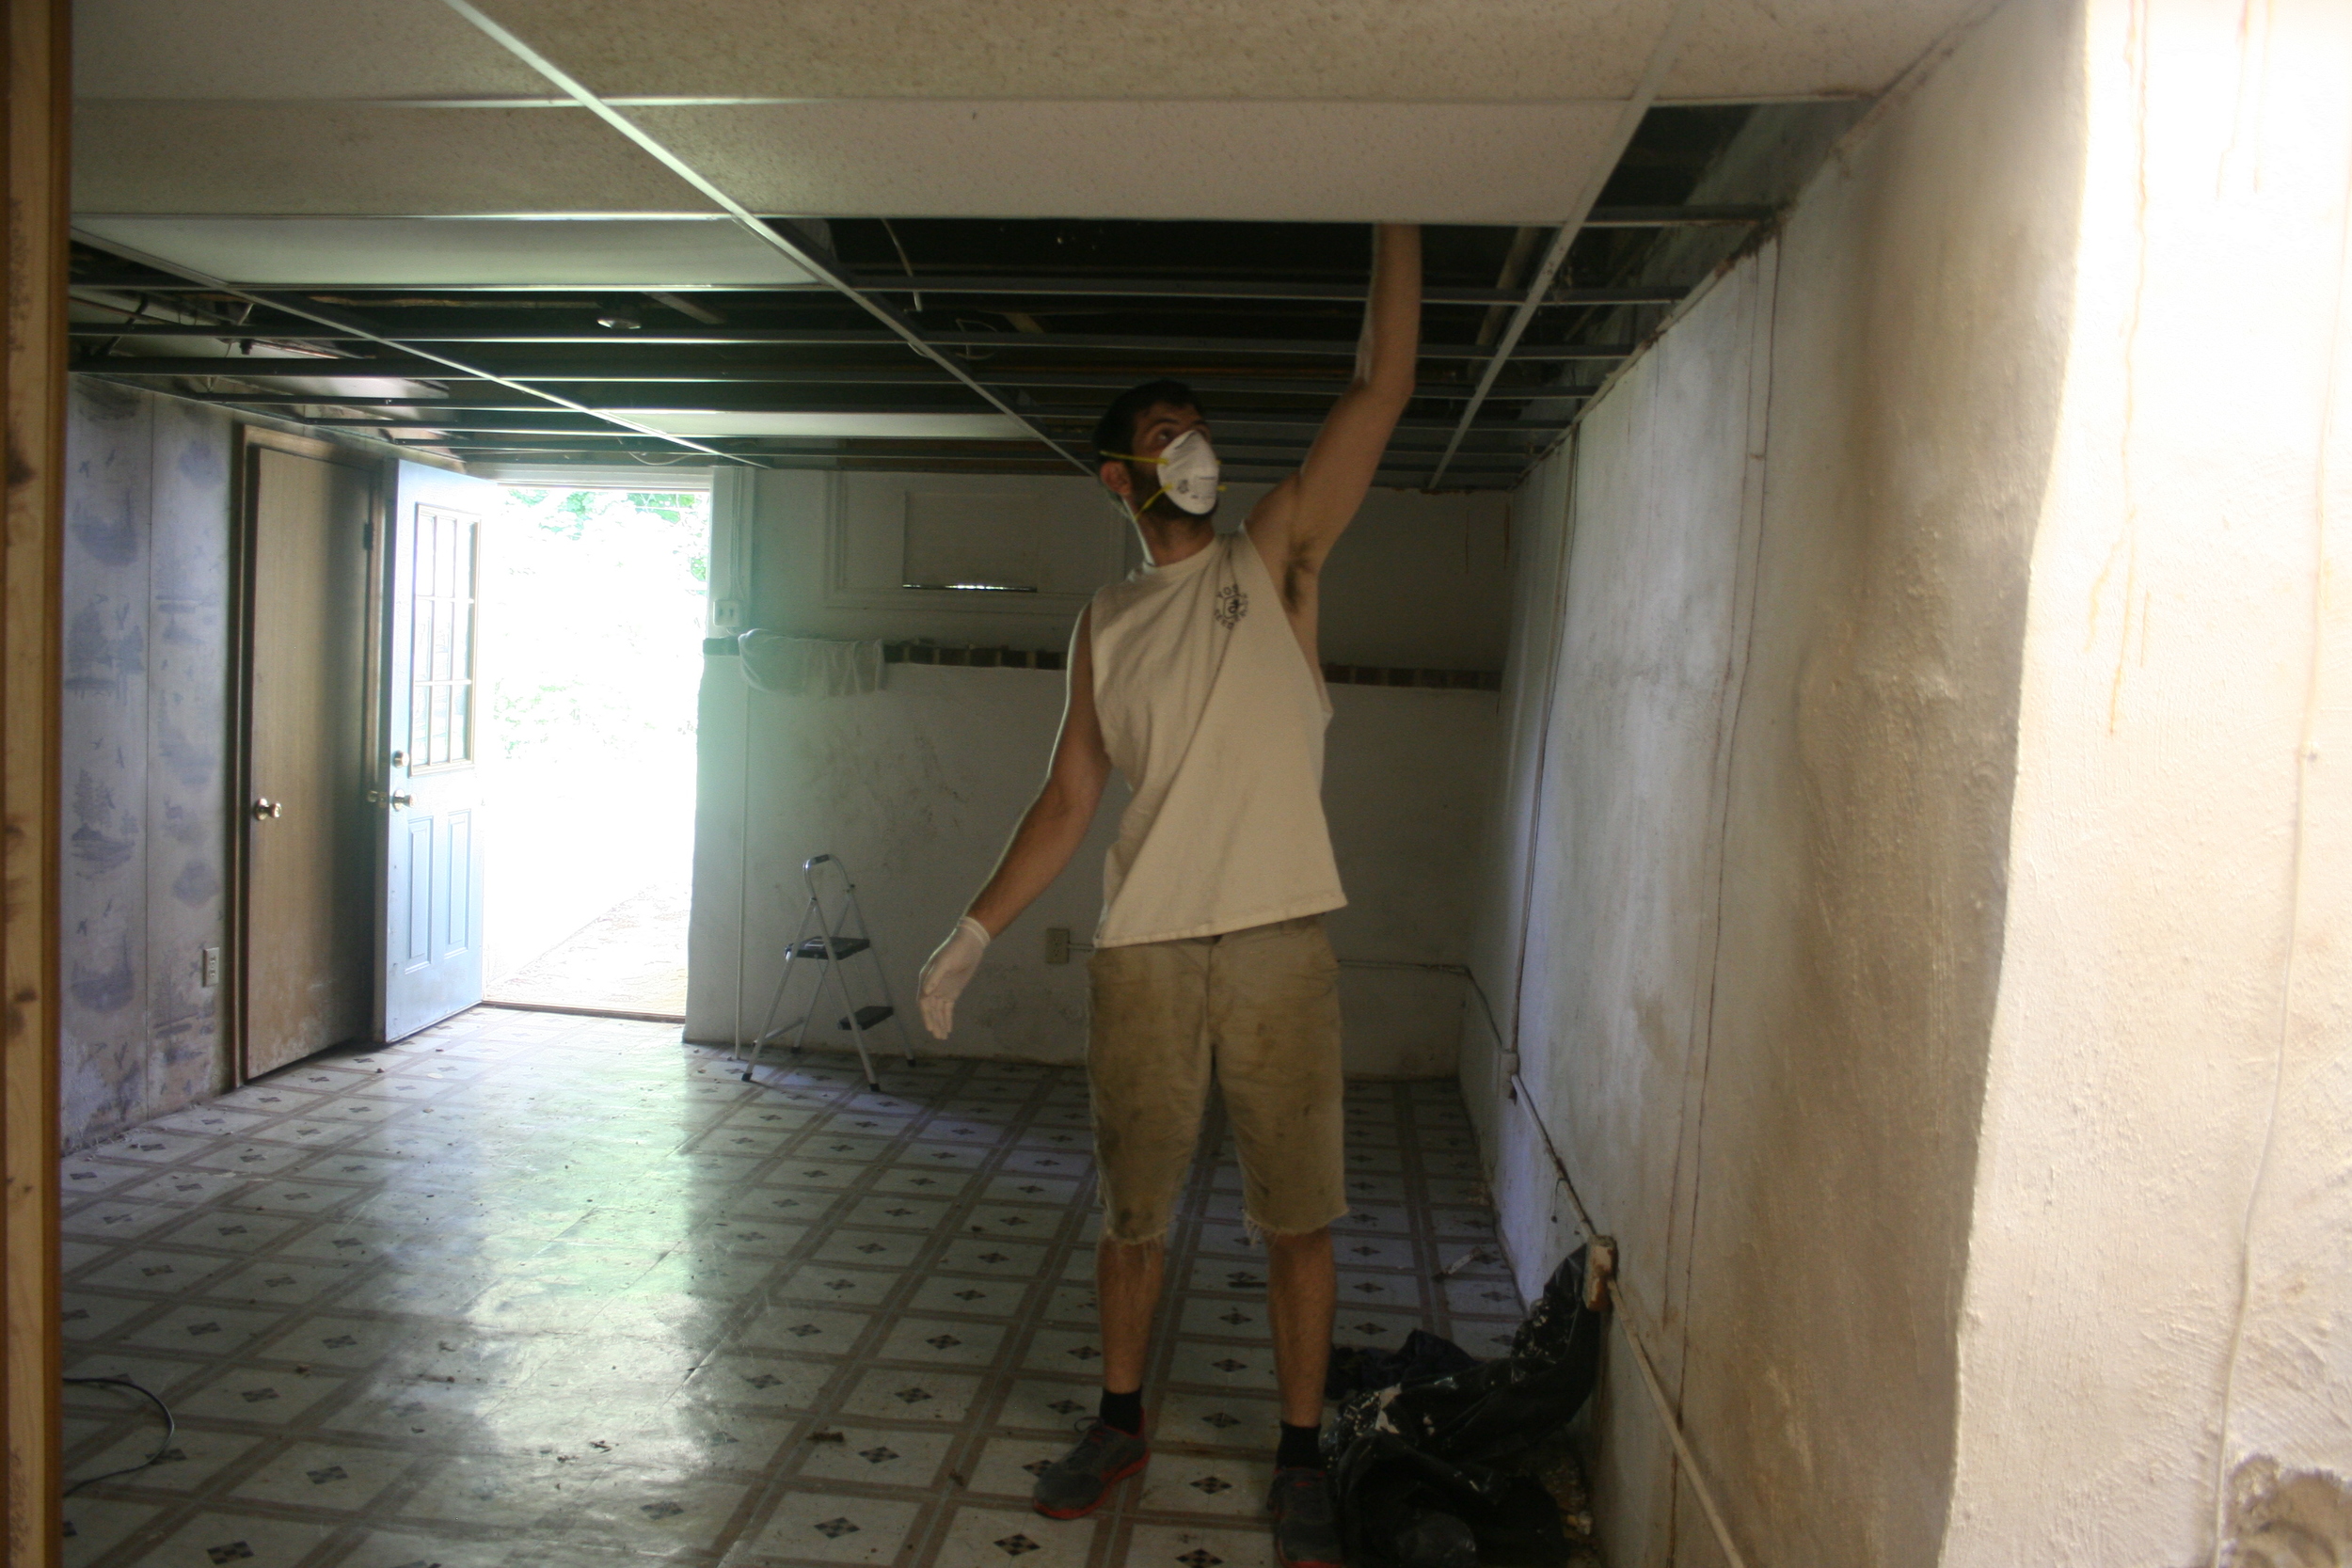

For the record: I did take down a lot of tiles myself! It's just that Anthony was more concerned with getting the job done than documenting it, so any photos of me are just a blur. This next one is my person favorite. Gotta love the farmer's tan!

Now onto the cleanup! Here's what you'll need:
Water
Bleach
Plastic buckets
Protective face masks
Eye goggles
Rubber gloves
Rags
Scrub brush
We opened all the doors and windows in the basement, and set up a fan to provide some ventilation. Wearing our protective gear, we mixed 8 parts water with 1 part bleach in a five gallon bucket.
8 parts water + 1 part bleach
We soaked some rags in the mixture, ringing them out before wiping down the walls. As soon as the bleach solution came in contact with the mold & mildew, it started to disappear. It didn't even take much elbow grease! There were some areas that we had to reapply to finish off the mold, but we were surprised at how fast this process went. Here's the only non-blurry photo of me from this project, showing off just how easily the mold and mildew was coming off:

So the moral of the story is this:
Don't assume that mold is a deal breaker when shopping for a fixer upper. If the house is in good shape overall and at a good price, dig deeper to figure out just what it will take to stop the moisture and remediate the mold problem. If mold has penetrated an entire house full of drywall, that may be a deal you want to walk away from as a potential owner-occupant. But if you are working with mostly surface mold on materials like concrete or paneling, it's a job that will just take a few hours of sweat to complete.
Follow our Journey as First-time Homeowners:
Sign up for our email newsletter below and get updates delivered right to your inbox! And as always, feel free to comment on this post or email me with any questions. Thanks for reading!