How to Take Better Home Photos With Your Smart Phone | Guest Post
Hello friends! Today's guest post comes from Savannah Smith, the talented photographer behind Savannah Smith Photography. If you've been following this blog for a while, you may have heard of her already. Savannah captured our wedding photos nearly 2 years ago, met us in West Chester, PA for an anniversary session last year and we're booked for another session this October! Over the last few years, Savannah has become such a great friend and supporter, as a fellow creative entrepreneur. Today, she is teaching us how to take better photos with our iPhones (or any smartphone for that matter). So without further ado, here's Savannah!

Even as a professional photographer, there are times where I just don’t break out the “big camera”. Whether you’re showing off your new place on Instagram or getting ready to list your current abode on AirBnB, these simple tips will help you to take better smart phone photos that capture the beauty of your space!
All of the images below were taken and edited with my iPhone 5. All of the items in those images are things I had readily available in my apartment!
Here are my top tips for perfectly capturing your castle:
1. Remove Distractions
While your home might not be constantly tidy or beautifully organized, when you’re photographing it, your home should appear to be the best it can be. Sometimes the items you need for everyday function just shouldn’t be in your photos. To demonstrate exactly what I mean, lets take a look at my living room television stand. My mom refinished this antique dining room buffet to give it a shabby chic look. I’m currently using it as TV stand. The shelves inside (meant for serving dishes and flatware) are currently housing our xbox, wireless router and a bunch of other technology which is evident by all of the cords!

What did I do to clean up this shot?
- I turned off the TV! Sorry, Steve Harvey!
- I did my best to tuck away all of the cords so that they weren’t visible from the angle I shot the photo.
- I hid the TV antenna because no one needs to know that we don’t pay for cable… that thing is so ugly but saves us so much money.
- I took just two items off of the decorative shelves on the right in order to create a cleaner look.
The items I moved or hid are things we absolutely need for everyday functionality but they shouldn’t be displayed in a photo. By just tucking them out of sight, the photo looks cleaner and your eye is drawn to the cute buffet. It took me less than 10 seconds to get this space back to how we need it after taking the picture!
2. Get the Light Just Right
As a photographer, I am forever chasing great light. Golden and even light is my absolute favorite but when capturing the interior of your home, you might be limited in the ways you can manipulate and use light.
Great lighting can make all the difference in a photo.
- Always use natural light. Open the curtains, turn off the lamps and embrace that sunshine!
- Try different ways of filtering your light for varying effects. Experiment with moving your curtains or blinds to change the way the light shines in your photos.
- In bright, direct sun – use a sheer curtain or white sheet on a window to diffuse and soften the light on your subject.

3. Find the Best Angle
Before you shoot, reconsider your angle. Think outside of the box and get creative. It might mean grabbing a step-stool or squatting down low. Avoid having 5’4” syndrome where every photo is taken from the same height.
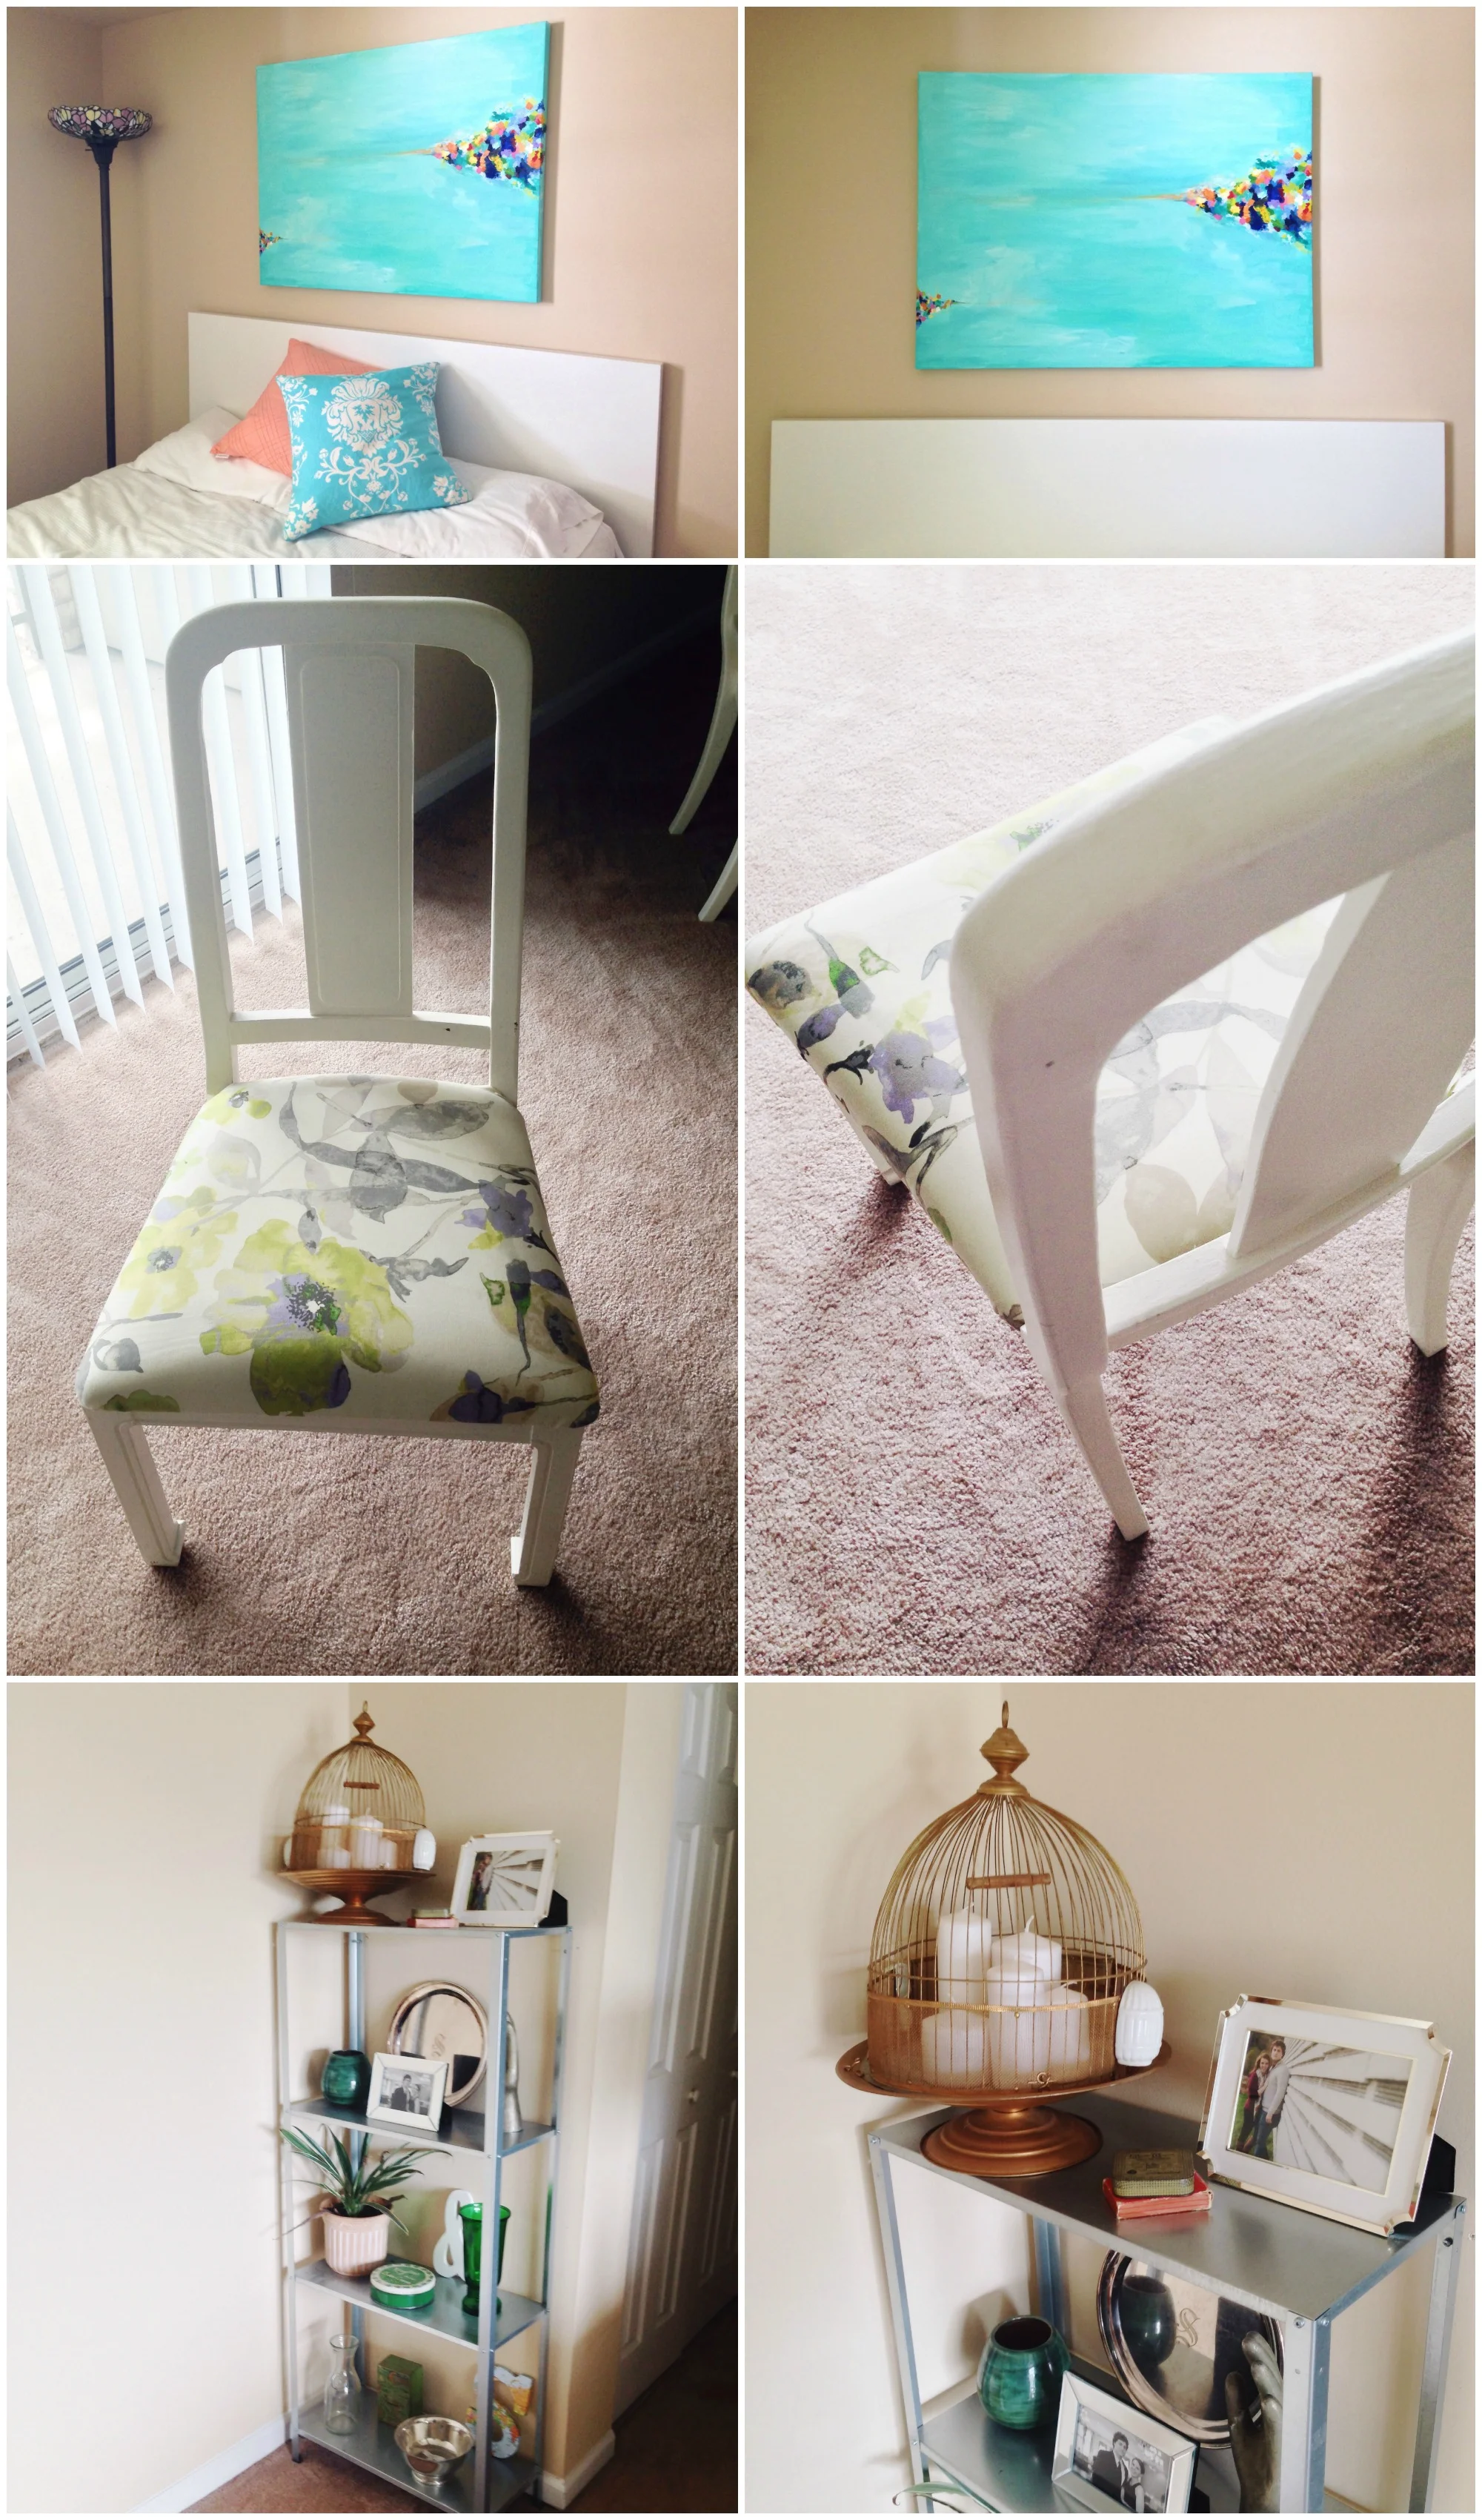
4. Styling Your Space
On a normal day, my nightstand is pretty… unattractive. It’s either completely covered with stuff or totally naked and neglected. To ‘”style” this photo I grabbed some practical-yet-pretty items from other parts of my bedroom and arranged them nicely on the nightstand.
Is it perfect? No. Is it better than before? Absolutely. That’s the goal with styling. Add items to your subject that enhance it – don’t clutter and don’t be impractical.

5. The Skinny on Using Filters
I use just two photo-editing apps on a daily basis. I love Pic-Tap-Go and Afterlight but you should find one that works for you. (Note from Stevie: I use Afterlight too and I love it!)
I don’t ever post a photo (smart phone or DSLR) without editing it first. Sometimes the photo just needs light edits like boosting the exposure or lowering the highlights. Sometimes I love creating something really unique using silhouettes, double exposure, vignettes, color swapping and more. But when photographing your home, it’s best to keep it simple.
My favorite tip?
Apply a filter and then lower it’s intensity. This will keep the photo from looking too over-processed.
This is possible in both of the photo apps I use as well as directly in Instagram. Below, you can see the icons for both Pic-Tap-Go and Afterlight in case you want to download them! On the right, you can see how to lower the intensity of a filter on Afterlight.