
The "Before" House Tour | 2015
I know what you guys are thinking. (At least those of you who have been following this blog for a while...) "Stevie, you told us you were buying a house way back in April. When do we get to see it?!?!?"
I've really been slacking in the house tour department, and I'm sorry. To be honest, I started the first draft of this post back in June but because I didn't do an amazing job of taking photos before we started doing things, I was struggling with how best to organize a digital house tour. Especially when many of our rooms are still empty, even though it's now been 5 months since we moved in. So these photos are a combination of crappy photos I stole from the online listing, plus better photos that I've taken in stages over the last few months. I'm also sharing some of our plans for each room in the form of a punch list. If it's in italics, that means it's done!
Get your scrolling muscles ready, this is going to be a long one!
EXTERIOR
Our house was built in 1903 and has the look of a farmhouse, even though it's right in town. I love the look of the black shutters against the white siding and the wrap around porch is what dreams are made of. I took these photos before Anthony had a chance to pressure wash the siding, so rest assured that our house doesn't look quite so grimy today! I also pruned the rose bush after work one day and went around ripping off all the weeds growing on the side of our house.


We have a lot planned for the outside of our house. Eventually, I would like to replace the siding since it's currently mismatched vinyl and aluminum, but in the meantime we want to:
- Patch and paint the porch floor
- Paint both front doors
- Possibly paint porch ceiling (still debating)
- Build planter boxes for the front windows
- Hang our porch swing
- Plant some flower beds along the front and side
Here are the posts I've written about the exterior of our house so far:
KITCHEN
It may not have been updated since the 1960's, but there is a lot to love about our new kitchen! The peninsula is a great work station, and I love that it has it's own exterior door with a small porch. I also love how spacious it is-- we have plenty of space to work when we eventually do a full remodel. A good scrubbing was all we needed to get our kitchen into working order.


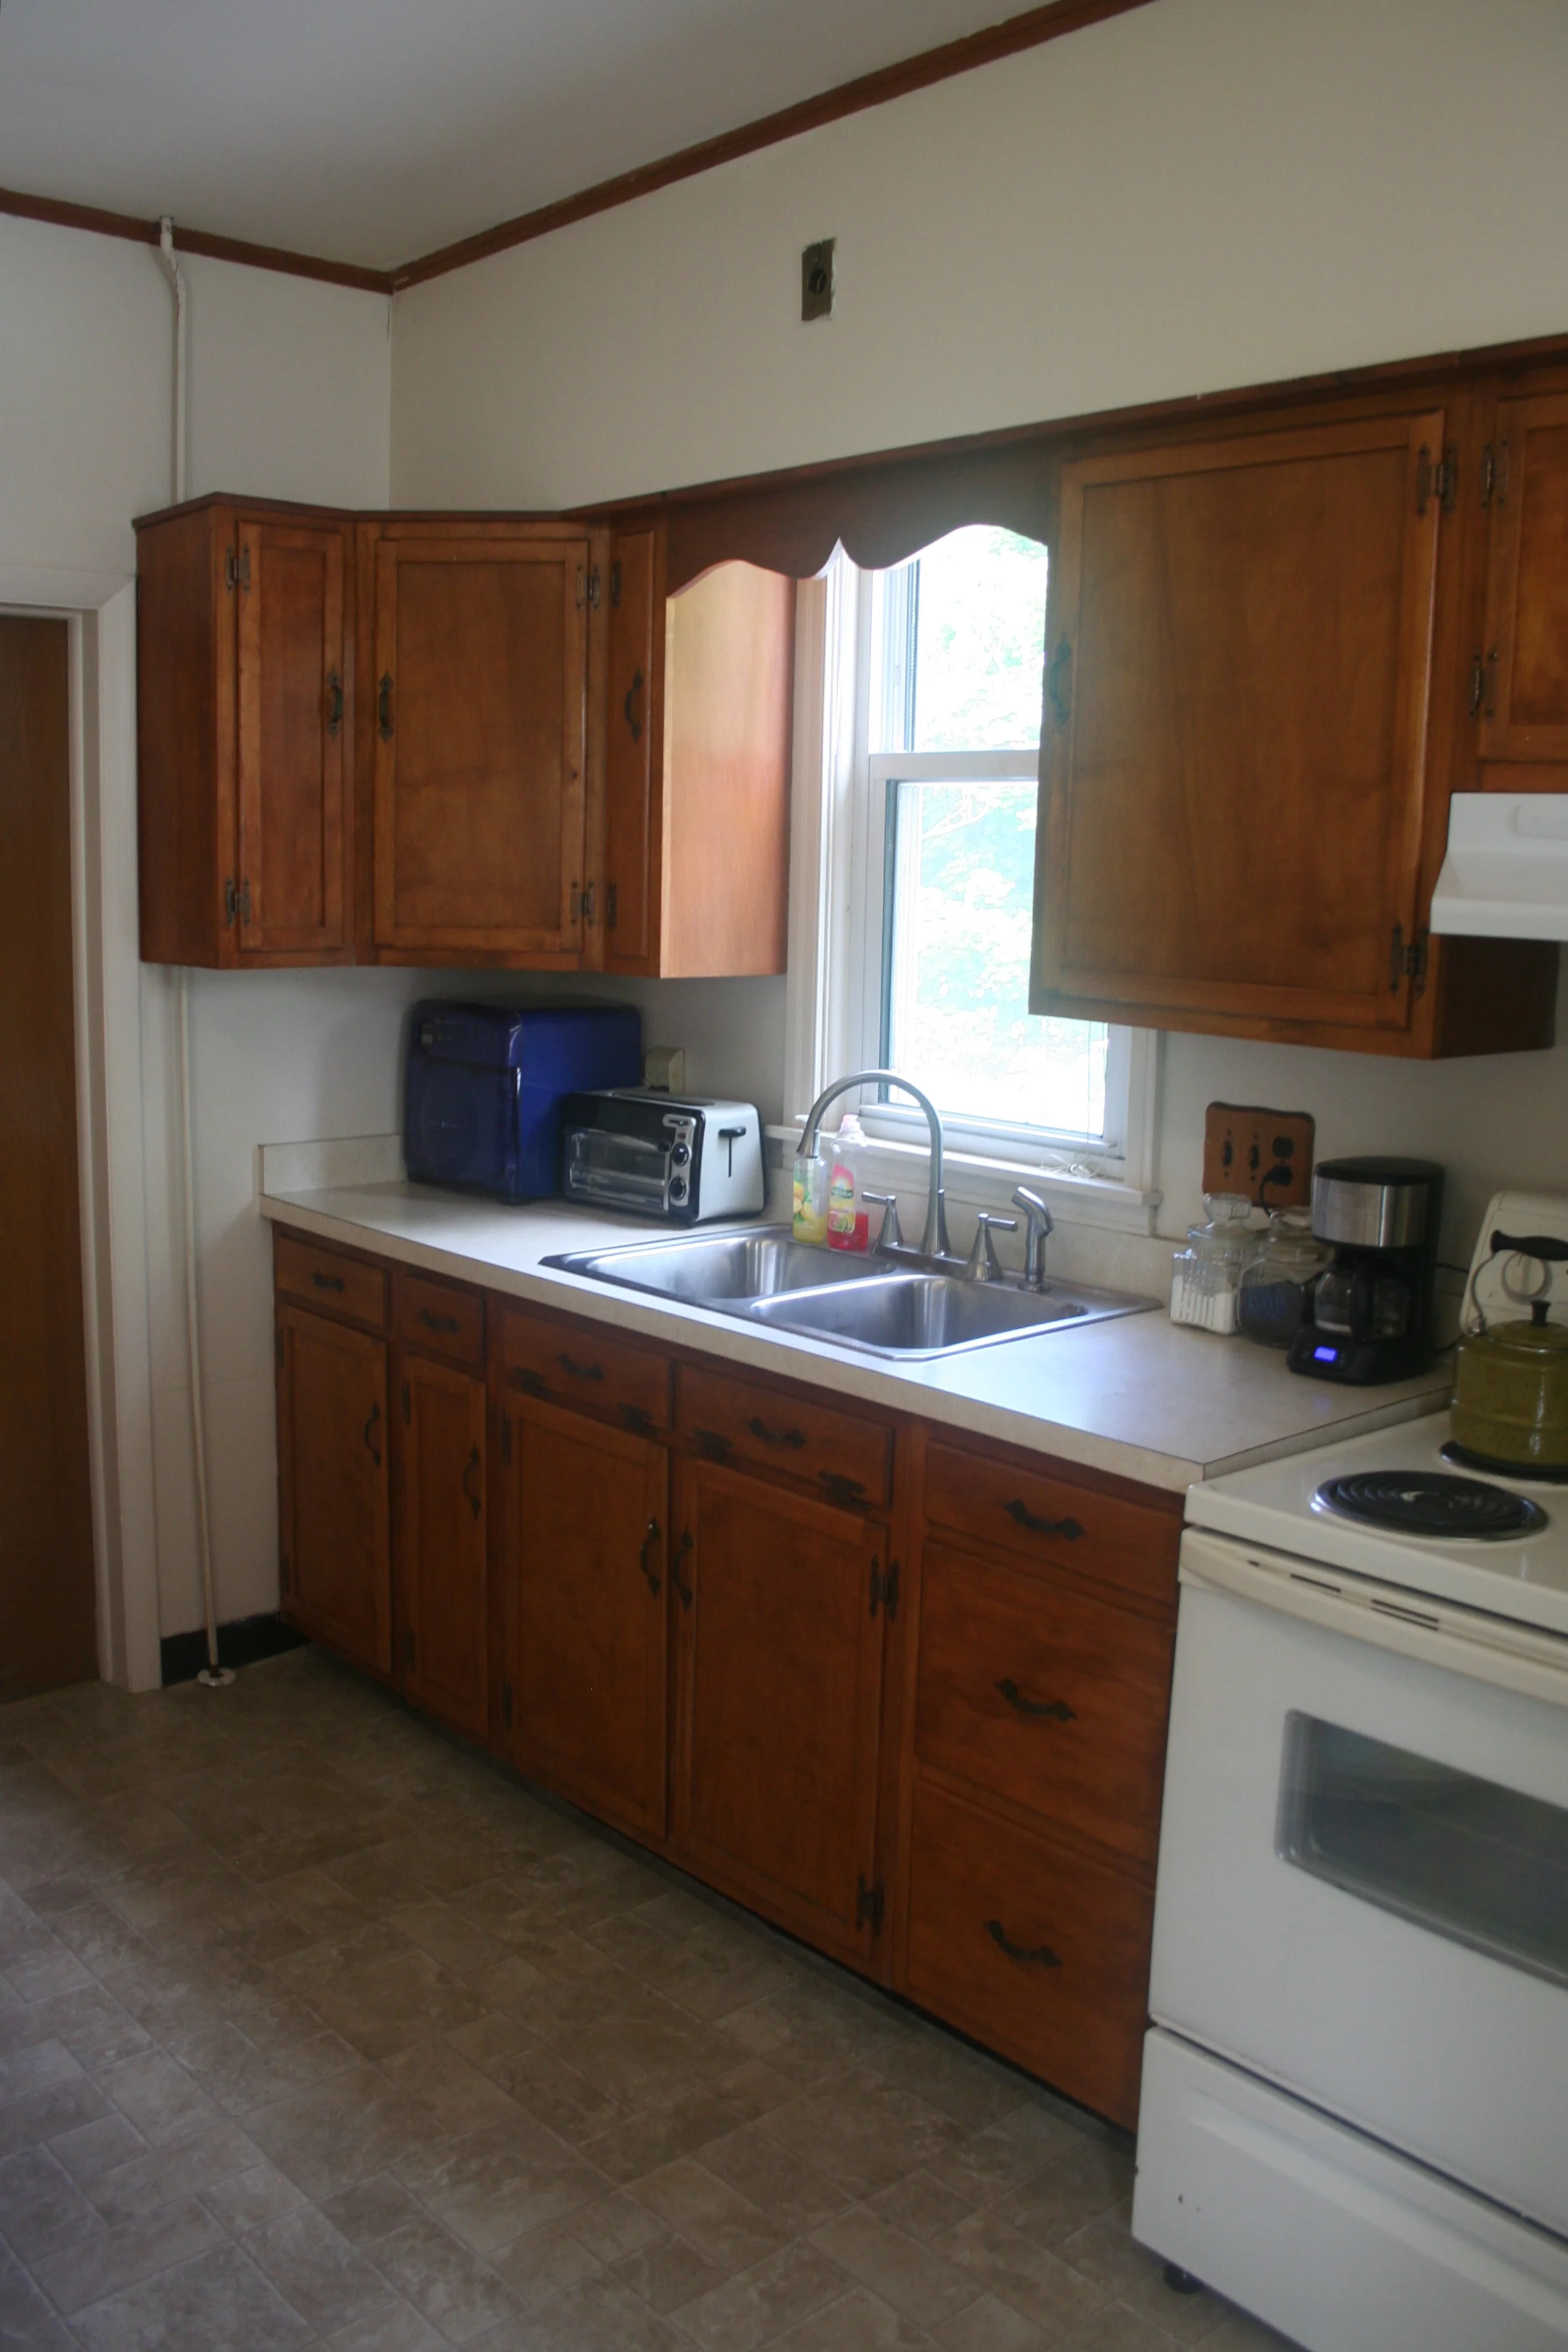


We're not planning to do any major remodeling in here for probably another 5 years, but I have some inexpensive ideas for a mini-remodel that will take our kitchen to the next level:
- Remove cabinet above fridge so we can push the fridge back
- Remove lower cabinets to left of sink and install dishwasher
- Remove upper cabinets to left of sink and install open shelving
- Paint walls, trim & ceiling
- Paint cabinets
- Install new hinges and hardware
- Install new faux concrete countertops and add overhang to peninsula
- Install a creative, temporary backsplash
DINING ROOM
I forgot to take photos before we started painting the dining room, so here's a bad, blurry photo from the online listing and a couple from right after we painted. I know separate dining rooms have become less popular in recent years, but I am so excited to have one. We are already using it a lot for dinners and game nights! My favorite thing about the dining room is probably the enormous closet with built in shelves-- perfect for our collection of board games.


My plan for the dining room is to mix it up and pair antique, midcentury and modern styles. I want it to look like we've lived here since the house was built 112 years ago, and collected our furniture over the decades. I'm hoping the outcome will be a cool, cohesive and casual space to gather with family and friends. Or it could just look like the inside of a thrift store... I'll keep you posted! Our to do list for the dining room:
- Paint ceiling, walls & trim
- Obtain an awesome antique piano, for free preferably
- Install a new light fixture
- Order new chairs to go with our midcentury table
- Find some sort of server/buffet/credenza for the back wall
- Replace mini blinds with nicer window treatments
- DIY some large scale abstract art
LIVING ROOM
I also forgot to take a proper before picture of the living room! But I've included some nice "during" photos for your viewing pleasure, after this photo I stole from the listing. The living room is nice and spacious, but is lacking the character you would expect in a house this age.


This living room is my current labor of love. Yes, that's dark spot between the windows is the sample paint. We painted this room BLACK! More specifically, Iron Ore by Sherwin Williams. It looks fancy and wonderful and I can't wait to show you some updated photos. Here's the plan:
- Paint walls & trim
- Paint upholstery of gold chairs using Annie Sloan Chalk Paint (Thanks, Pinterest!)
- Install art shelves
- Do something cool with the ceiling
- Replace mini blinds with nicer window treatments
- Find a cool vintage chest to use as a TV stand
- Order new rug (the one I originally bought for in here is moving to the dining room)
- Find new end tables and coffee table
OFFICE
I'm so excited to have a designated office space! The staircase is on the other side of this door, so you do have to pass through this room to get upstairs. Eventually I would love to open up this wall and built an open bannister, and widen the doorway into this room. I think it will go a long way towards making the whole first floor feel less segmented, but that's the 5 year plan.


My "now" plan has changed a little bit now that Anthony is going back to school online this winter. I'm now thinking of doing back-to-back desks so a.) we can both work in the office at the same time and b.) when he's not working at his desk, I can take it over and turn the double desk thing into a big craft table. Here's what I'm thinking:
- Paint walls & trim
- Possibly wallpaper the cieling?
- New light fixture
- Order simple parsons style desks we can arrange back-to-back
- Get bookshelves for one wall
- Find cool upholstered dining chairs to use as desk chairs
- Reupholster an existing chair we have or find a new one for a little reading nook
- Install a pin board on one wall
- Organize and outfit the closet as a craft/gift wrap/ filing closet
- Replace mini blinds with nicer window treatments
DOWNSTAIRS BATH
Of all the room in our house, this was the only room that didn't have new flooring. In general this room is kind of a let down. While the upstairs bathroom has an upgraded vanity and fixtures, the downstairs bath is a mixture of old honey oak and just plain old. The linoleum floors have yellowed and are peeling. This room just needs a little more love than the others. Someday I would like to totally gut this bathroom and install a larger, tiled shower with glass enclosure, tile floors and a custom vanity. The one thing I do love about this bathroom is the cool built in cupboard that right inside the doorway. It looks like an addition that was made in the 1960's based on the hardware and slab style doors and drawers. It's taken a lot of scrubbing and baking soda to get rid of the mothball smell inside of it, but it has some real potential!


Like the kitchen, I have plans for a mini-remodel to improve this space in the short term, without spending so much money that we feel guilt ripping it all out in the long term.
- Paint walls, trim & ceiling
- Replace linoleum with new sheet vinyl
- Install new vanity and mirror
- Replace rusty and warped baseboard heater
- Paint inside and outside of built in cupboard and install new hardware
- Replace towel bars with hooks
FAMILY ROOM
Look familiar? The interesting thing about our house is that the first and second floors are exact copies of each other. At one time, our home was turned into a duplex, which means the living room and this upstairs room (which I am planning to make into a family room) are the exact same size and layout. If we were to use it as a bedroom, it would definitely be the biggest, but it doesn't have a closet. My plan is to turn this into a second living room where Anthony can set up his video games and where we can store/display our instruments. (Anthony has a guitar and bass and I have a mandolin.)

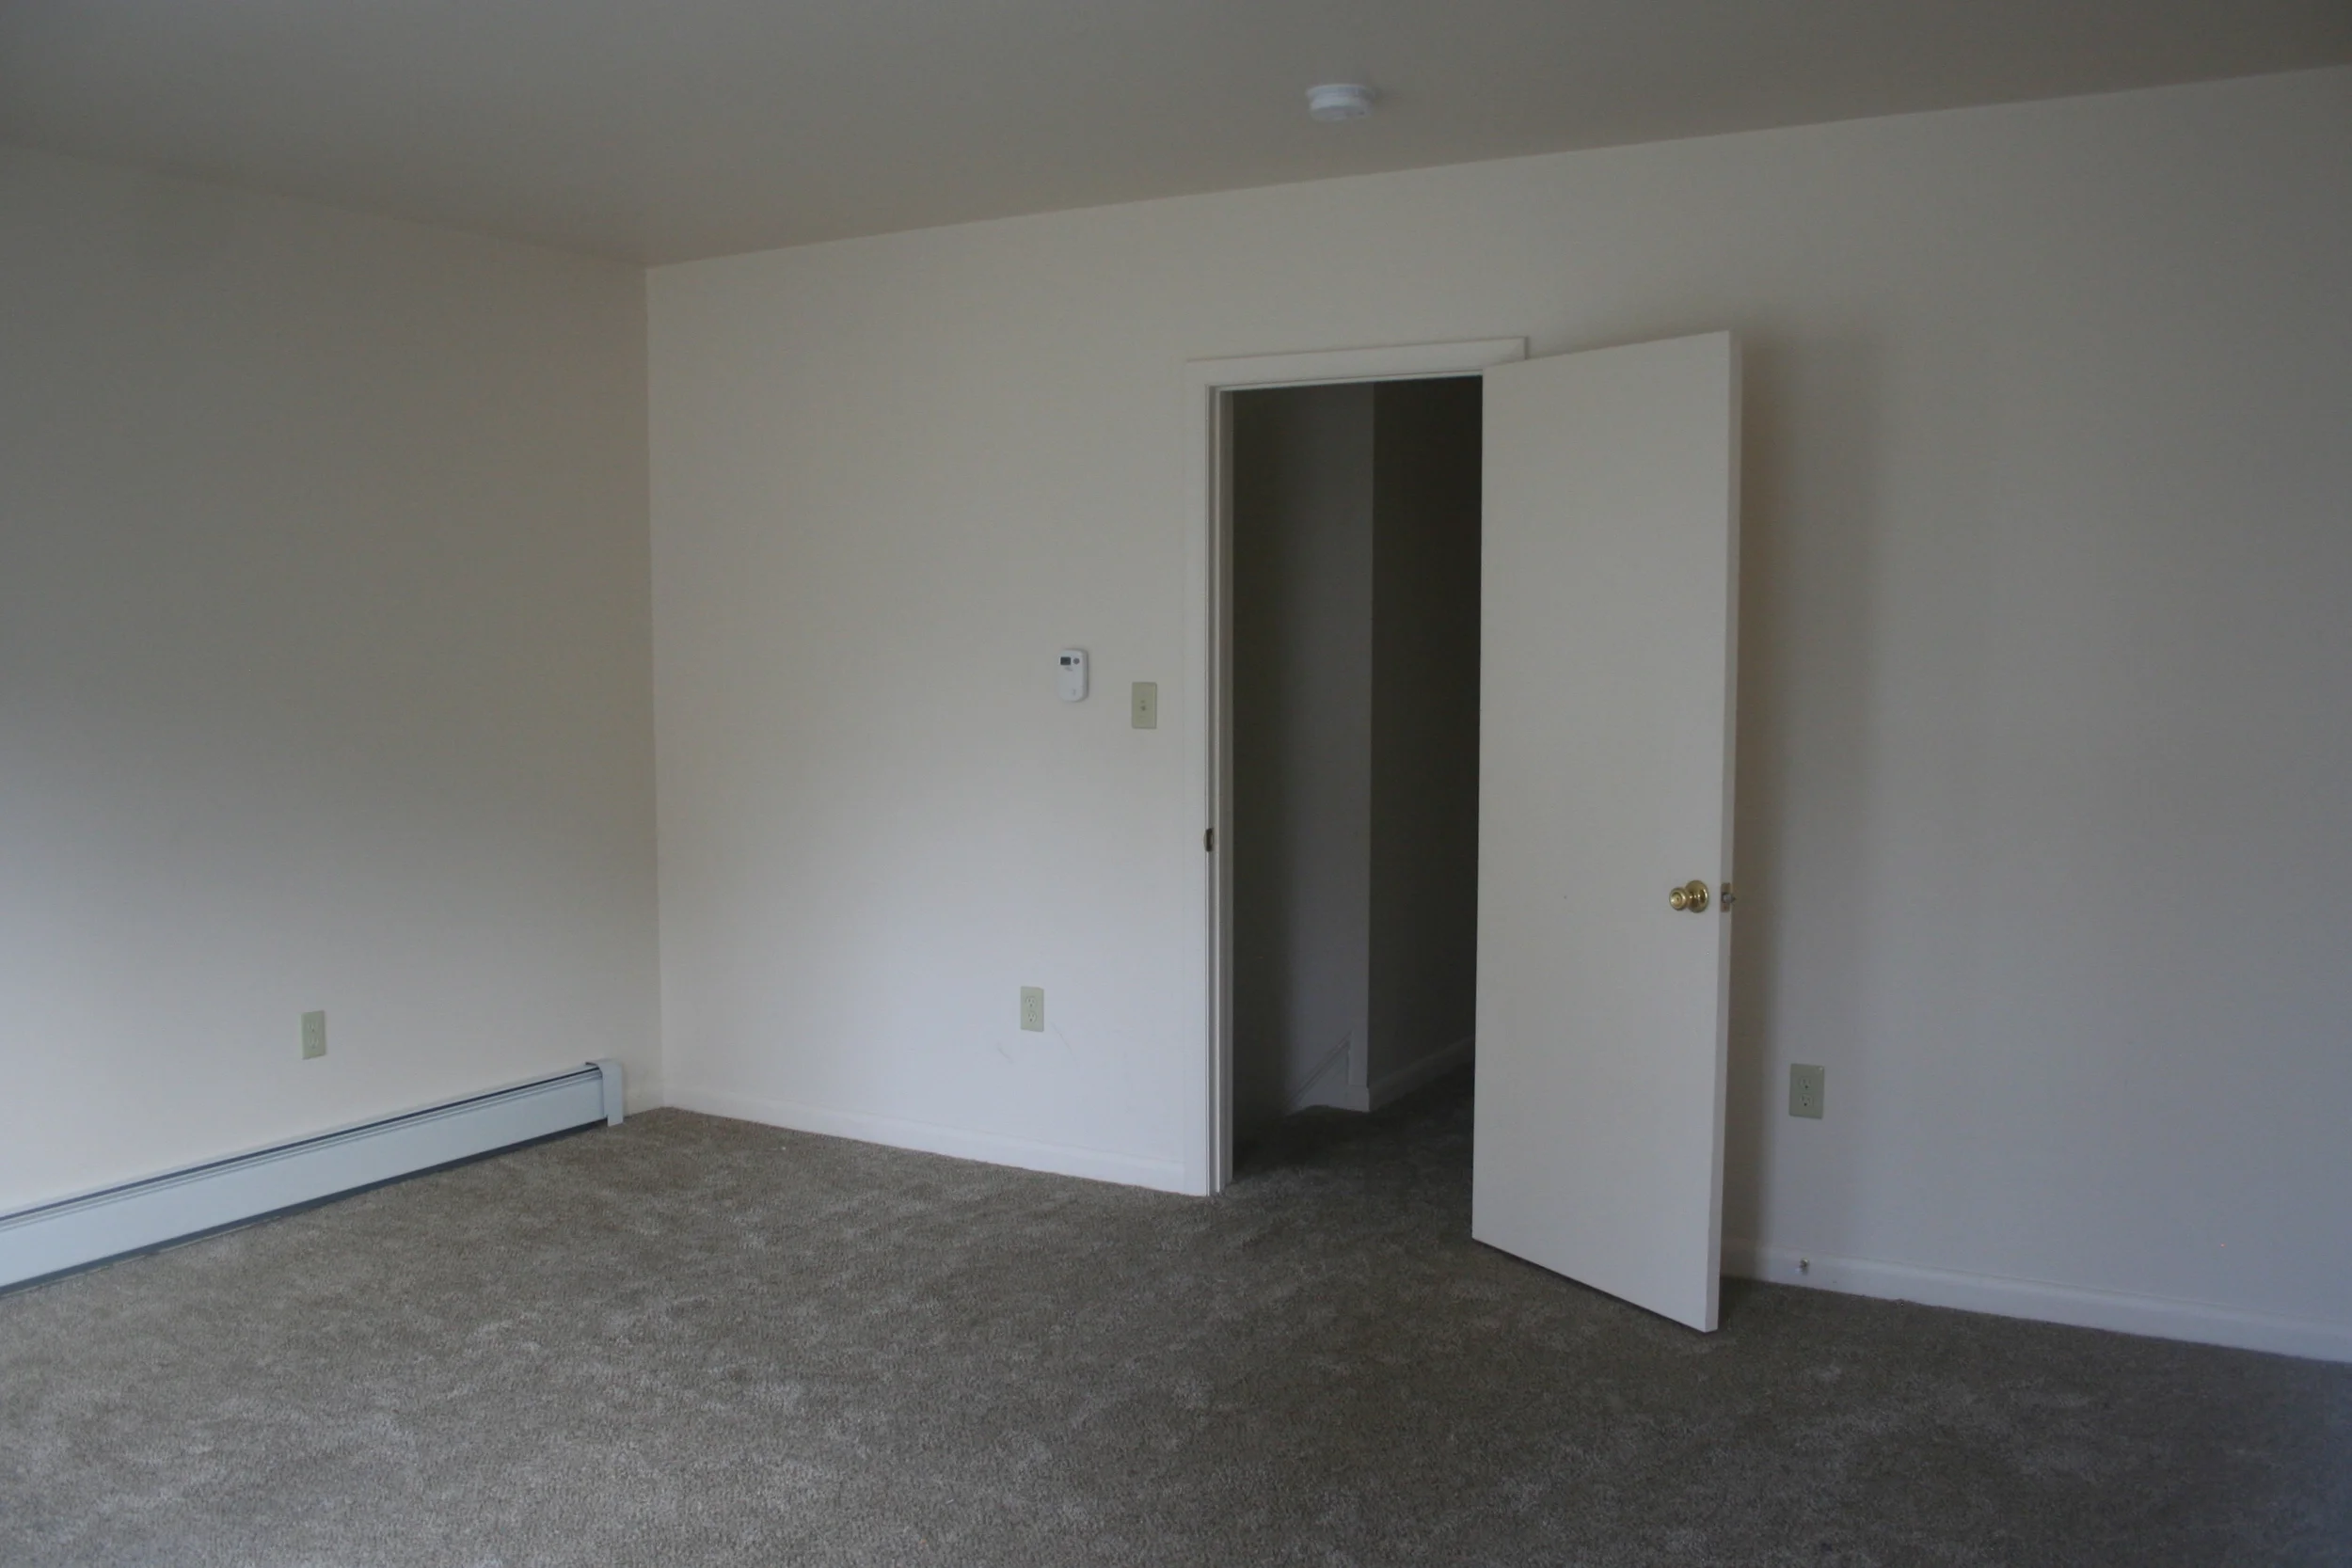
Because it's not covered by a porch, this room is lot brighter than the living room, so I'm planning to stick with the light and bright feel and go more midcentury in this room. We have an awesome set of Lane coffee and end tables that Anthony's grandmother first bought in the 60's. Anthony's parent's had them in their living room when Anthony was a baby and then we used them in our first apartment I'm excited to design the perfect room for them. This room isn't high on our priority list, but we do have some ideas:
- Install panel wall treatment using moulding
- Paint walls, ceiling & trim
- Install new light fixture
- Order a cool retro-inspired sofa or sectional
- Hang a gallery wall
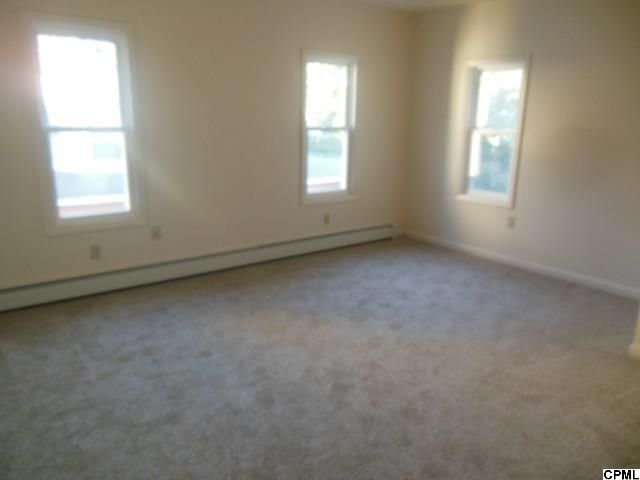
GUEST BEDROOM
So this guest room is directly above the dining room, and like I mentioned above share the same size and shape. Since Anthony and I planned to upgrade to a king bed, we moved our existing full size bed into this room so we wouldn't have to set it up in the master bedroom just to take it apart again a few months later. So here's a photo from the listing, and then some photos from early this summer, featuring Annie, my good friend Jamie's pup. She just couldn't resist stealing the spotlight!


I'm keeping our existing IKEA bed and dresser, and I've decided to go kind of vintage nautical-inspired in here. You can see more my inspiration collage in the "Our Guest Room" post linked below. I thought we would finish this room up really quickly after we moved in, but Anthony convinced me to focus on the downstairs first. I put a chair in the corner and tested some paint samples on the wall, but other than that this room looks the same today as it did when these photos were taken. Here's what we still want to do:
- Paint ceiling, walls and trim
- Hang ship art above headboard
- Install window treatments
- New light fixture
- Paint nightstands
- Find cool rug for texture
NURSERY
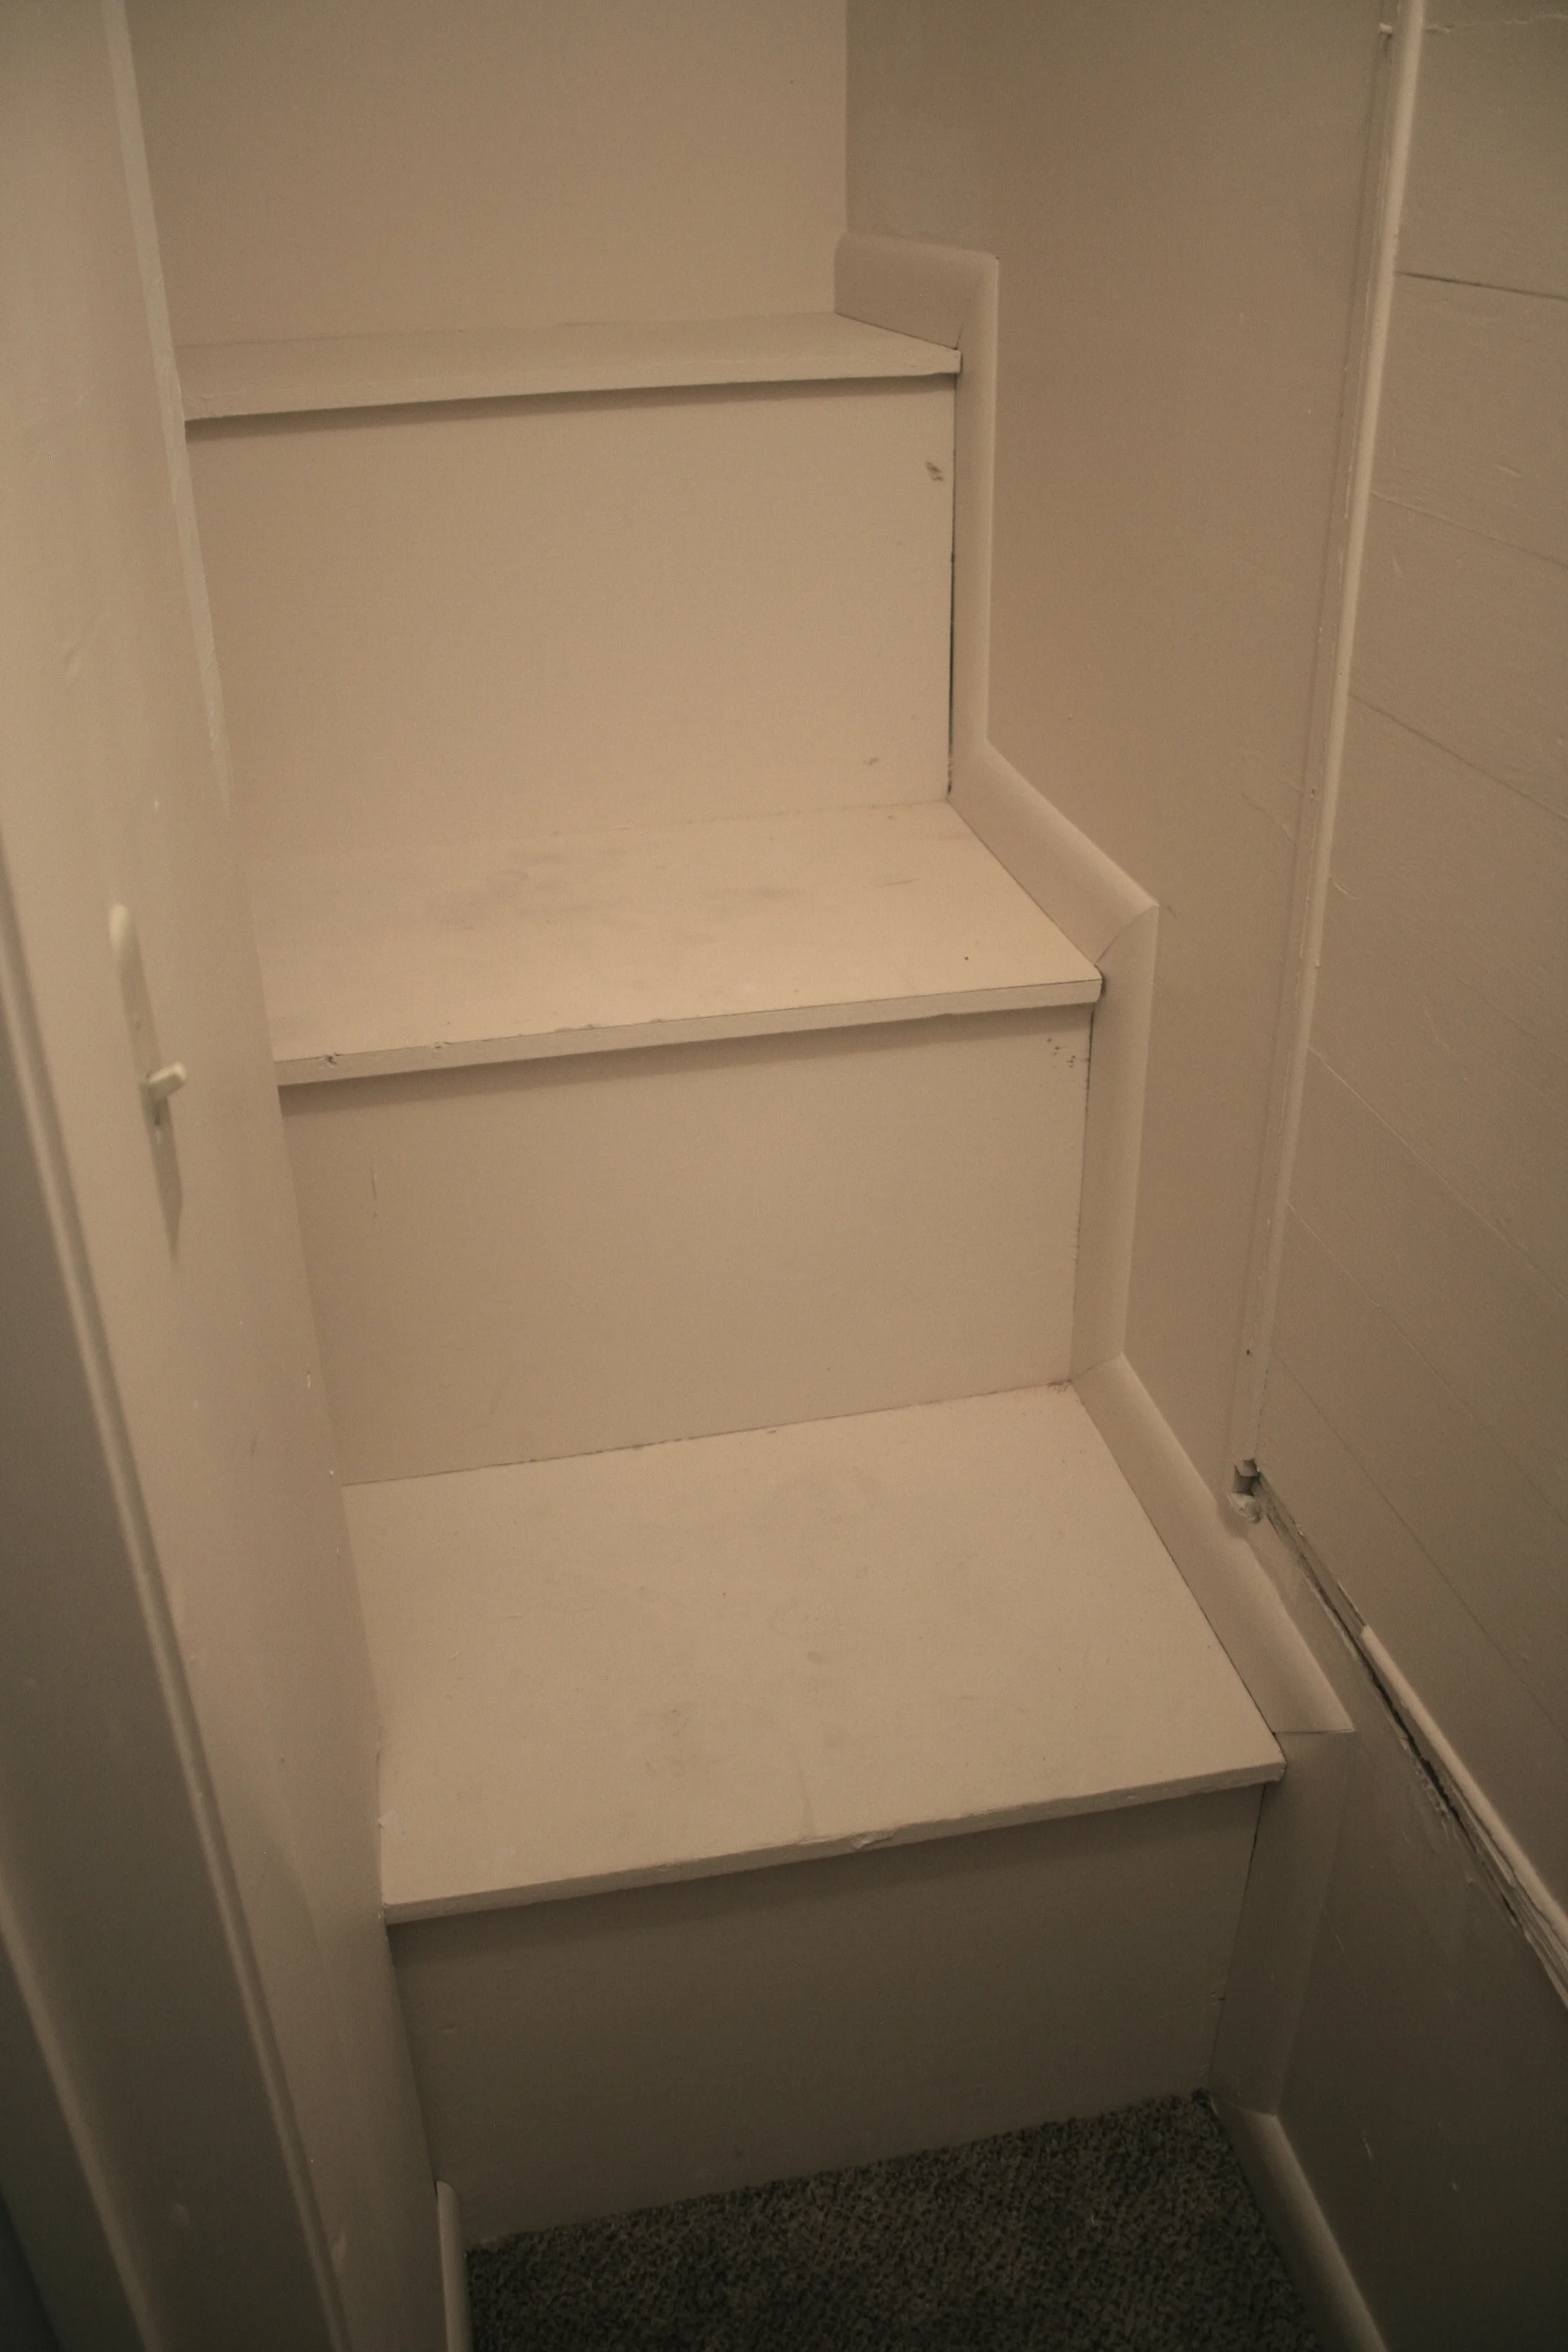
Before you say anything, NO I'm not pregnant! We just refer to this room as the nursery because it's just more succinct than "smaller guest bedroom/designated niece quarters/future nursery". Until we decide that it's time to welcome some non-furry children into our family, this room is pretty low on the priority list. In the meantime, our nieces have claimed this room. The closet is situated over our staircase, so there are these cute little stairs that they love to run up and down. We set up a bed for guests and that's about it!


UPSTAIRS BATH
While the downstairs bathroom wasn't touched at all in the previous owner's renovation, the upstairs bathroom does have some nice, new fixtures. The only problem is that they didn't quite finish -- the fiberglass tub/shower was installed but not caulked, and the waterlines were roughed in, but there were no plumbing fixtures. Anthony and his Dad fixed that in one good Sunday afternoon, so we now have a second functional bathroom!

Since the downstairs bathroom is going to be more of a project, I'm just planning a few simple things for this bathroom:
- Install tub/shower plumbing
- Caulk tub/shower surround
- Paint walls, ceiling & trim
- New shower curtain
- New rug
- Install clear plastic organizers on the inside of the linen closet door
- Replace tiny medicine cabinet with statement mirror
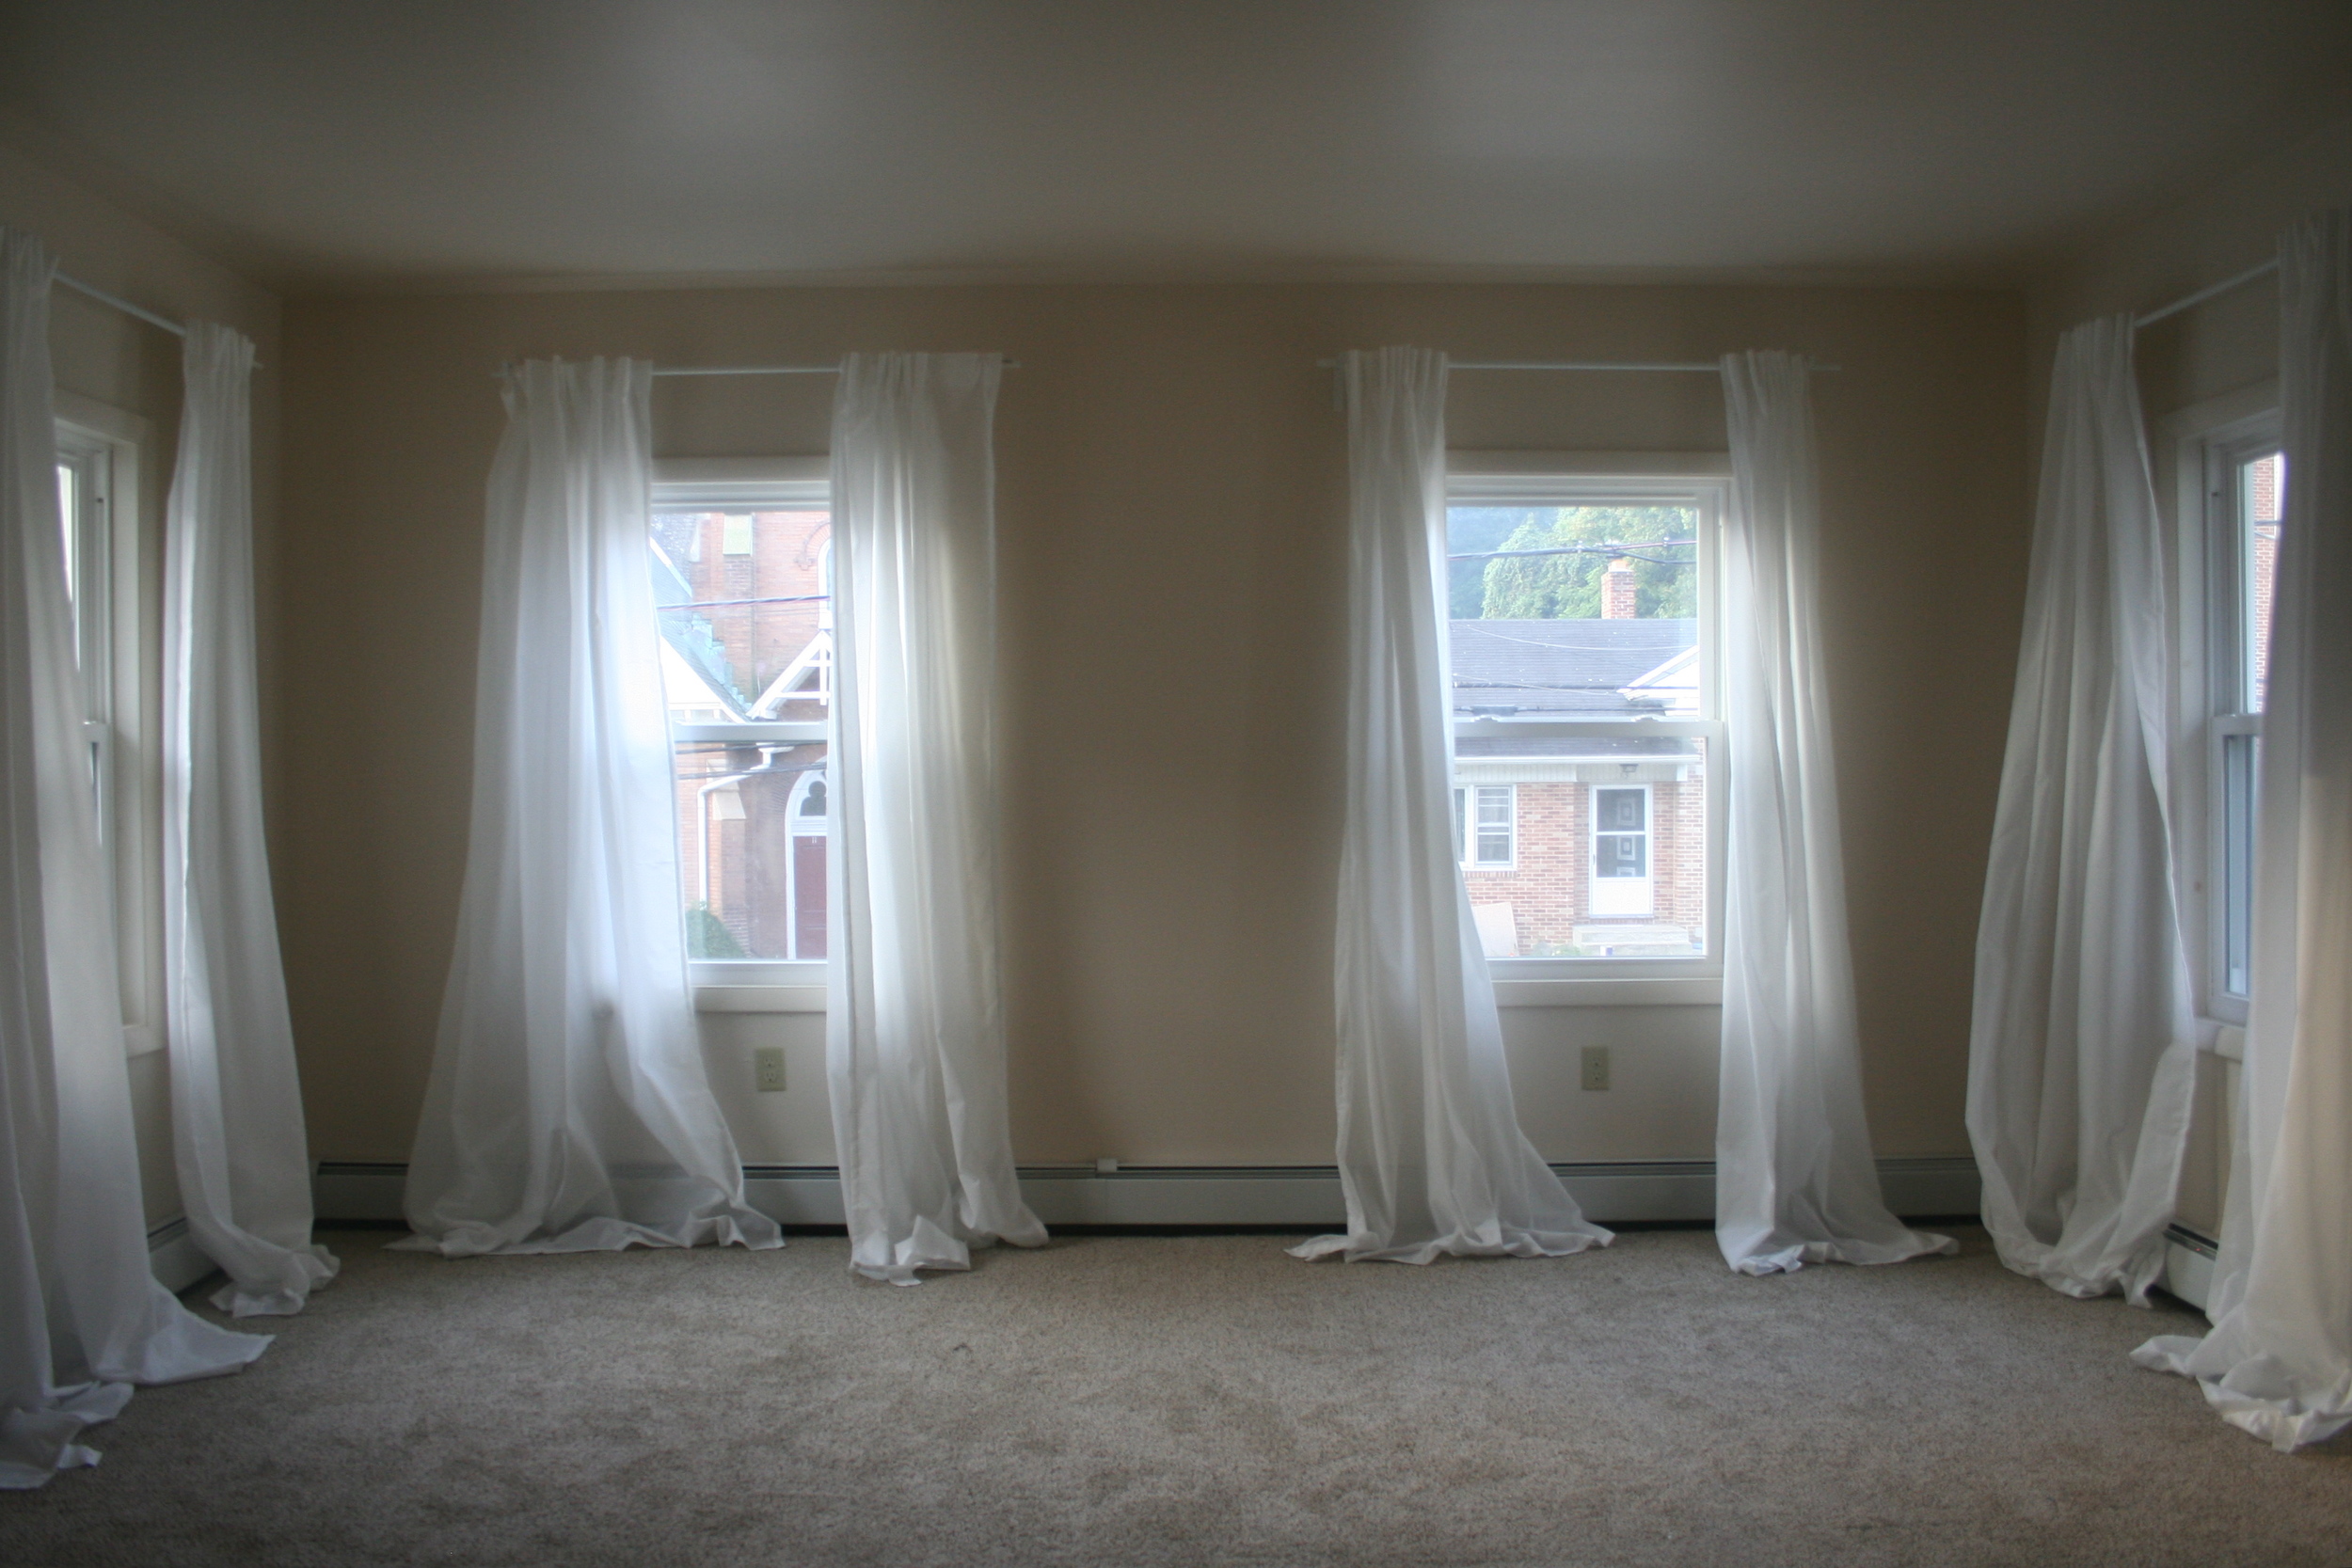
MASTER BEDROOM
I absolutely love this room! Not only does it have two closets (mine is huge and Anthony's is tiny...as it should be!) but it also has a door that opens out onto a little balcony. I can't wait to start making this room into our little retreat!


Here's what I'm thinking:
- Remove random sink & cap waterline
- Paint walls, cieling & trim (Can't decide if I want to go dark or light for the walls!)
- Install curtains across the whole back wall to disguise the off-center window
- New KING SIZE bed & small dressers to use as nightstands
- Refresh our current tall chest with new paint, knobs and maybe wood overlays?
- Find a cool rug & light fixture
- Some kind of glider or porch swing for the balcony
- Maybe a coffee bar area? (This may be impractical, but I just picture us enjoying our morning coffee together on the balcony before the day starts...)
There you have it! We've got a lot of work ahead of us, but we are having so much fun making this old house our own. We're starting to make some progress, so you can expect some more photos and updates coming soon! For more sneak peeks, be sure to connect with me on Instagram & Twitter!